| Boot the machine via Clonezilla live |
In this example, the machine will run as a Clonezilla lite server, which can be used to deploy an image to many computers. Assume we already have a Clonezilla image in sdb, the image name is called "bookworm-2023-10-15-03-img" and will be deployed to other computers using multicast mechanism. We will use the existing DHCP service in the LAN when providing network booting service for clients:
root@debian:/home/partimag# ls -l
total 20
drwxr-xr-x 2 root root  4096 Oct 15 03:33 bookworm-2023-10-15-03-img
drwx------ 2 root root 16384 Oct 15 02:47 lost+found

root@debian:~# ls -lh /home/partimag/bookworm-2023-10-15-03-img/
total 1.3G
-rw-r--r-- 1 root root  901 Oct 15 03:33 blkdev.list
-rw-r--r-- 1 root root  770 Oct 15 03:33 blkid.list
-rw-r--r-- 1 root root 8.0K Oct 15 03:33 clonezilla-img
-rw-r--r-- 1 root root  218 Oct 15 03:33 dev-fs.list
-rw-r--r-- 1 root root    4 Oct 15 03:33 disk
-rw-r--r-- 1 root root 1.2K Oct 15 03:33 efi-nvram.dat
-rw-r--r-- 1 root root 118K Oct 15 03:33 Info-dmi.txt
-rw-r--r-- 1 root root  236 Oct 15 03:33 Info-img-id.txt
-rw-r--r-- 1 root root   67 Oct 15 03:33 Info-img-size.txt
-rw-r--r-- 1 root root  73K Oct 15 03:33 Info-lshw.txt
-rw-r--r-- 1 root root 4.6K Oct 15 03:33 Info-lspci.txt
-rw-r--r-- 1 root root  824 Oct 15 03:33 Info-OS-prober.txt
-rw-r--r-- 1 root root  198 Oct 15 03:33 Info-packages.txt
-rw-r--r-- 1 root root  101 Oct 15 03:33 Info-saved-by-cmd.txt
-rw-r--r-- 1 root root  980 Oct 15 03:33 Info-smart.txt
-rw-r--r-- 1 root root   15 Oct 15 03:33 parts
-rw------- 1 root root 2.5M Oct 15 03:32 sda1.vfat-ptcl-img.zst
-rw------- 1 root root 1.3G Oct 15 03:33 sda2.ext4-ptcl-img.zst
-rw------- 1 root root 315K Oct 15 03:33 sda4.ext4-ptcl-img.zst
-rw-r--r-- 1 root root   36 Oct 15 03:33 sda-chs.sf
-rw-r--r-- 1 root root  17K Oct 15 03:33 sda-gpt-1st
-rw-r--r-- 1 root root  16K Oct 15 03:33 sda-gpt-2nd
-rw-r--r-- 1 root root  18K Oct 15 03:33 sda-gpt.gdisk
-rw-r--r-- 1 root root  724 Oct 15 03:33 sda-gpt.sgdisk
-rw-r--r-- 1 root root  512 Oct 15 03:33 sda-mbr
-rw-r--r-- 1 root root  440 Oct 15 03:33 sda-pt.parted
-rw-r--r-- 1 root root  392 Oct 15 03:33 sda-pt.parted.compact
-rw-r--r-- 1 root root  684 Oct 15 03:33 sda-pt.sf
-rw-r--r-- 1 root root   53 Oct 15 03:33 swappt-sda3.info
Now the image "bookworm-2023-10-15-03-img" will be deployed to other machine's sda.
Once you have the bootable Clonezilla Live CD/DVD or USB flash drive, you can boot the machine you want to clone via Clonezilla live. Remember to use the Clonezilla live CD or USB flash drive to boot the machine. For example, if you have Clonezilla Live in USB flash drive, you have to boot it via USB device (Ex. USB-HDD or USB-ZIP). If necessary, you can set the first boot priority in the BIOS as USB-HDD or USB-ZIP so that it can boot Clonezilla Live from your USB flash drive.
Here we take CD as an example. You can either set CD as first boot priority in machine's BIOS like this:
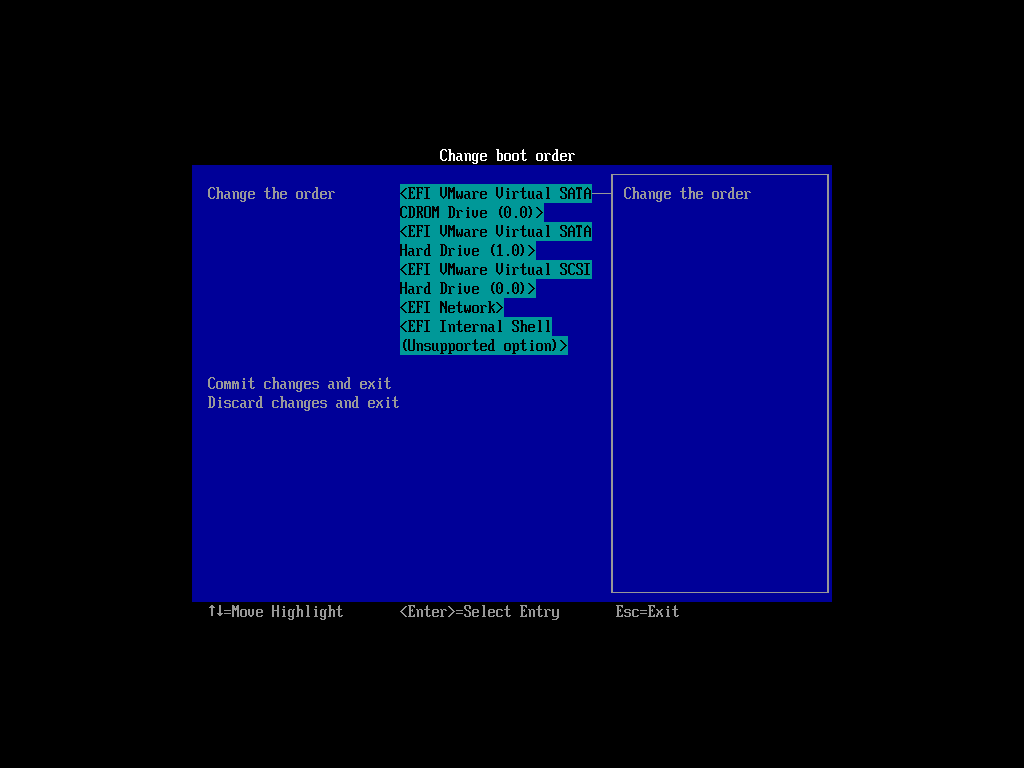
Or by pressing a hotkey (e.g., Esc, F8, F9 or maybe F12) when you boot the machine, you will see the boot menu of BIOS like this:

Check your motherboard manual for more details about how to boot your machine via CD.
 |
|


