Clonezilla

The Free and Open Source Software for Disk Imaging and Cloning
Clonezilla Live Doc
Print all this session
Save disk image : Save 1st disk (sda) as an image on 2nd disk (sdb) (Step by step)
  1. Boot the machine via Clonezilla live
  2. The boot menu of Clonezilla live
  3. Here we choose 800x600 mode, after pressing Enter, you will see Debian Linux booting process
  4. Choose language
  5. Choose keyboard layout
  6. Choose "Start Clonezilla"
  7. Choose "device-image" option
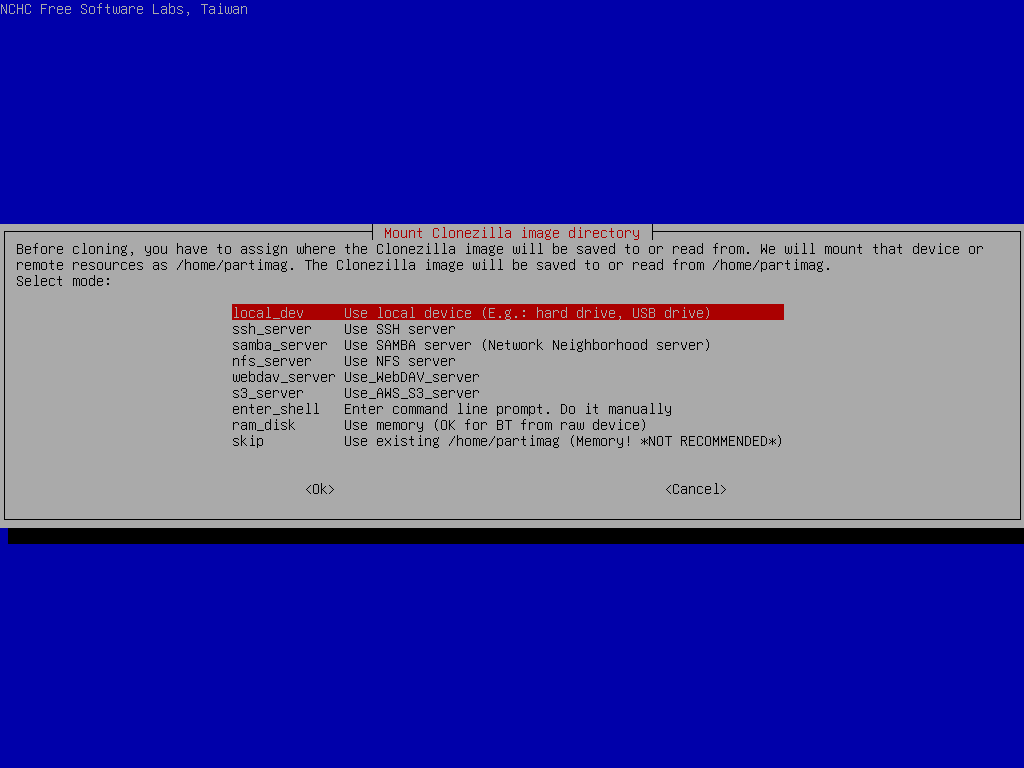
  8. Choose "local_dev" option to assign sdb1 as the image home
  9. Select sdb1 as image repository, then choose "savedisk" option
  10. Input image name and select source disk
  11. Clonezilla is saving disk image (sda) to the partition of 2nd disk (sdb1)
Choose "local_dev" option to assign sdb1 as the image home


There are other options, e.g. sshfs, samba, nfs or webdav, AWS S3 or Openstack Swift, you can use when network is available. This is very useful when 2nd local disk is not available.
Since we choose "local_dev" option, we can use 2nd disk or USB flash drive to save 1st disk's image. If using USB flash drive as repository, insert USB flash drive and wait a few secs.
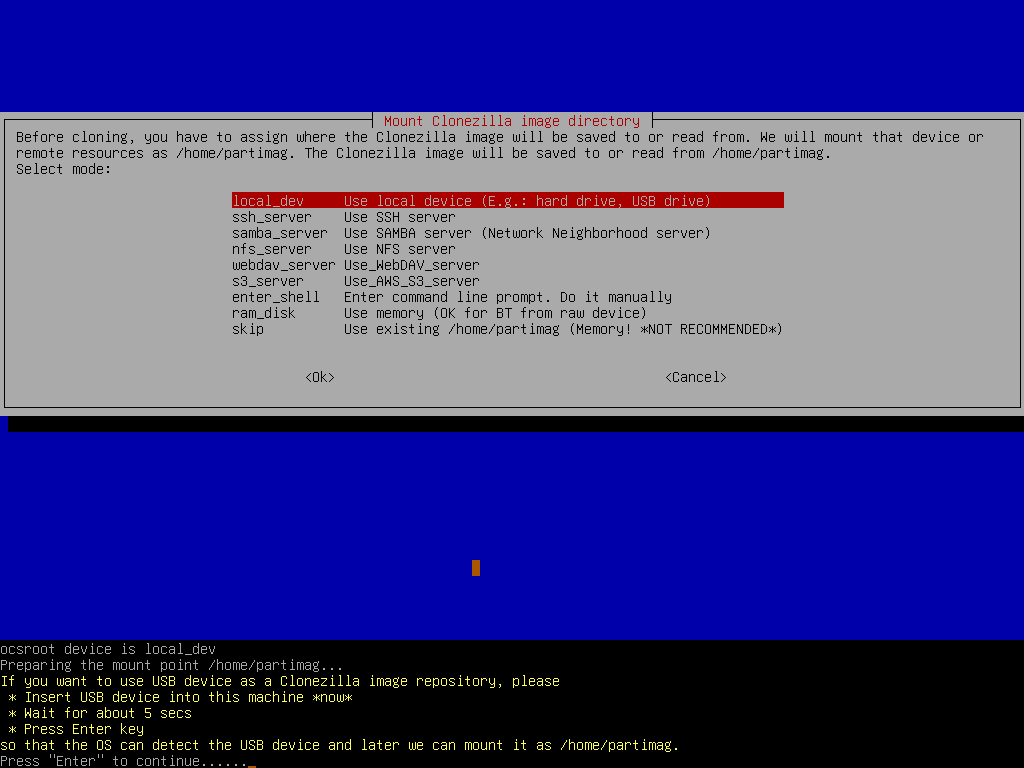

Clonezilla will scan the disks on the machine in every few secs, and show you the results:
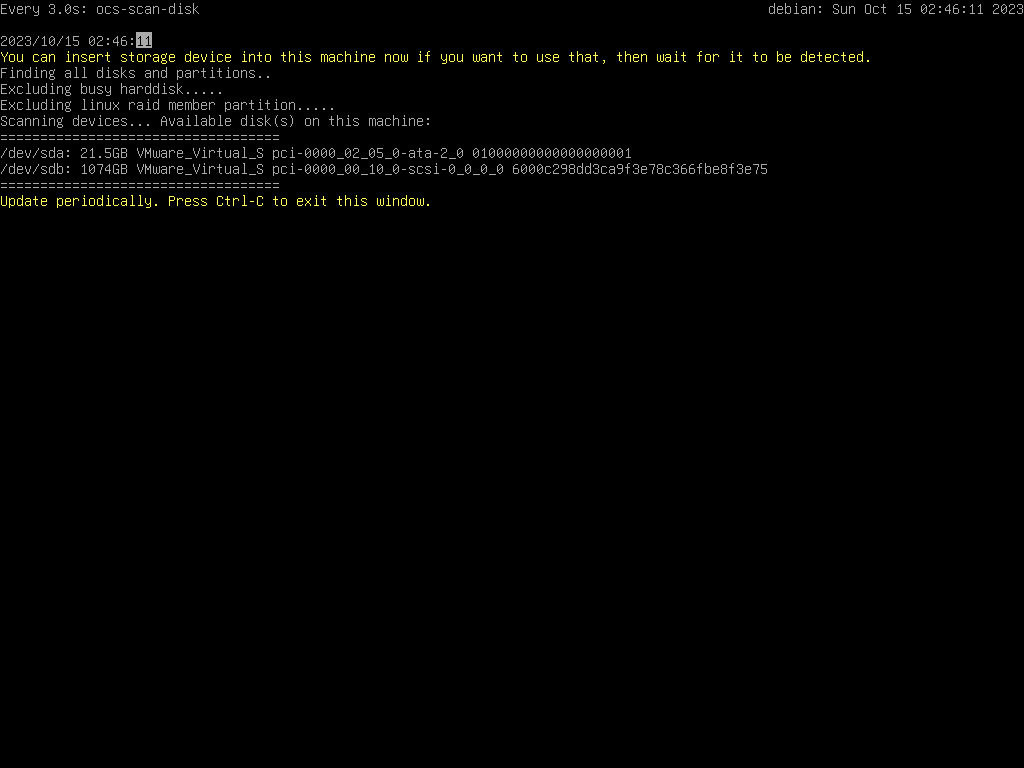

Once you see the device you have inserted shown on the status, you have to press Ctrl-C to quit the scanning report.
Print this page
Clonezilla project. All Rights Reserved. Anyone is permitted to copy and distribute verbatim copies of this document under the terms of the GNU FDL Free Documentation License.