Clonezilla

The Free and Open Source Software for Disk Imaging and Cloning
Clonezilla Live Doc
Print all this session
Disk to disk clone : Clone small disk to larger disk (e.g. 20 GB to 60 GB) (Step by step)
  1. Prepare Clonezilla live
  2. Boot your Clonezilla live via USB
  3. Choose "ToRAM" option in the boot menu
  4. Choose language
  5. Choose keyboard layout
  6. Choose "Start Clonezilla"
  7. Choose "disk_to_local_disk"
  8. Choose source disk
  9. Choose target disk
  10. Start cloning
  11. Disk is cloned
Choose "ToRAM" option in the boot menu
In the boot menu, we choose "(VGA 800x600 & To RAM)" or ""(VGA with large font & To RAM)"
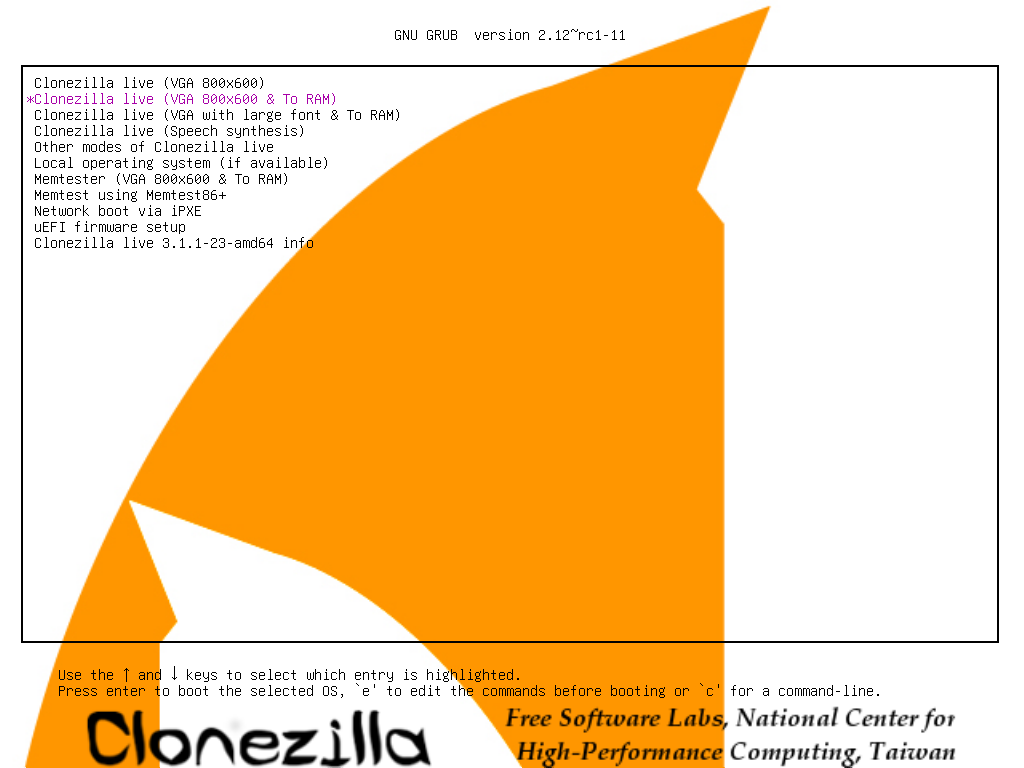

By doing this, all the Clonezilla live file on the new hard drive will be copied to RAM. Therefore the partition of new hard drive can be released, i.e. it won't be busy and locked by running programs.
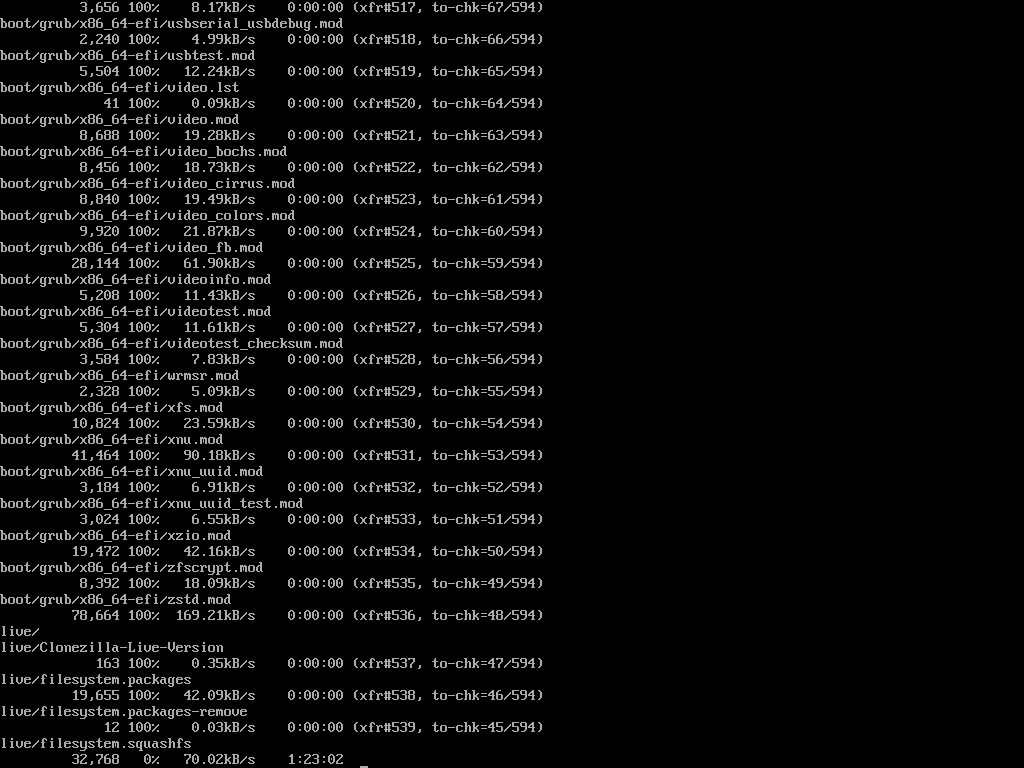
Press Enter, you will see Debian Linux booting process, and it will spend a few minutes when copying the files to RAM:

Print this page
Clonezilla project. All Rights Reserved. Anyone is permitted to copy and distribute verbatim copies of this document under the terms of the GNU FDL Free Documentation License.