| Input image name and select source disk |
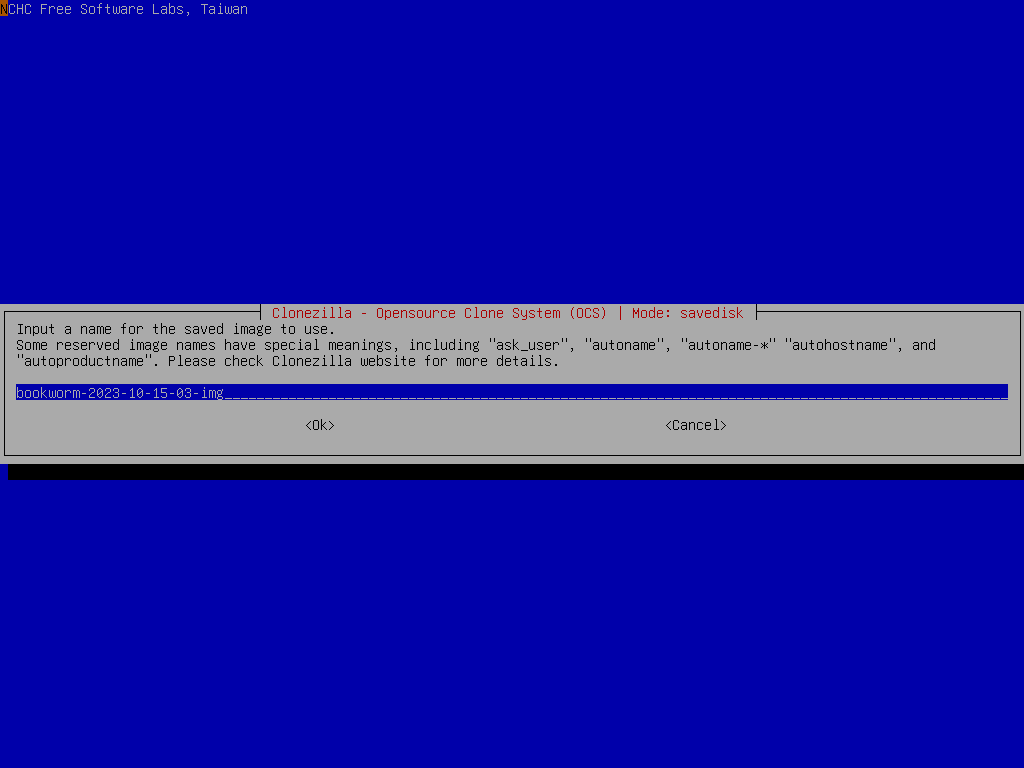
Enter the image name, Clonezilla will give an image name based on date and time, feel free to change it
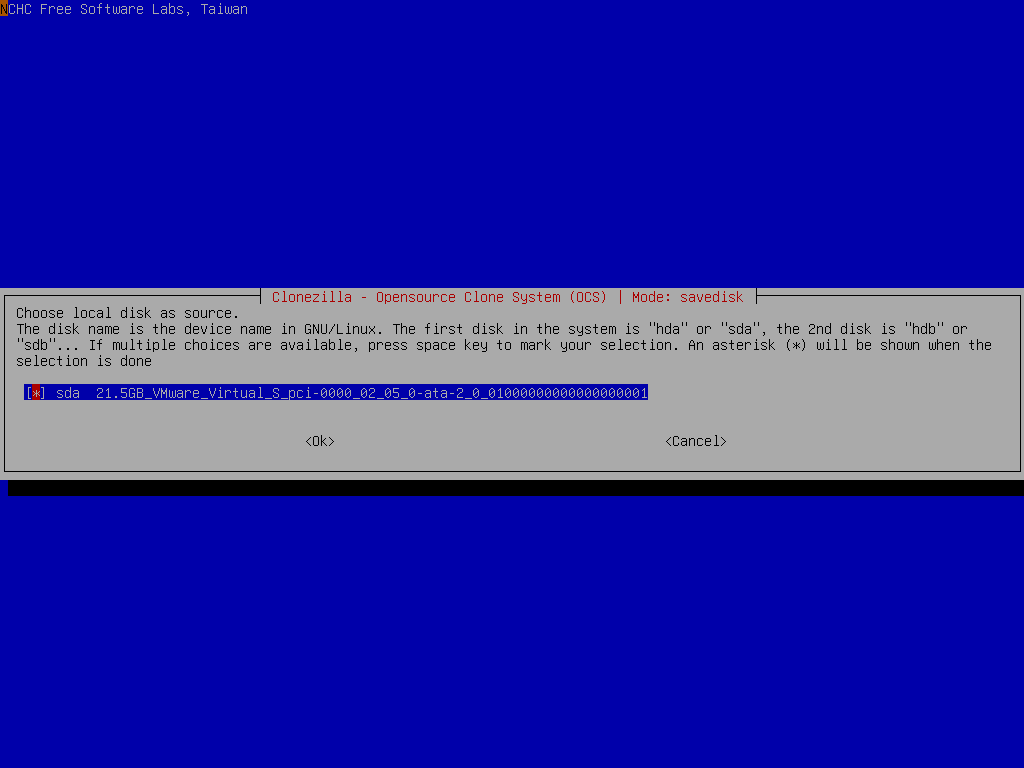
Select the source disk "sda" we want to save:
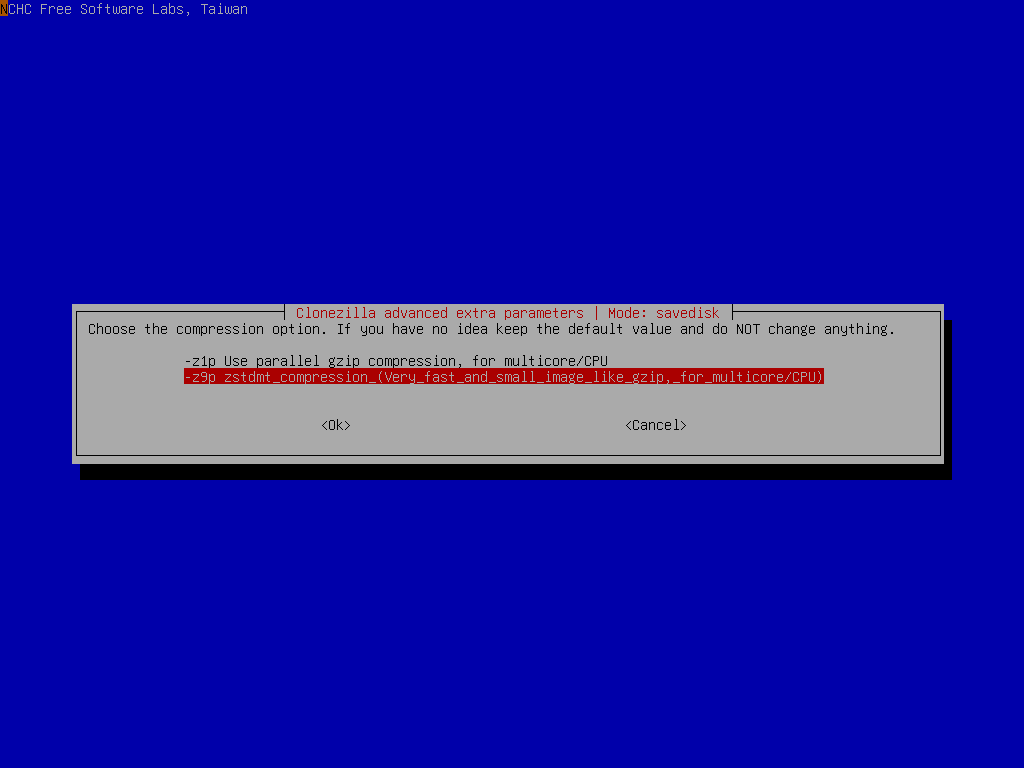
Select the compression option "-z1p" (Use parallel gzip), or "-z9p" (parallel zstd, will be faster and the size is slightly smaller than that of gzip):
Select if the source file system need to be checked or not:
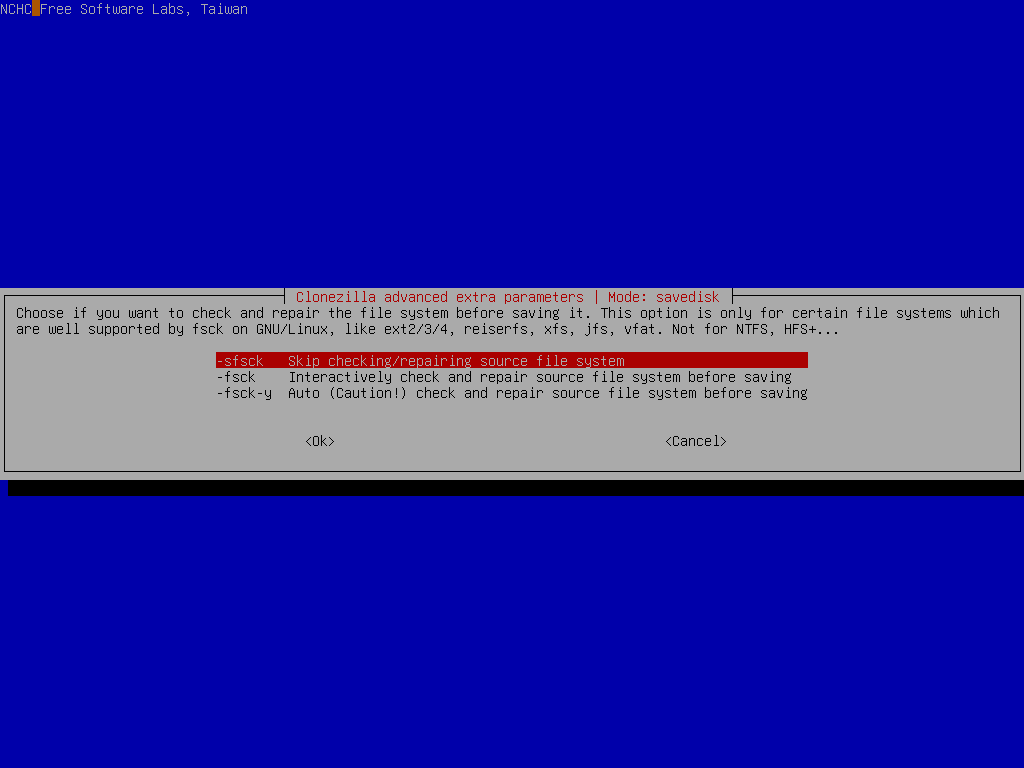
Here we skip the file system check. However, if you are not sure if the source file system is clean, it's recommended to do such a check.
Select if you want to check the saved image:
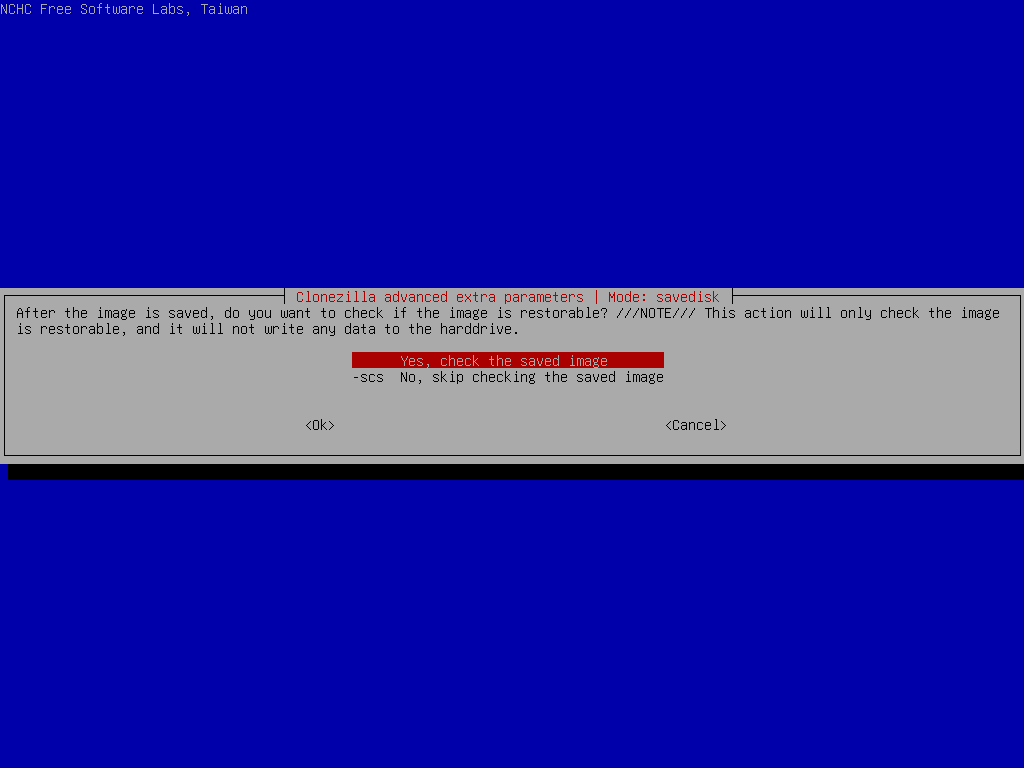
By default this will be done. It's recommended to do such a check.
Select if you want to encrypt the image:
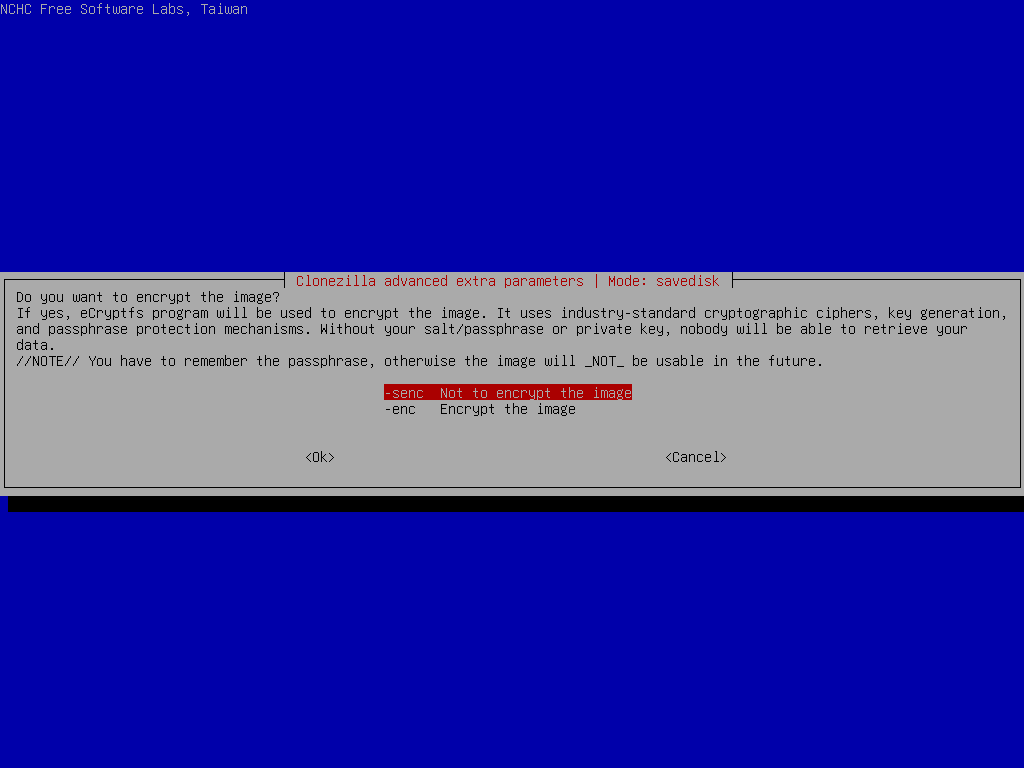
By default the image won't be encrypted. If you want to encrypt the image, it will prompt you to enter a passphrase for the image. //NOTE// You have to remember the passphrase otherwise the image will _NOT_ be useable in the future. There is no back door to decrypt the image.
Select the mode you want after the image saving is done:
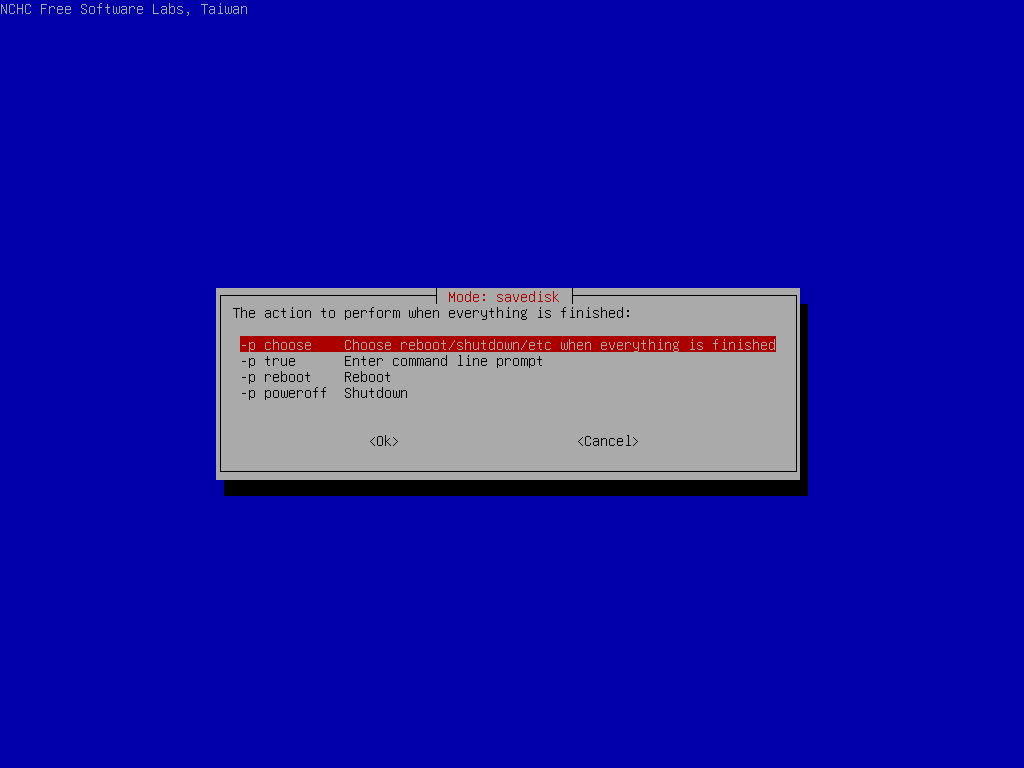
By default we will choose later, but if you have decided, you can choose to reboot or poweroff the machine.
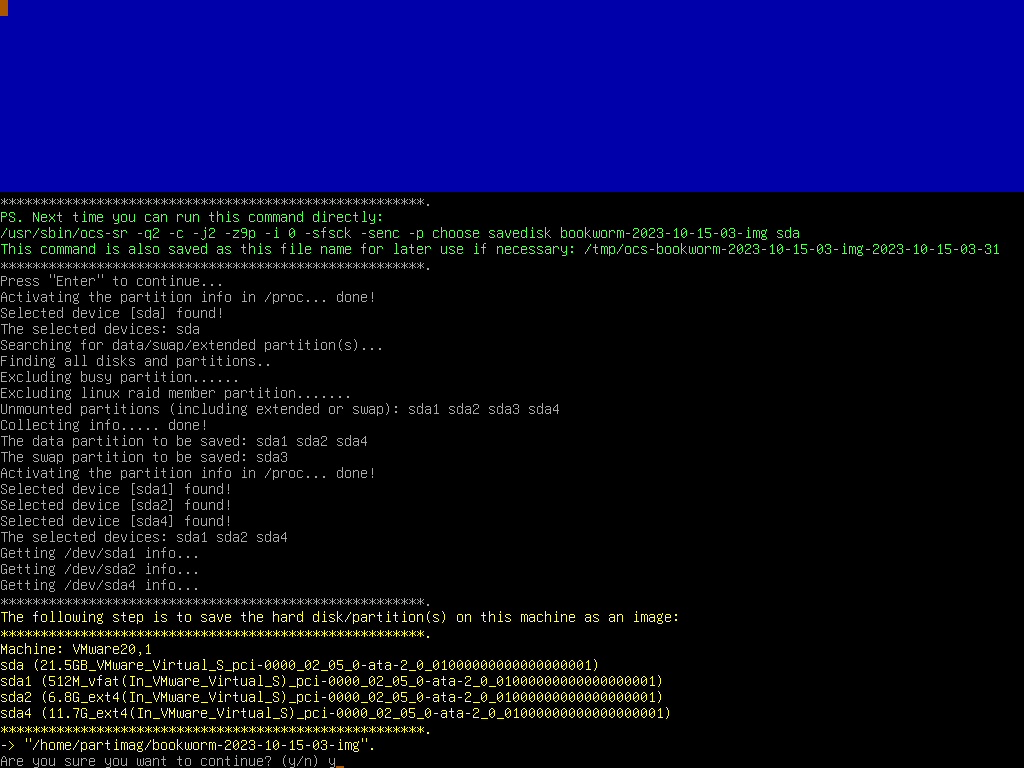
Clonezilla will prompt us the command to save the image. This command is very useful when you want to create a customized Clonezilla live:
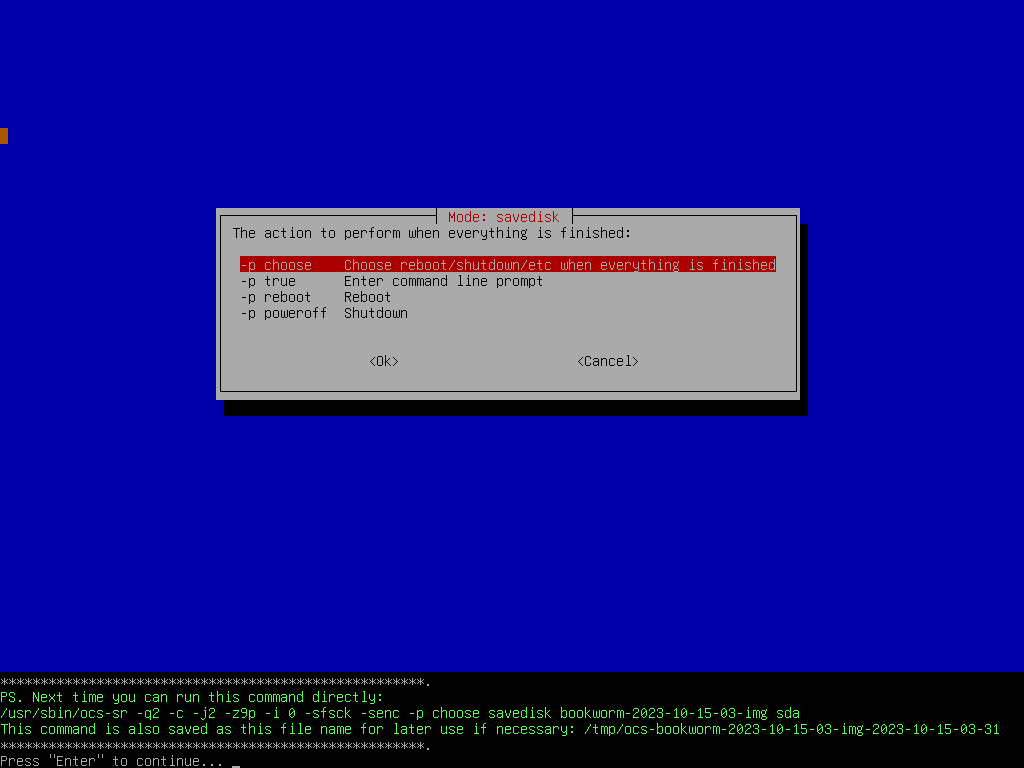
Before starting to save the disk image, we still have a chance to say yes or no:
 |
|


