| Select image name and destination disk |
Choose the Clonezilla live image as source image:
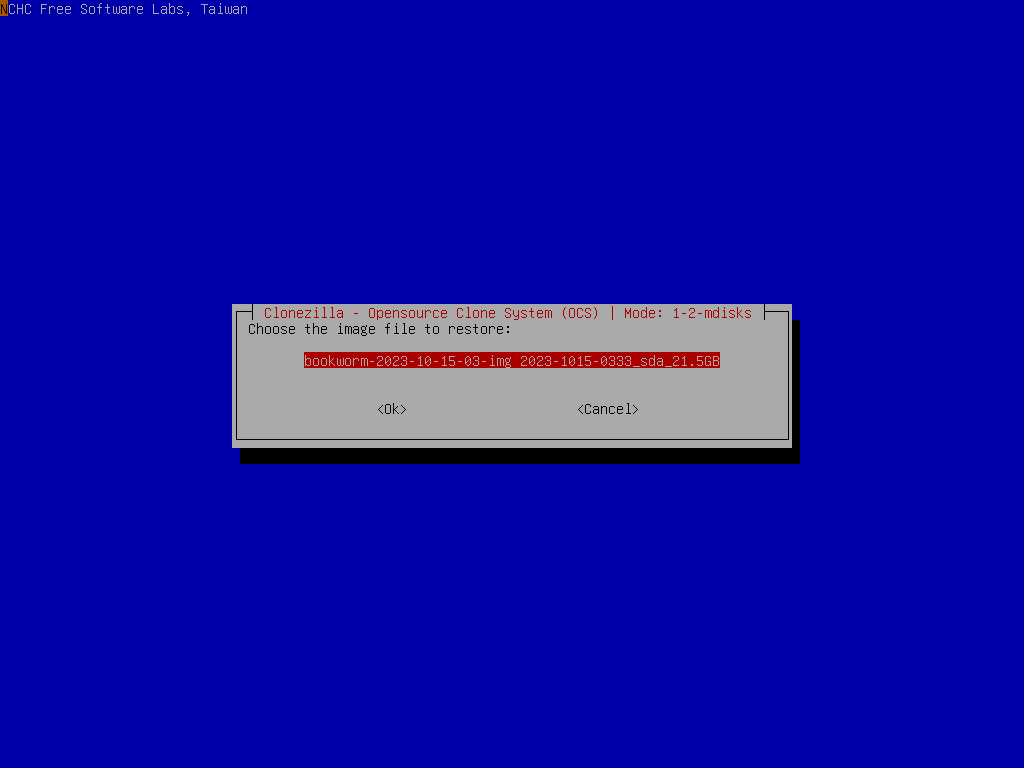
Select the destination disks "sda", "sdc", and "sdd" we want to restore:
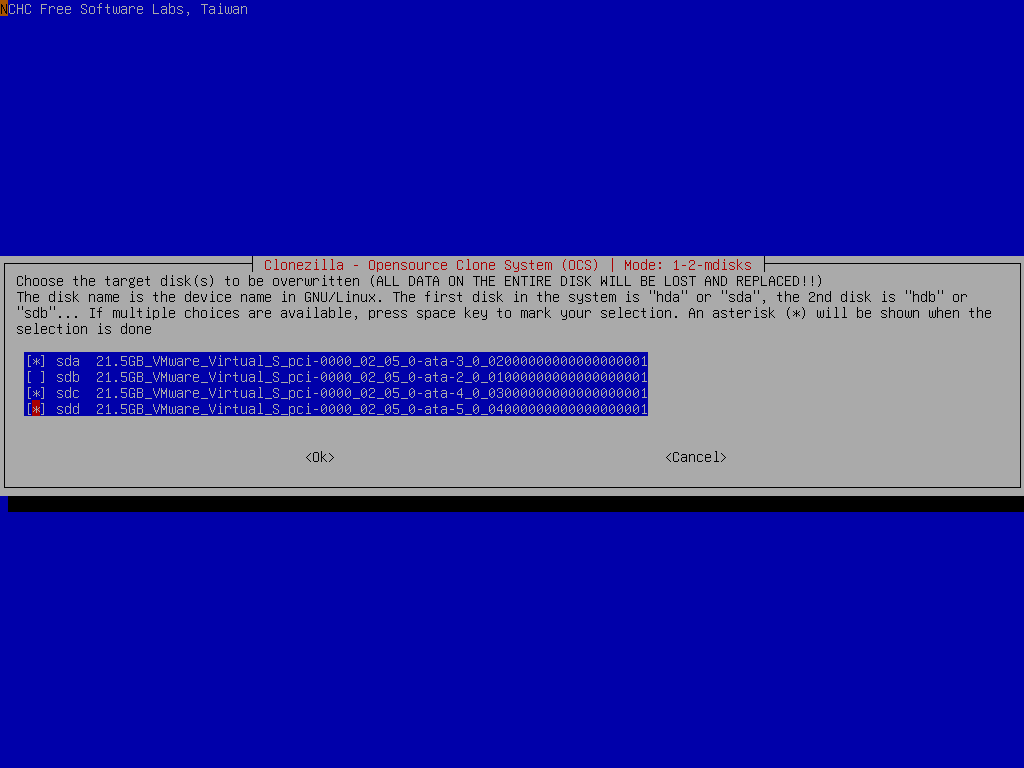
//NOTE// Be careful when choosing the destination disks. Everything on the destination disks will be overwritten.
Choose to check the image integrity before really restoring the image to disk sda:
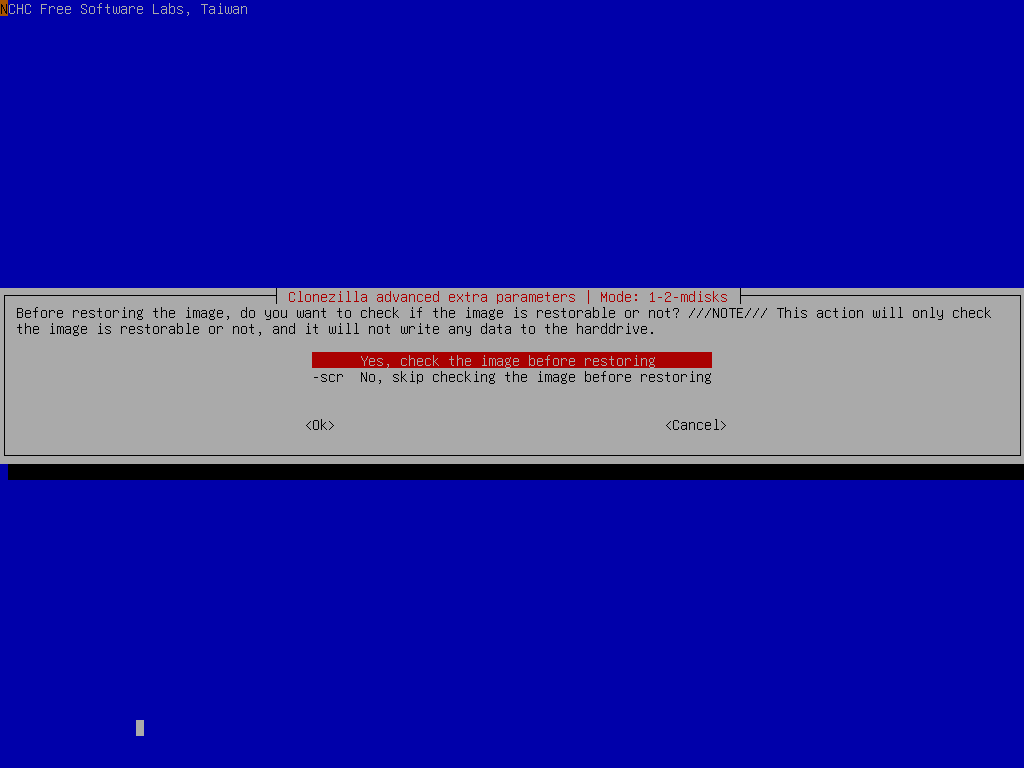
It's recommended to check the image before restoring it. You will not know if the image is broken or not. If you are really sure about the integrity is OK, then of course you can choose "-scr" to skip checking.
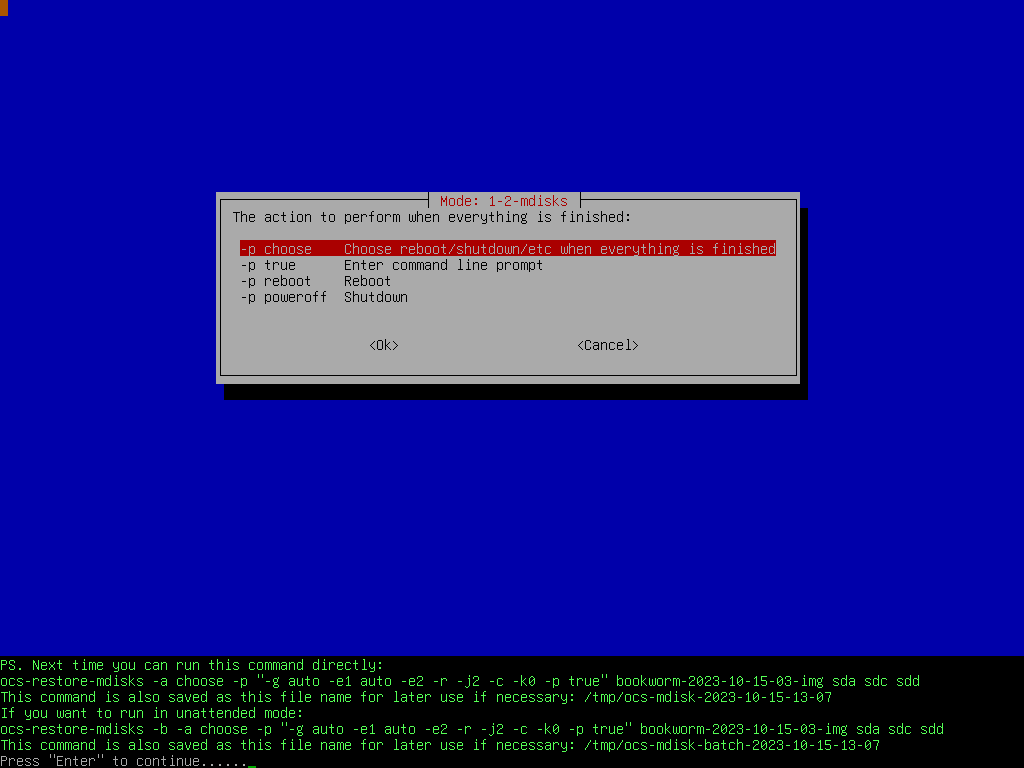
Select the mode you want after the image restoring is done:
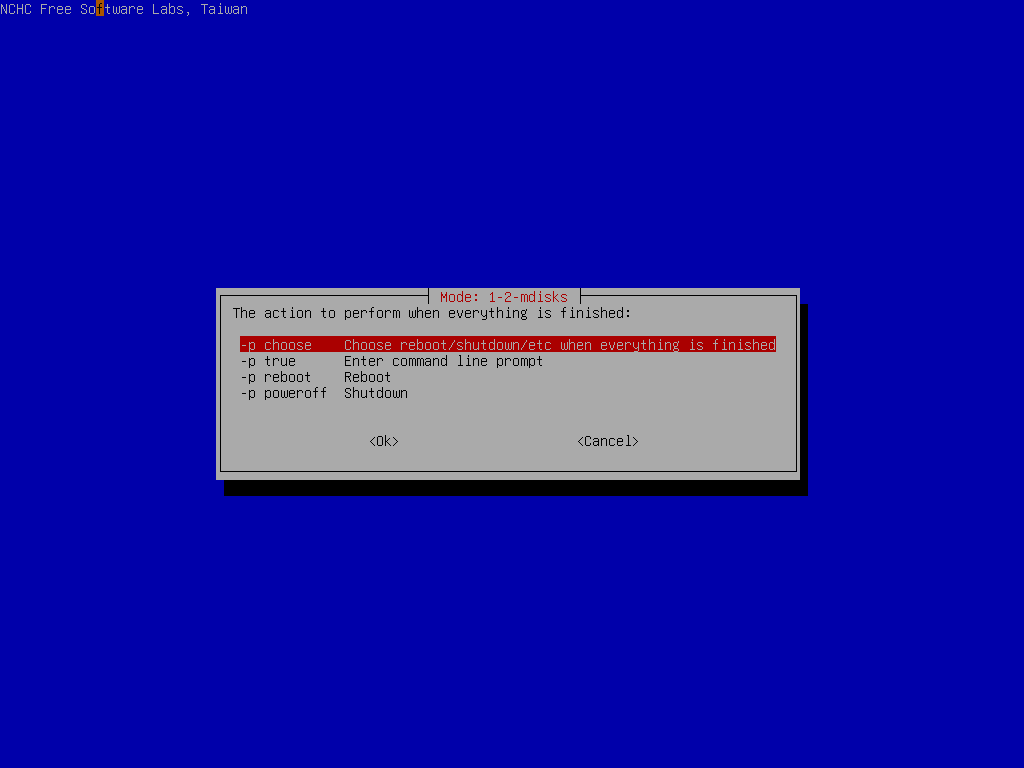
By default we will choose later, but if you have decided, you can choose to reboot or poweroff the machine.
Clonezilla will prompt us the command to restore the image. This command is very useful when you want to create a customized Clonezilla live, or to do a massive production of live USB flash disks:
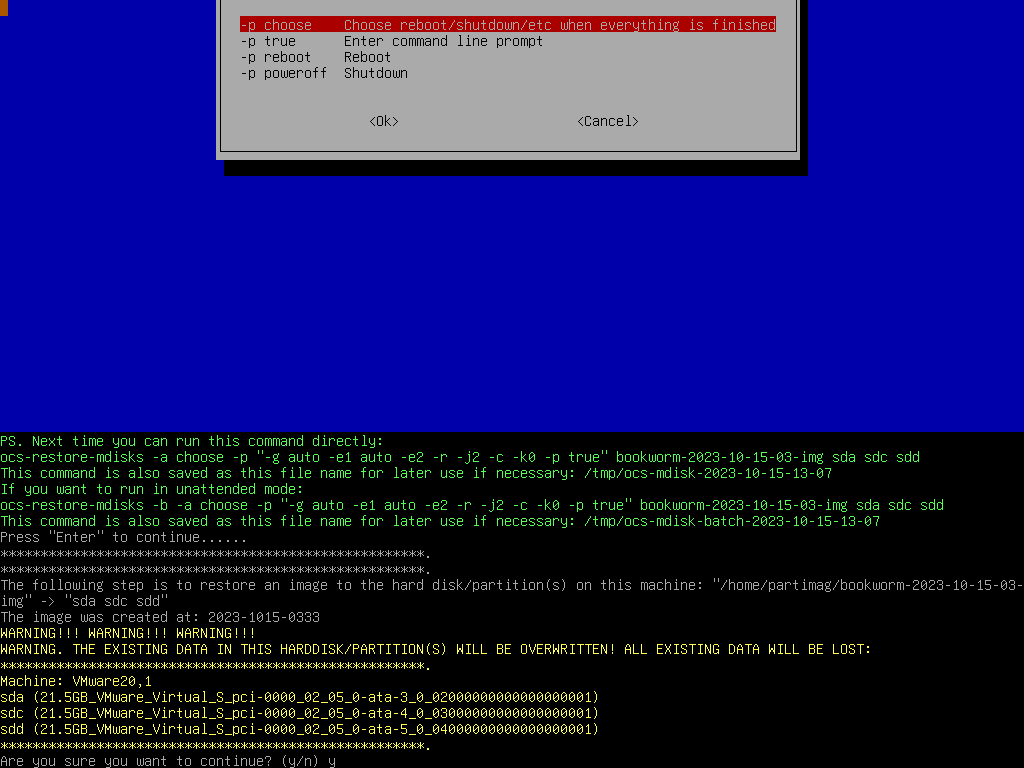
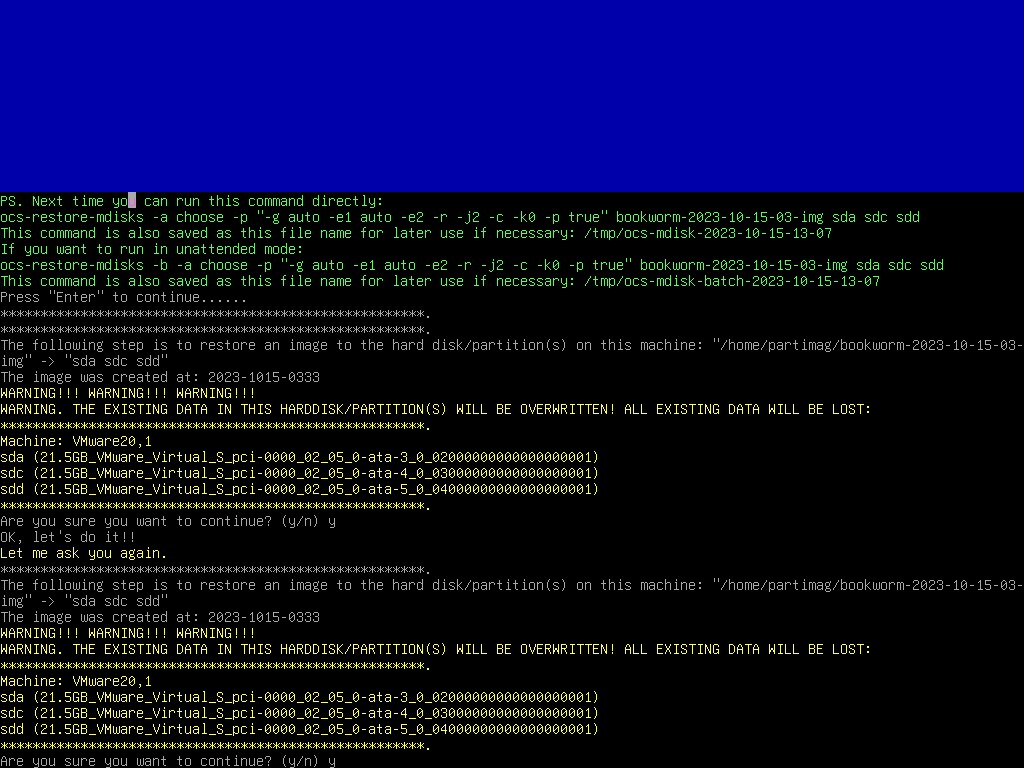
Before starting to restore the disk image to destination disks, Clonezilla will ask you to confirm that TWICE:
 |
|


