| Boot the machine via Clonezilla live |
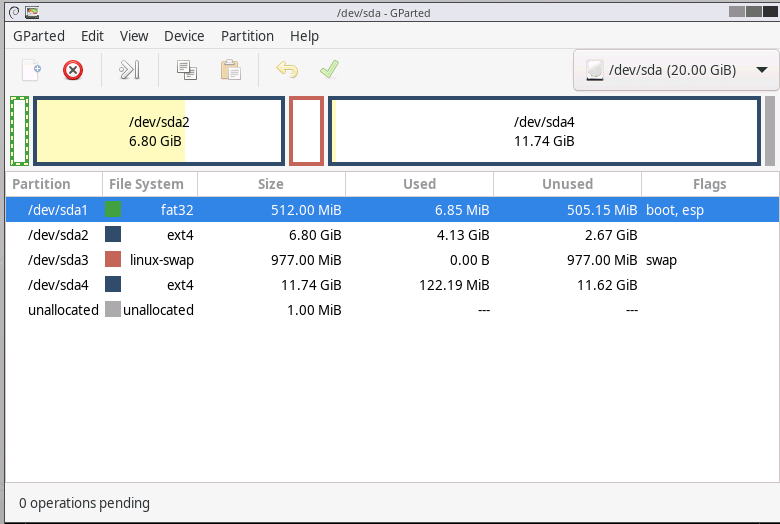
In this example, the machine has 2 disks, 1st disk's name is sda (device name in GNU/Linux), 2nd disk's device name is sdb. The size of disk sda is 20 GB with Debian Bookworm (version 12) installed. There are 4 partitons (sda1, sda2, sda3 and sda4) with file systems on disk sda as shown in the following:
Before taking an image of your system, you have to make sure the running OS is completely shut down. Not in hibernation mode or fastboot mode. As for how to disable fastboot in MS Windows, you can refer to this.
Once you have the bootable Clonezilla Live CD/DVD or USB flash drive, you can boot the machine you want to clone via Clonezilla live. Remember to use the Clonezilla live CD or USB flash drive to boot the machine. For example, if you have Clonezilla Live in USB flash drive, you have to boot it via USB device (Ex. USB-HDD or USB-ZIP). If necessary, you can set the first boot priority in the BIOS as USB-HDD or USB-ZIP so that it can boot Clonezilla Live from your USB flash drive.
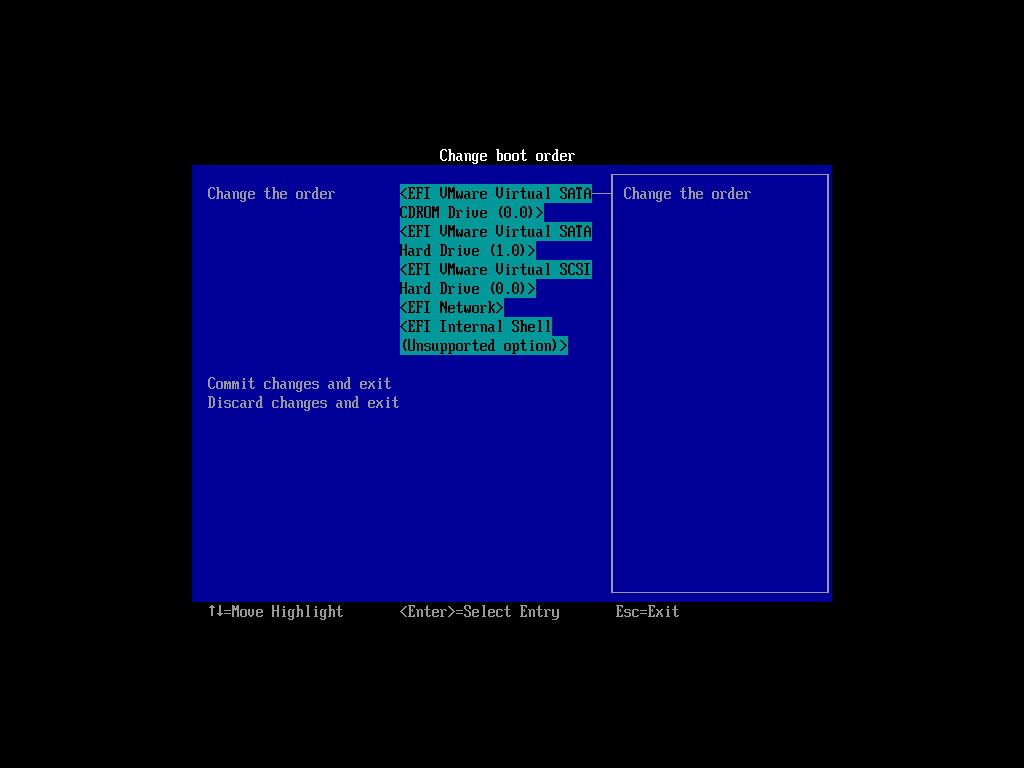
Here we take CD as an example, and this machine will boot in uEFI mode. You can either set CD as first boot priority in machine's BIOS like this:
Or by pressing a hotkey (e.g., Esc, F8, F9 or maybe F12) when you boot the machine, you will see the boot menu of BIOS like this:
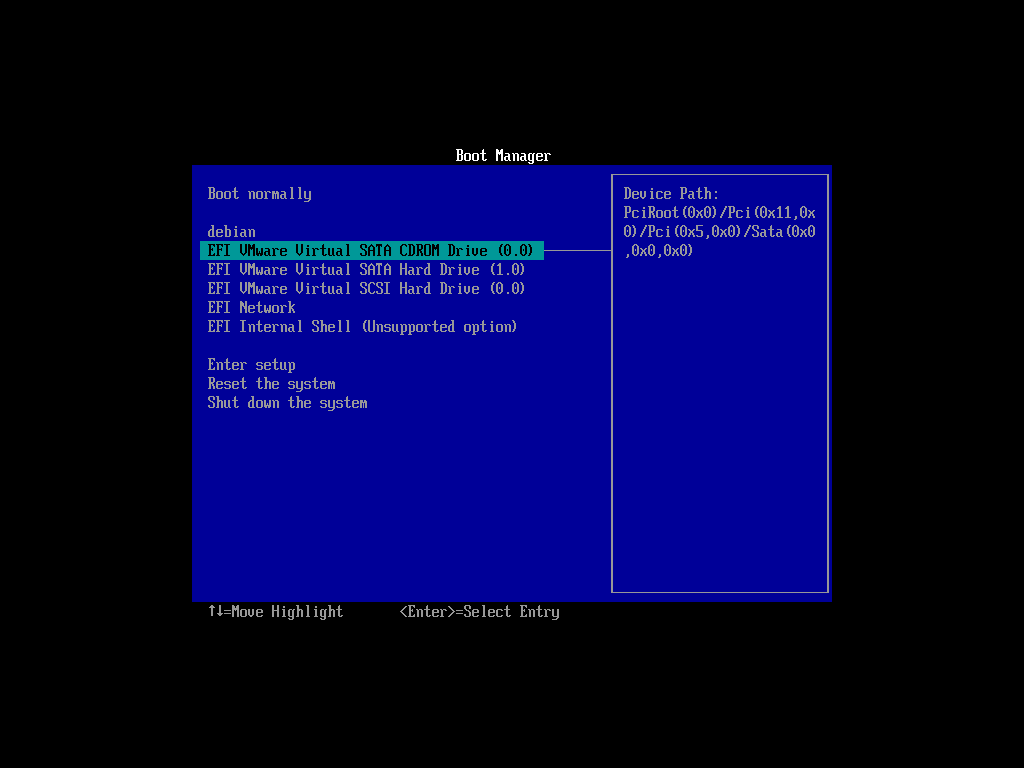
Check your motherboard manual for more details about how to boot your machine via CD.
|
| The boot menu of Clonezilla live |
Here is a screenshot of Clonezilla Live boot menu:
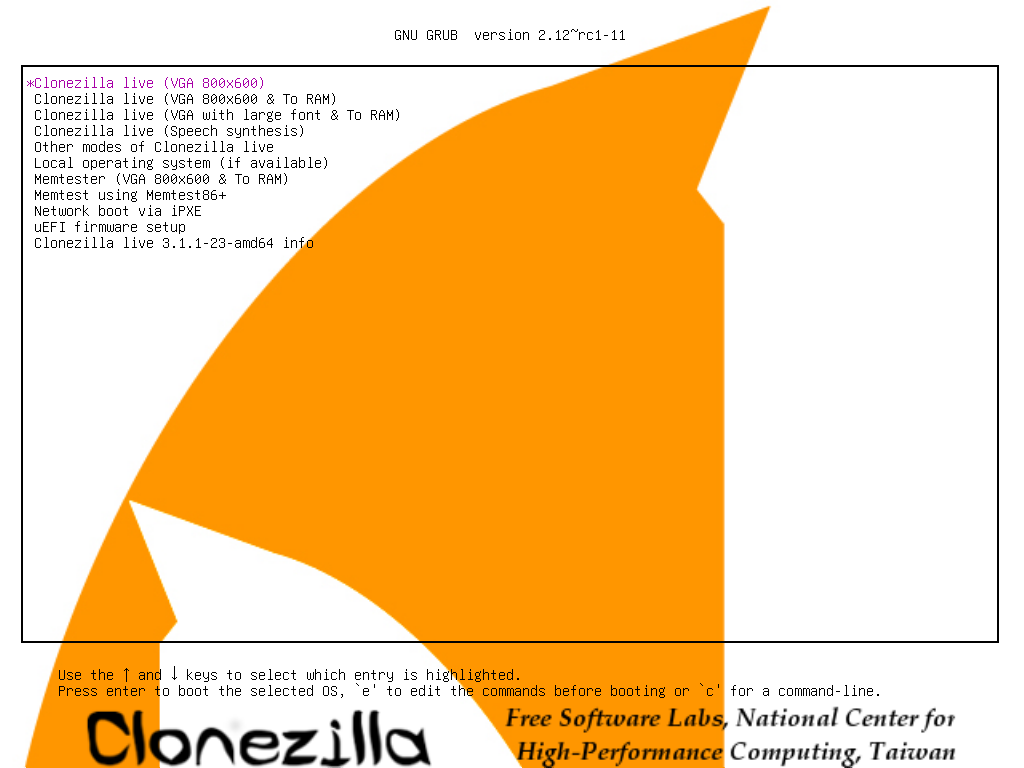
The first one is the default mode for Clonezilla Live. It will default to framebuffer mode with a resolution of 800x600.
The 2nd one "(VGA 800x600 & To RAM)", is the same function with the 1st one except when Clonezilla live booting finishes, all the necessary files are copied to memory. Therefore you can remove the boot media (CD or USB flash drive) then. In addition to use the arrow key to choose, you can also press "r" to choose that.
The 3rd one "(VGA with large font & To RAM)" is for you to use large font, especially when you have 4K monitor, and it will all the necessary files will be copied to memory. In addition to use the arrow key to choose, you can also press "l" to choose that.
The 4th one "(Speech synthesis)" is for the blind to use, which can be chosen by pressing "s" key.
There are more modes which you can choose in the 5th choice "Other modes of Clonezilla live", e.g. 1024X768 or 640x480 one if you want, as shown here:
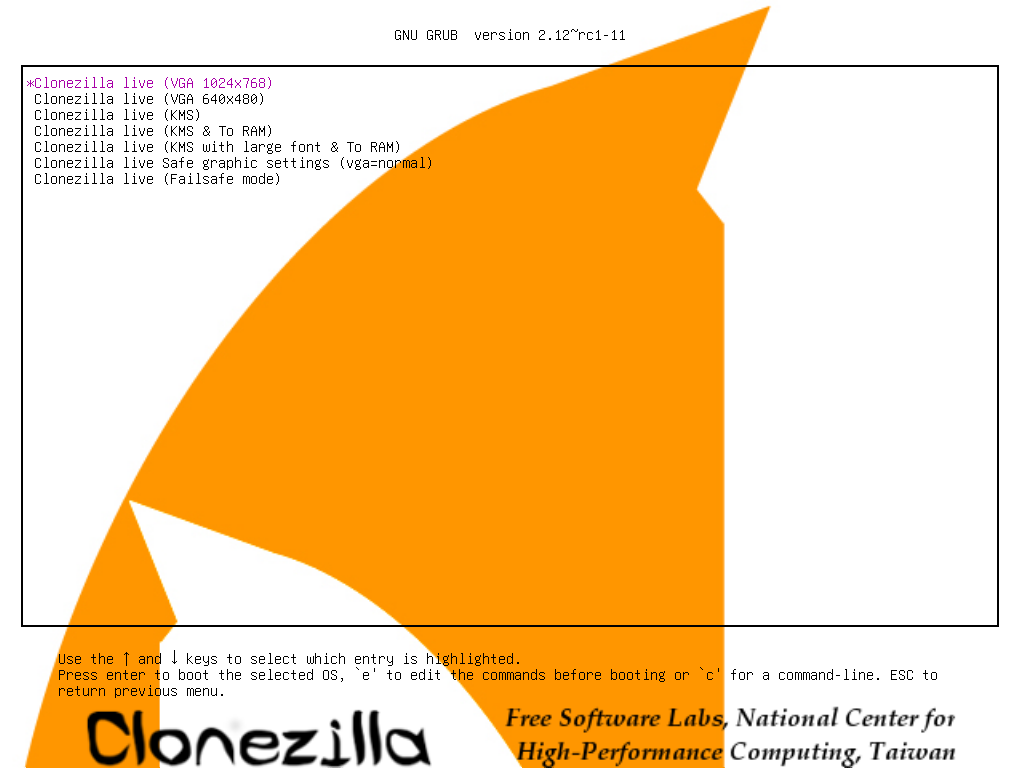
The choice, "KMS" is for you to use KMS (Kernel Mode Setting) for your graphics card. If you have some problem to use the framebuffer mode of your graphics card, you can try it.
If you do not need Chinese, Japanese or Korean environment or if your computer experiences problems in the framebuffer mode, you can choose the one "Clonezilla Live Safe graphic settings (vga=normal)" to clone in the English environment.
The choice, "Clonezilla live (Failsafe mode)", is for something goes wrong when you are not be able to boot your machine, such as ACPI of your machine is not supported in the kernel.
If you want to boot local OS in your hard drive, you can choose the one "Local operating system in hard drive (if available)". This is an extra function in the boot media that has nothing to do with Clonezilla Live.
The choice, "Memtester (VGA 800x600 & To RAM)" is for memory testing using Memtester. This is an extra function in the boot media that has nothing to do with Clonezilla Live.
The choice, "Memory test using Memtest86+," is for memory testing using Memtest86+. This is an extra function in the boot media that has nothing to do with Clonezilla Live.
The choice, "Network boot via iPXE" is used to perform a network boot via iPXE. If your computer does not have a PXE network, you can use this to do boot from a network. This is an extra function in the boot media that has nothing to do with Clonezilla Live.
The choice, "uEFI firmware setup" is used to enter uEFI BIOS settings.
|
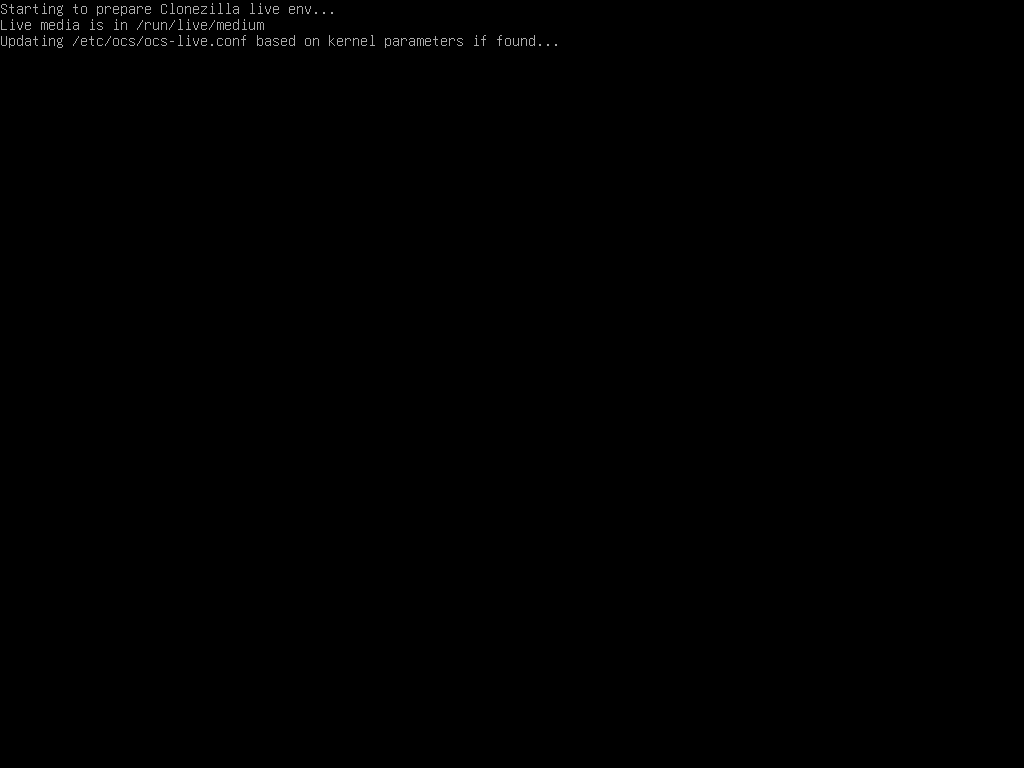
| Here we choose 800x600 mode, after pressing Enter, you will see Debian Linux booting process |
|
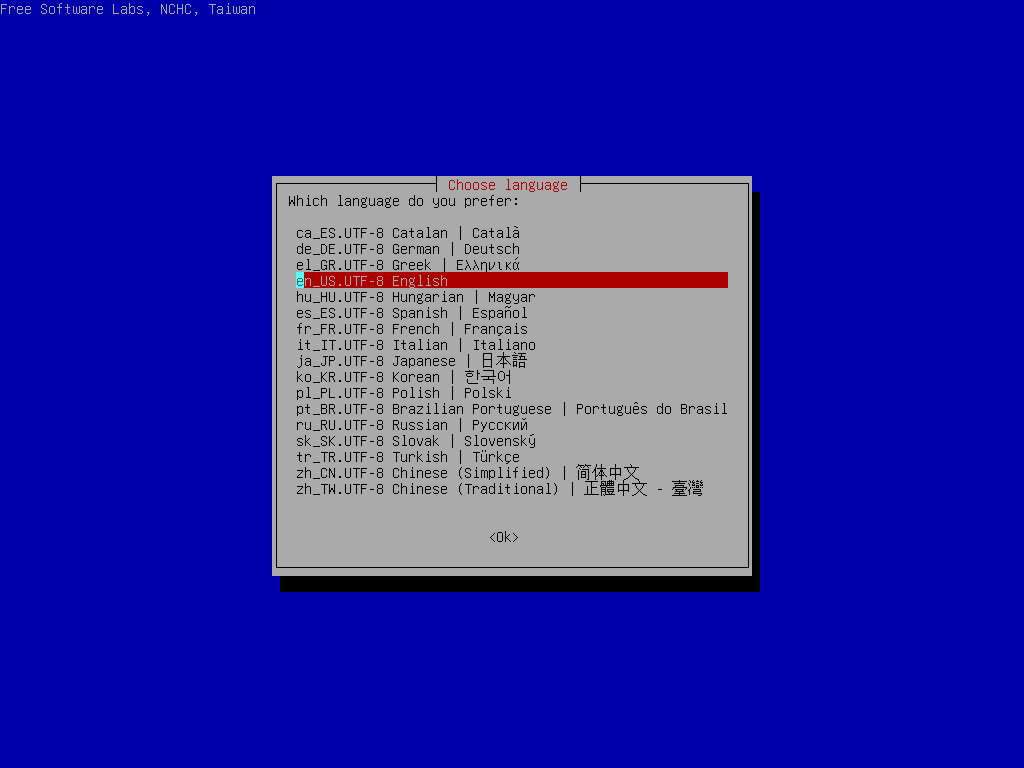
| Choose language |
|
| Choose keyboard layout |
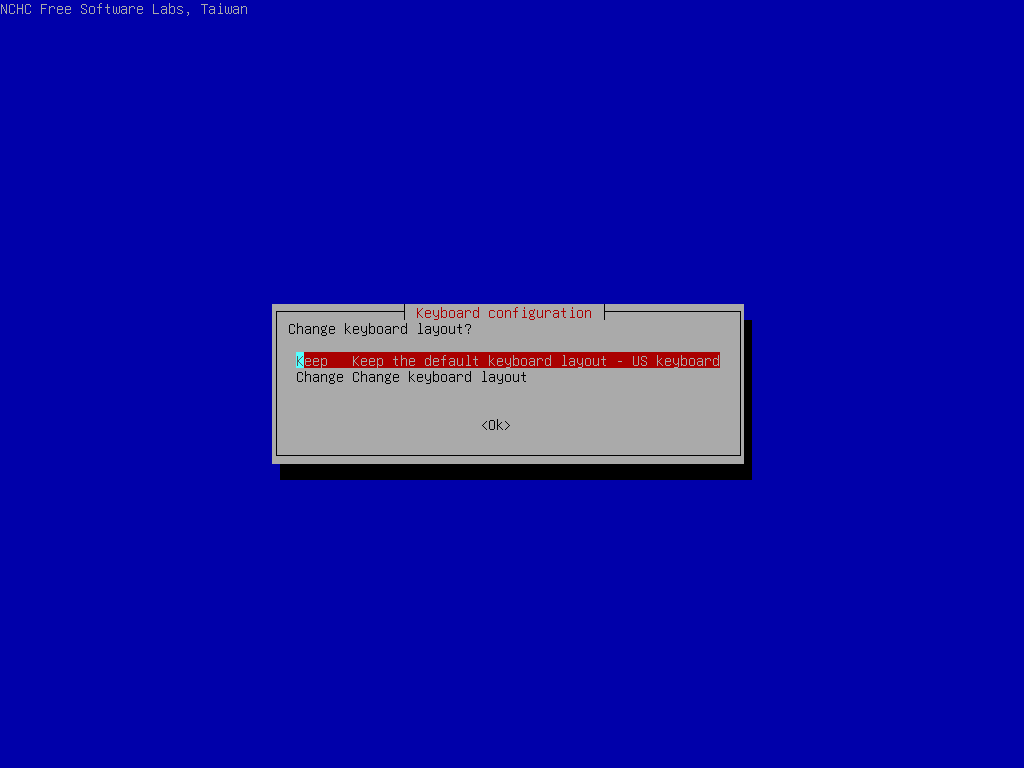
The default keyboard layout is US keybaord, therefore if you are using US keyboard, just press enter (i.e. use the option "Keep").
If you want to change keymap, you can choose "Change" then follow the dialog to change it.
|
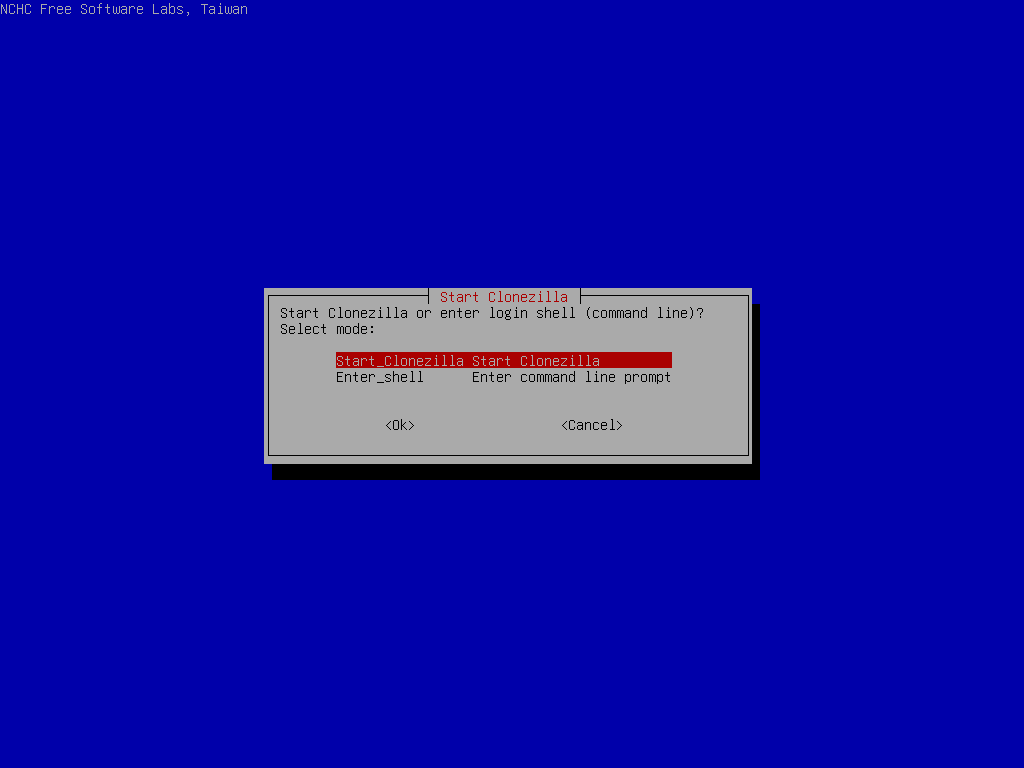
| Choose "Start Clonezilla" |
|
| Choose "device-image" option |
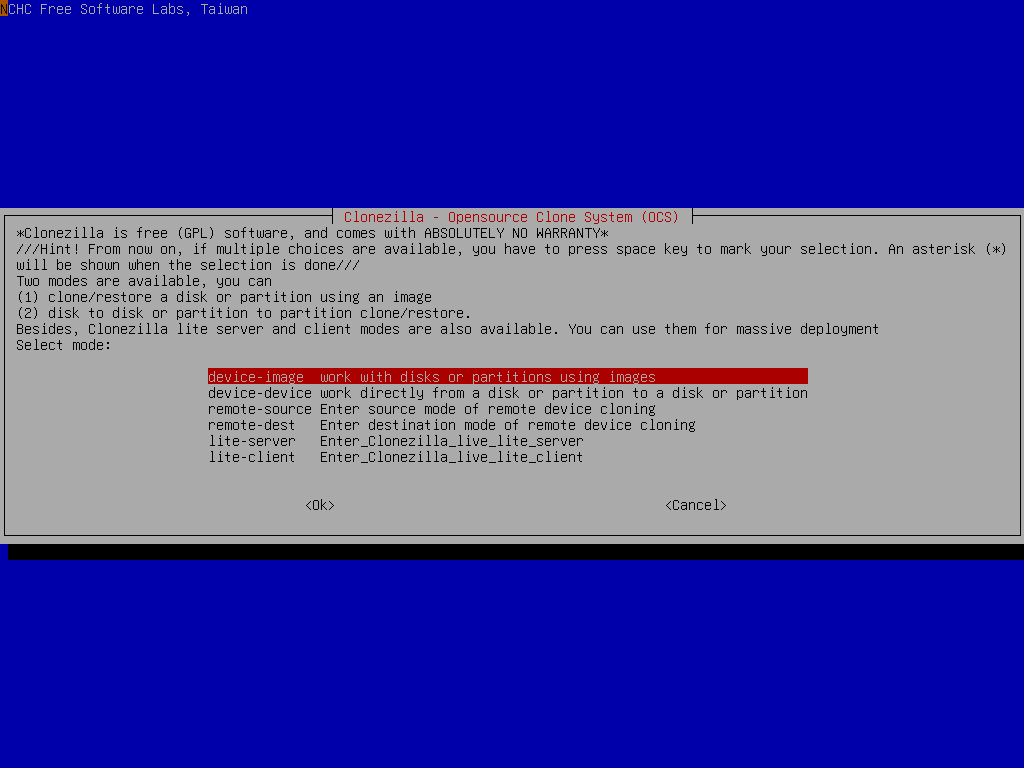
Pay attention to the hints, too. You might need that:
///Hint! From now on, if multiple choices are available, you have to press space key to mark your selection. A star sign (*) will be shown when the selection is done///
|
| Choose "local_dev" option to assign sdb1 as the image home |
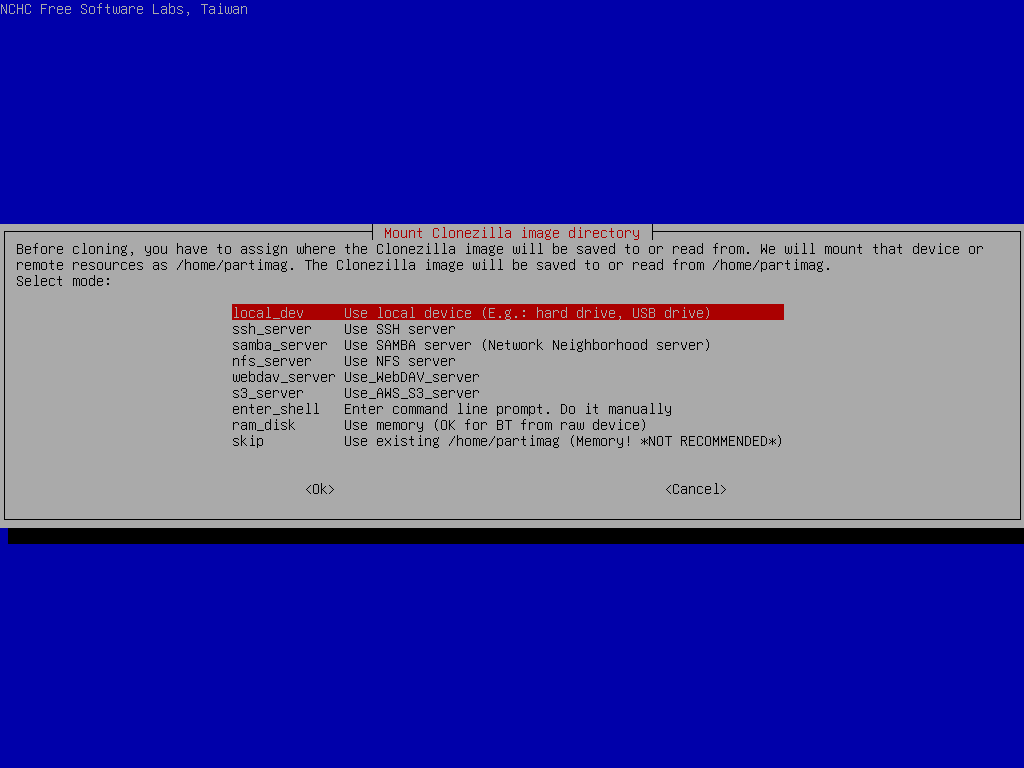
There are other options, e.g. sshfs, samba, nfs or webdav, AWS S3 or Openstack Swift, you can use when network is available. This is very useful when 2nd local disk is not available.
Since we choose "local_dev" option, we can use 2nd disk or USB flash drive to save 1st disk's image. If using USB flash drive as repository, insert USB flash drive and wait a few secs.
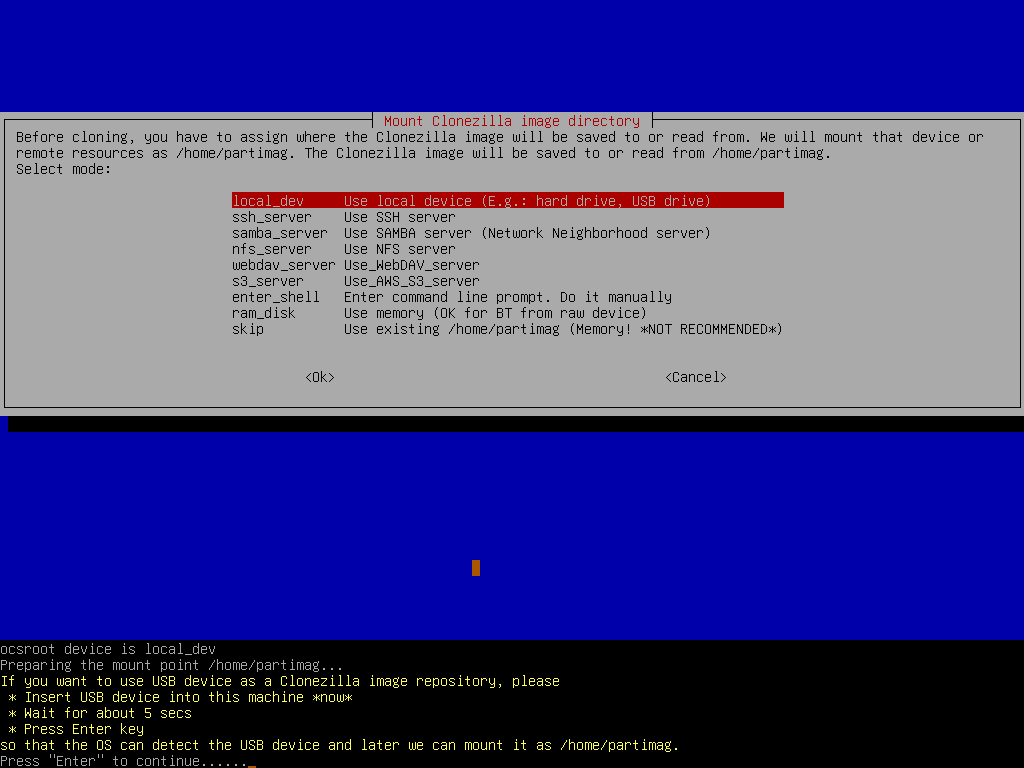
Clonezilla will scan the disks on the machine in every few secs, and show you the results:
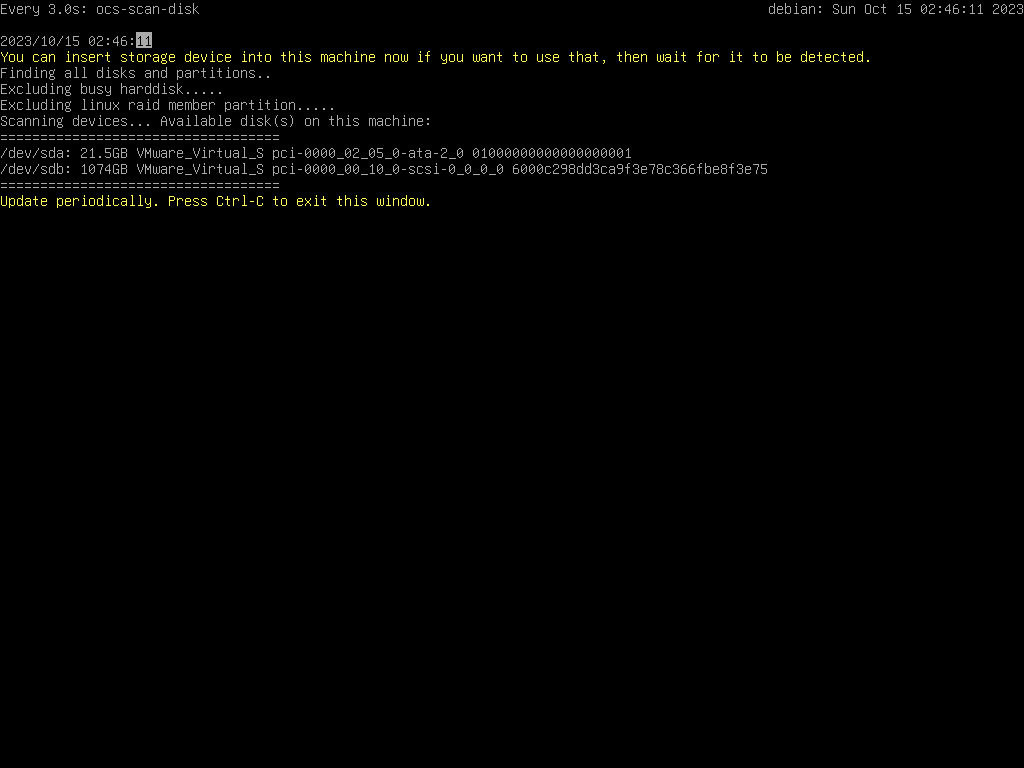
Once you see the device you have inserted shown on the status, you have to press Ctrl-C to quit the scanning report.
|
| Select sdb1 as image repository, then choose "savedisk" option |
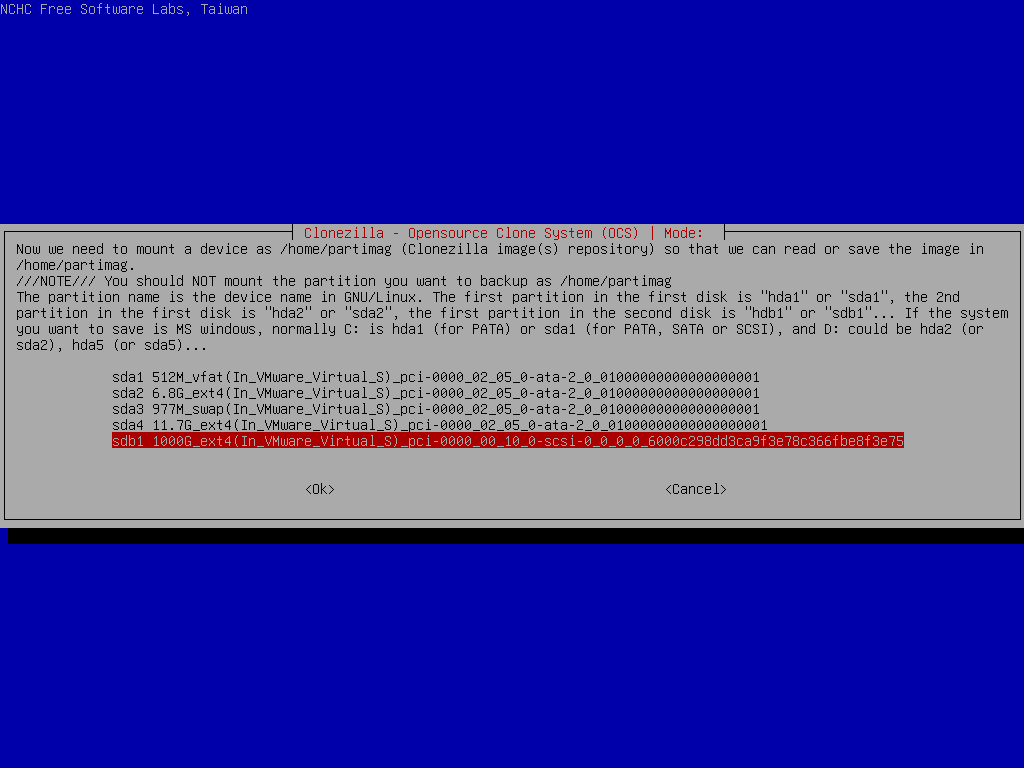
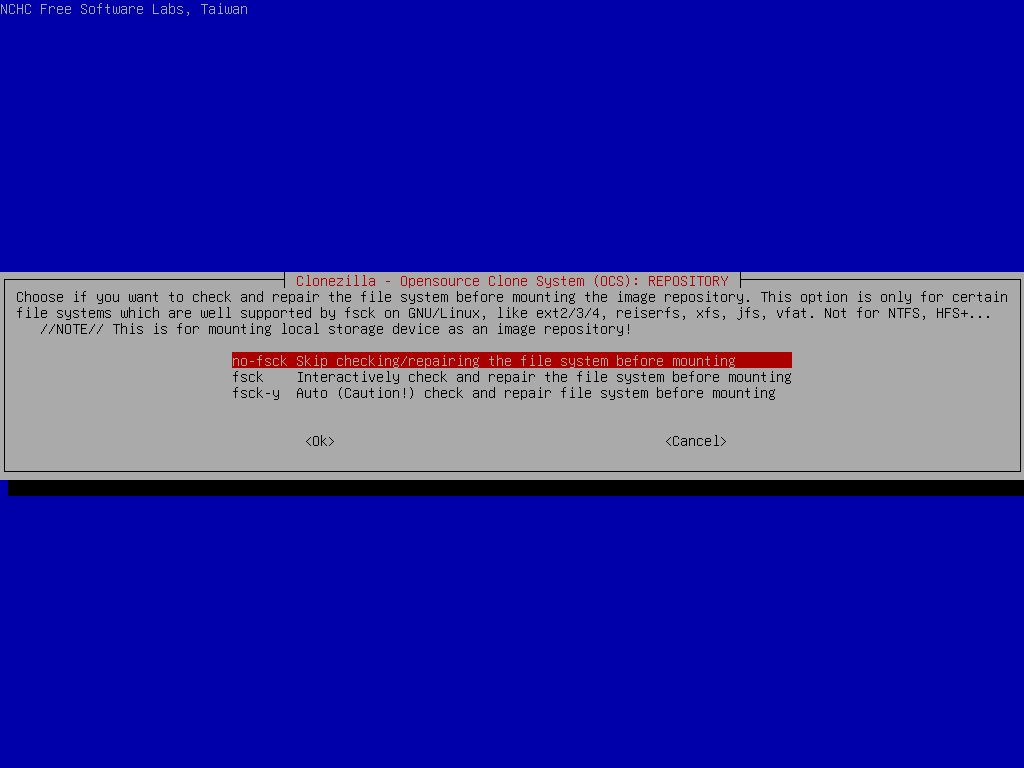
Before mounting the device sdb1, it allows you to do a file system check. Here we skip it.
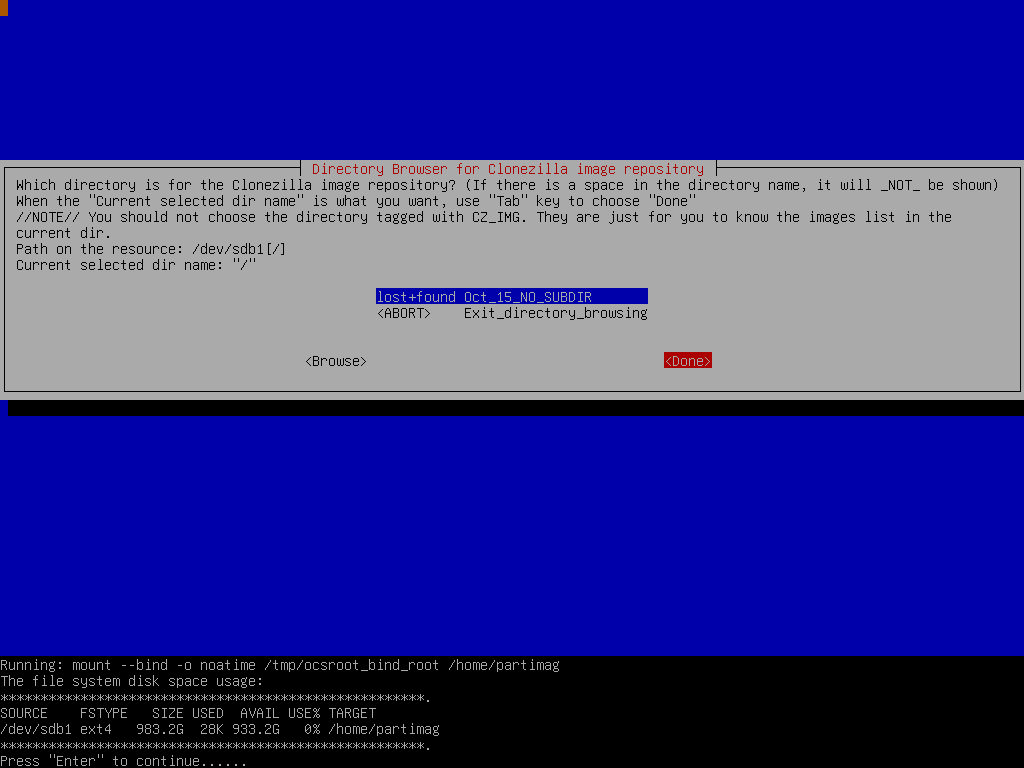
Choose the directory name on /dev/sdb1 as the image repository. Here we put image on the top directory (i.e., Current selected dir name is "/"):
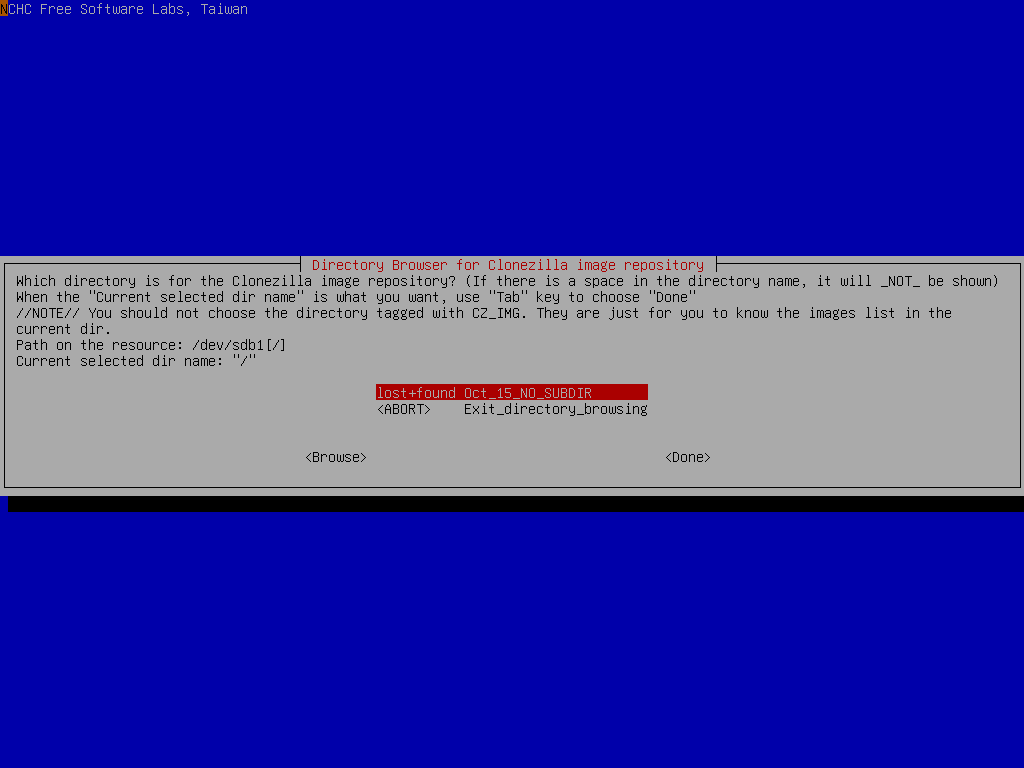
Once you are sure the directory is what you want, press "TAB" key to the "Done" option and press "Enter" key to continue.
If you are not familiar with the disk or partition name in GNU/Linux, read the hints:
'The partition name is the device name in GNU/Linux. The first partition in the first disk is "sda1", the 2nd partition in the first disk is "sda2", the first partition in the second disk is "sdb1" or "sdb1"... If the system you want to save is MS windows, normally C: is sda1, and D: could be sda2, or sda5...'
Then Clonezilla shows you the disk usage report:
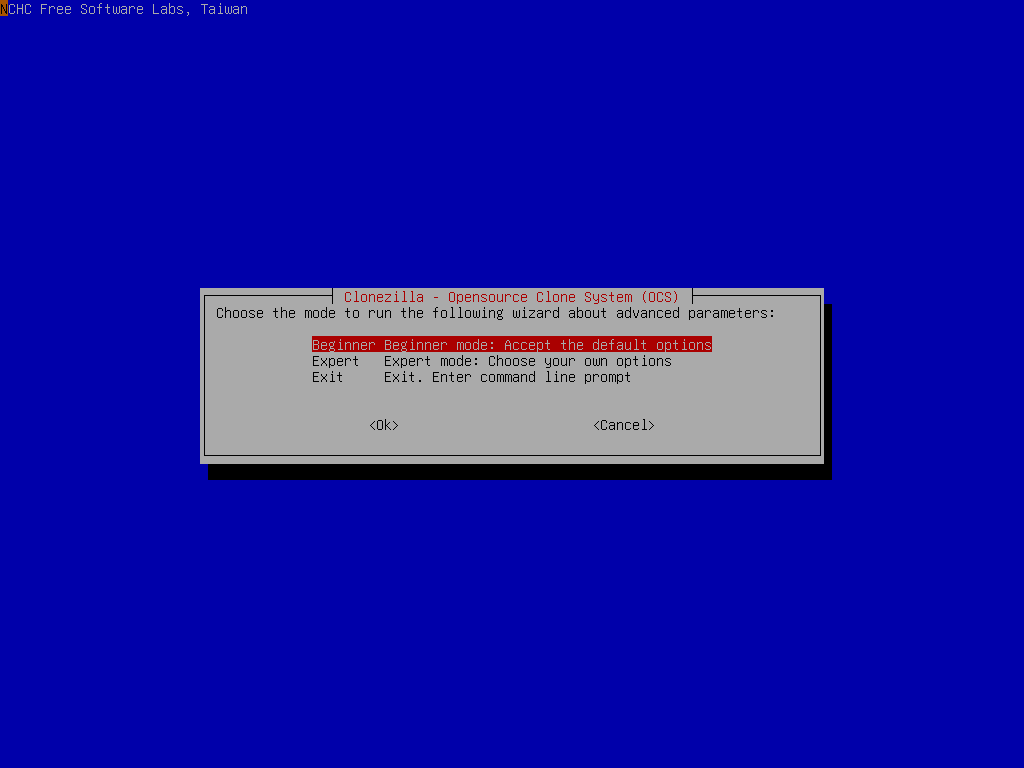
Here we choose "Beginner" mode:
Now we can select "savedisk" option:
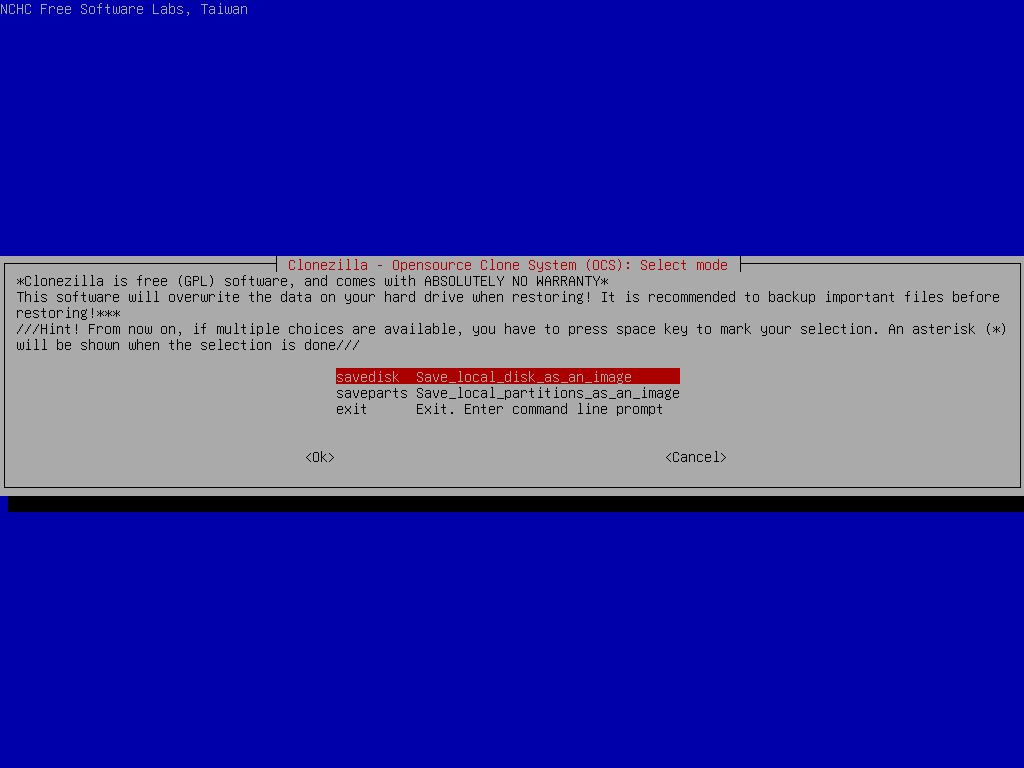
Because there is no any previously saved Clonezilla live image in /dev/sdb1, hence the menu here only shows save-related ones. There is no any restore-related menu shown in the dialog.
If you choose "Expert" mode, you will have some chances to choose advanced parameters, e.g. imaging program, compression program, etc.. You can see more details here.
|
| Input image name and select source disk |
Enter the image name, Clonezilla will give an image name based on date and time, feel free to change it
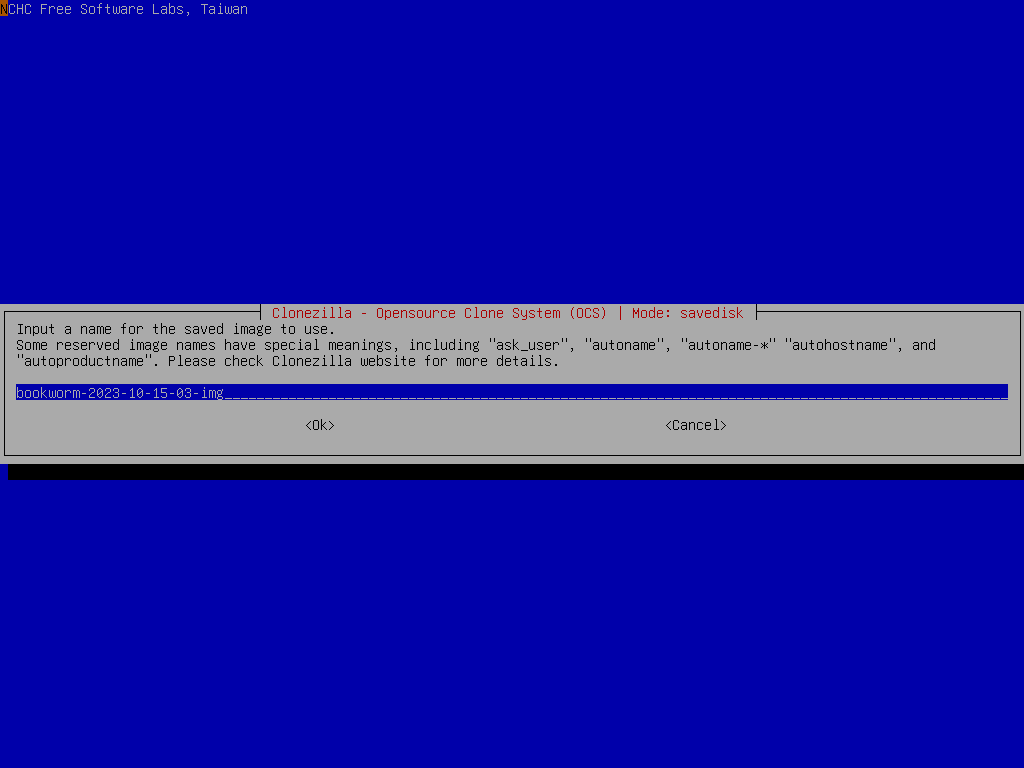
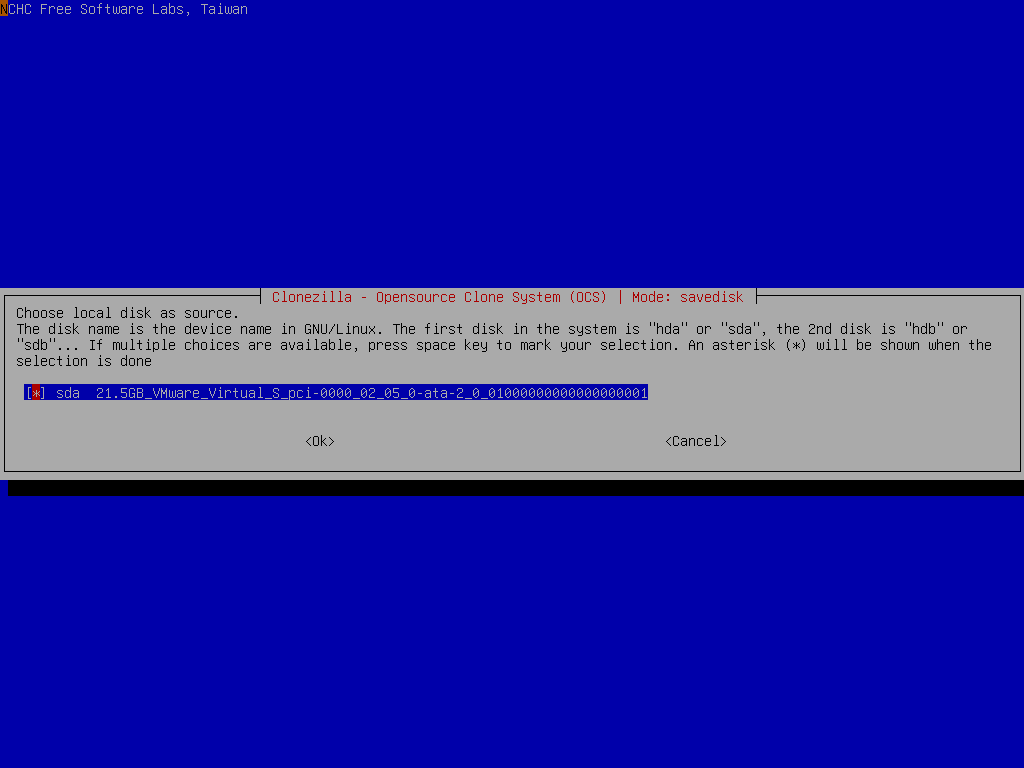
Select the source disk "sda" we want to save:
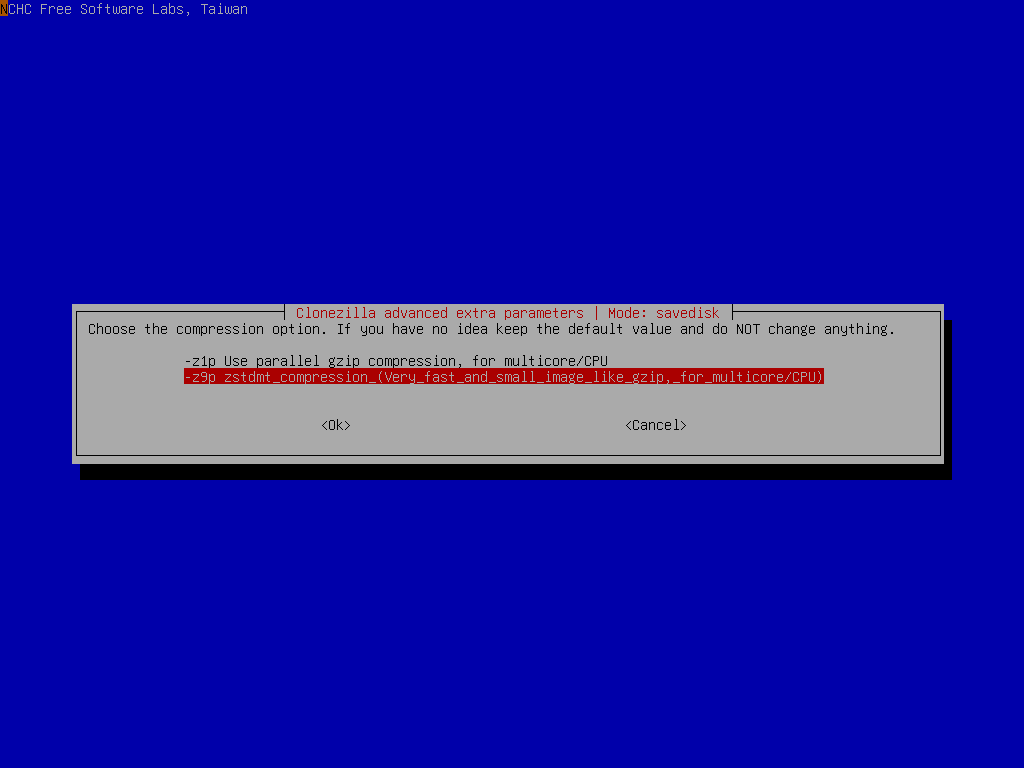
Select the compression option "-z1p" (Use parallel gzip), or "-z9p" (parallel zstd, will be faster and the size is slightly smaller than that of gzip):
Select if the source file system need to be checked or not:
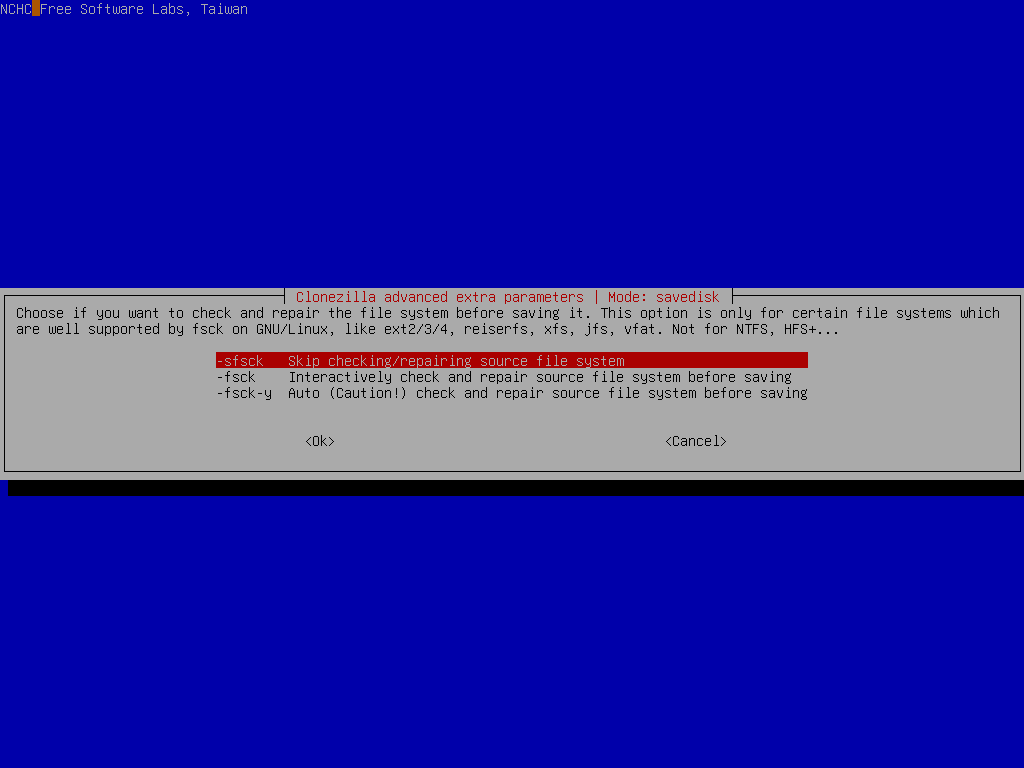
Here we skip the file system check. However, if you are not sure if the source file system is clean, it's recommended to do such a check.
Select if you want to check the saved image:
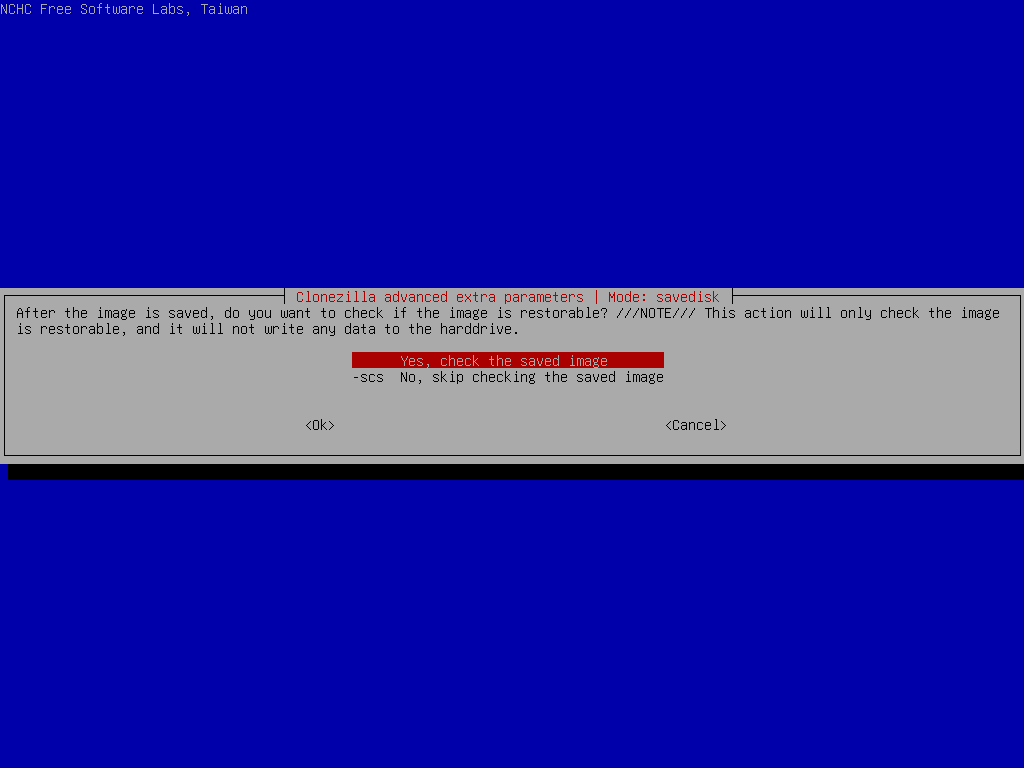
By default this will be done. It's recommended to do such a check.
Select if you want to encrypt the image:
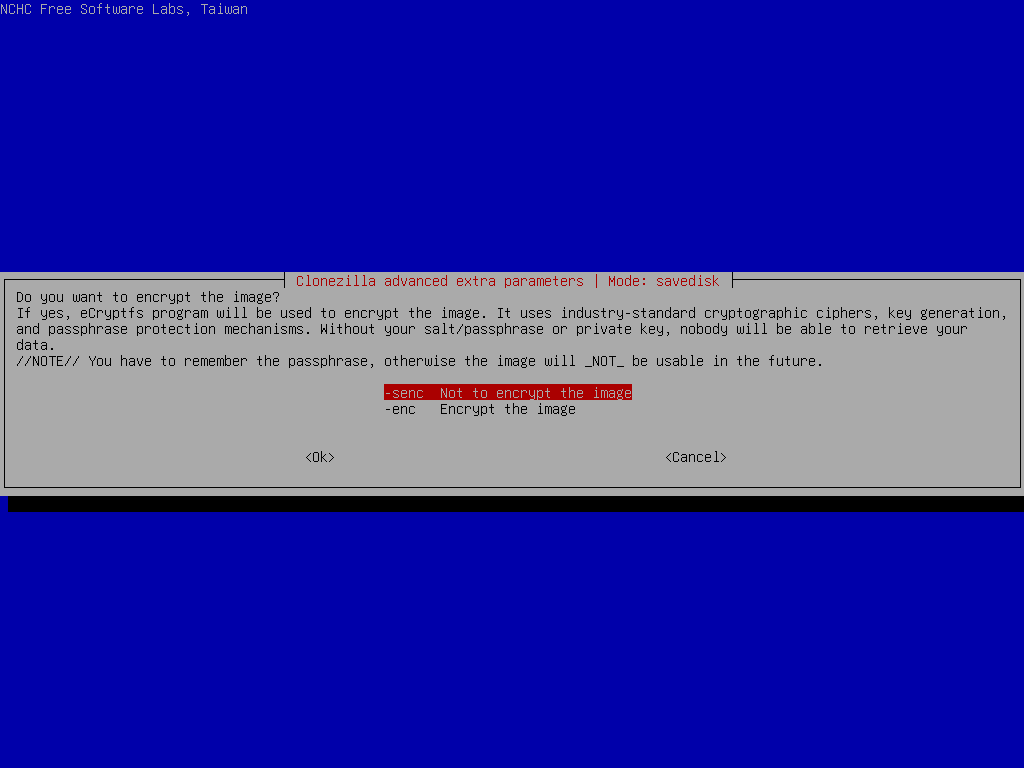
By default the image won't be encrypted. If you want to encrypt the image, it will prompt you to enter a passphrase for the image. //NOTE// You have to remember the passphrase otherwise the image will _NOT_ be useable in the future. There is no back door to decrypt the image.
Select the mode you want after the image saving is done:
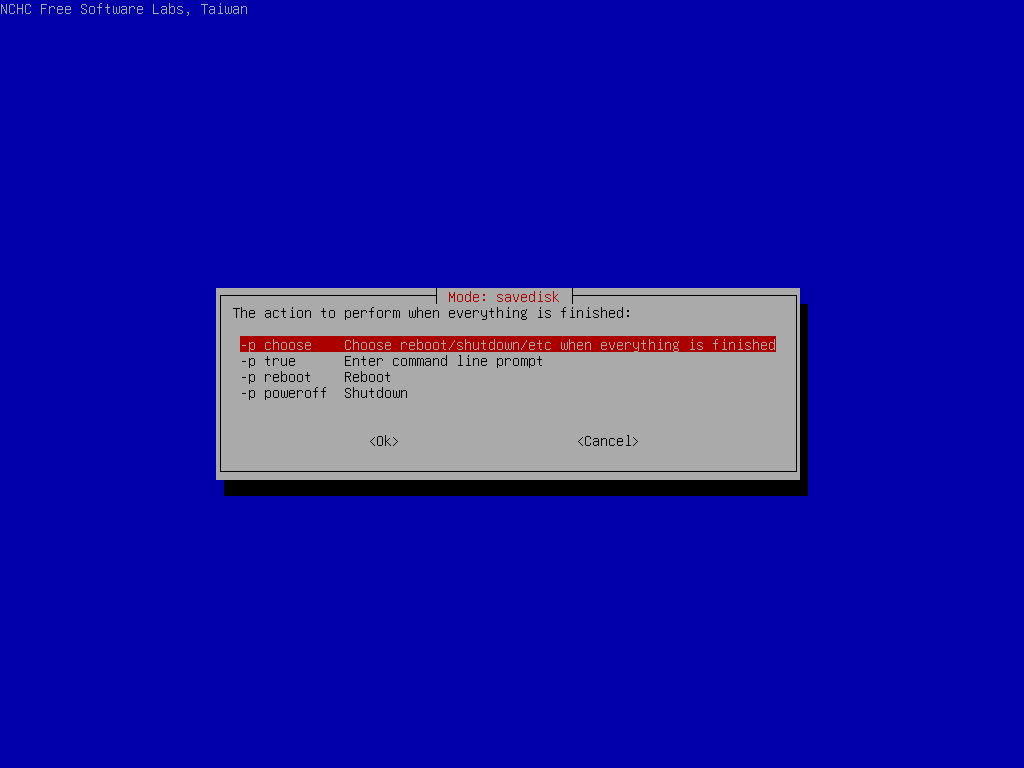
By default we will choose later, but if you have decided, you can choose to reboot or poweroff the machine.
Clonezilla will prompt us the command to save the image. This command is very useful when you want to create a customized Clonezilla live:
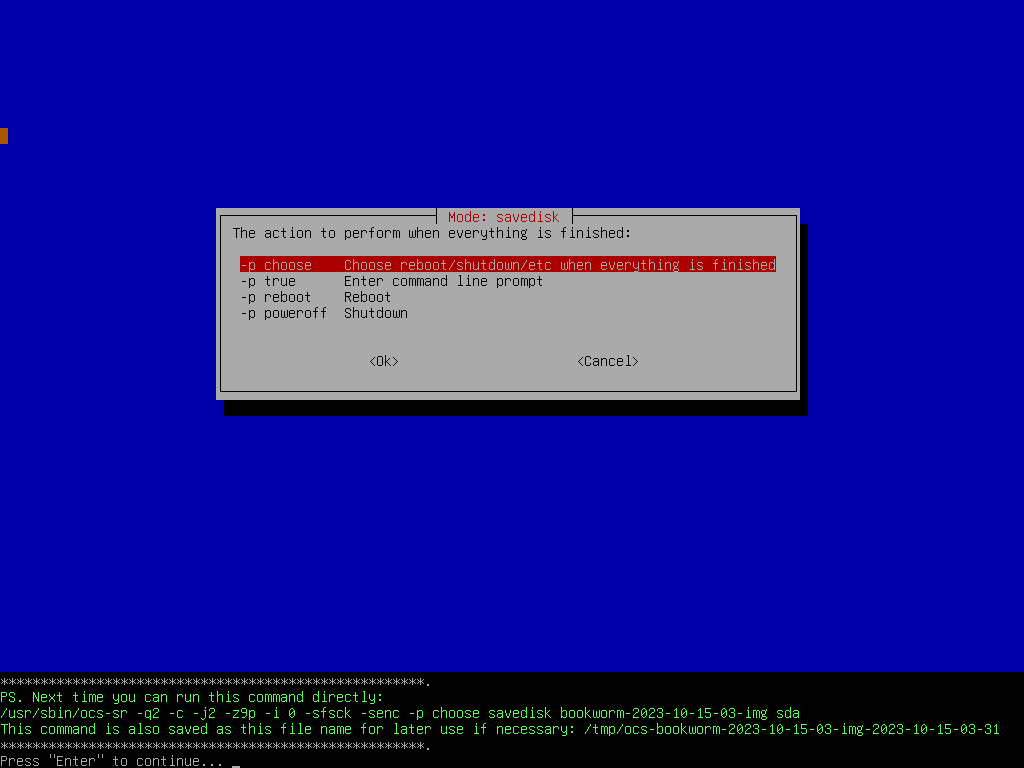
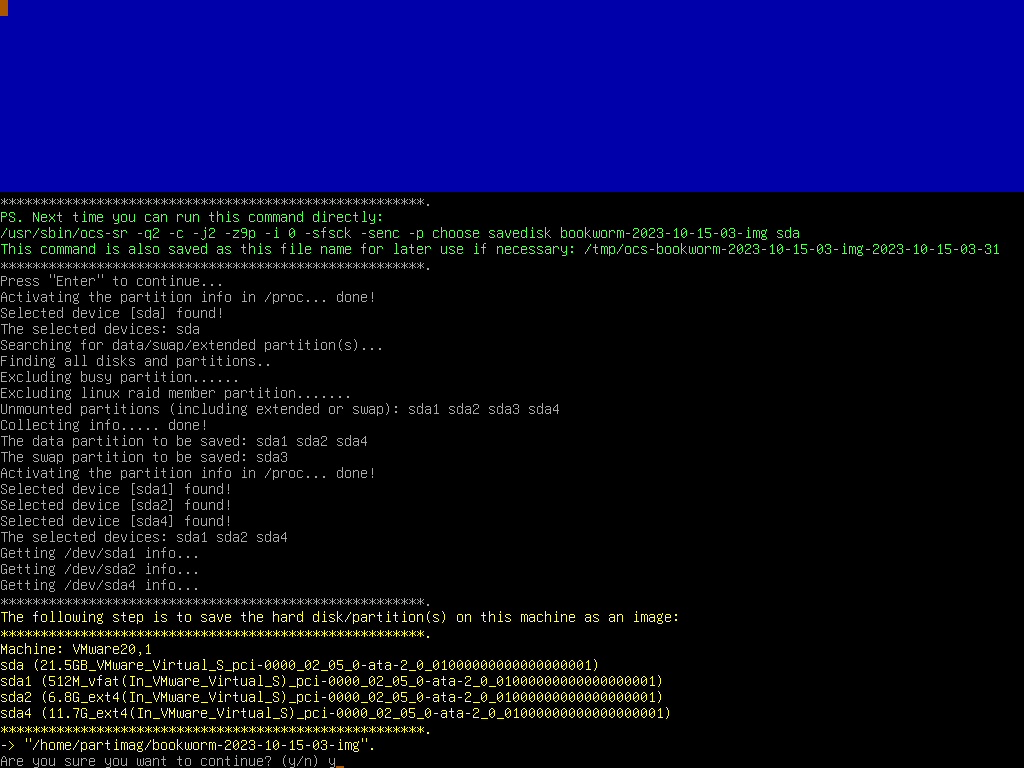
Before starting to save the disk image, we still have a chance to say yes or no:
|
| Clonezilla is saving disk image (sda) to the partition of 2nd disk (sdb1) |
Clonezilla now is saving disk sda as an image. The job is done by saving:
- MBR (by dd, but this file is normally useless in uEFI mode).
- Partition table (by sfdisk and parted), CHS of disk.
- Data on every partition or LV (logical volume) (by partimage, ntfsclone, partclone or dd. It depends on the "-q" option you choose)
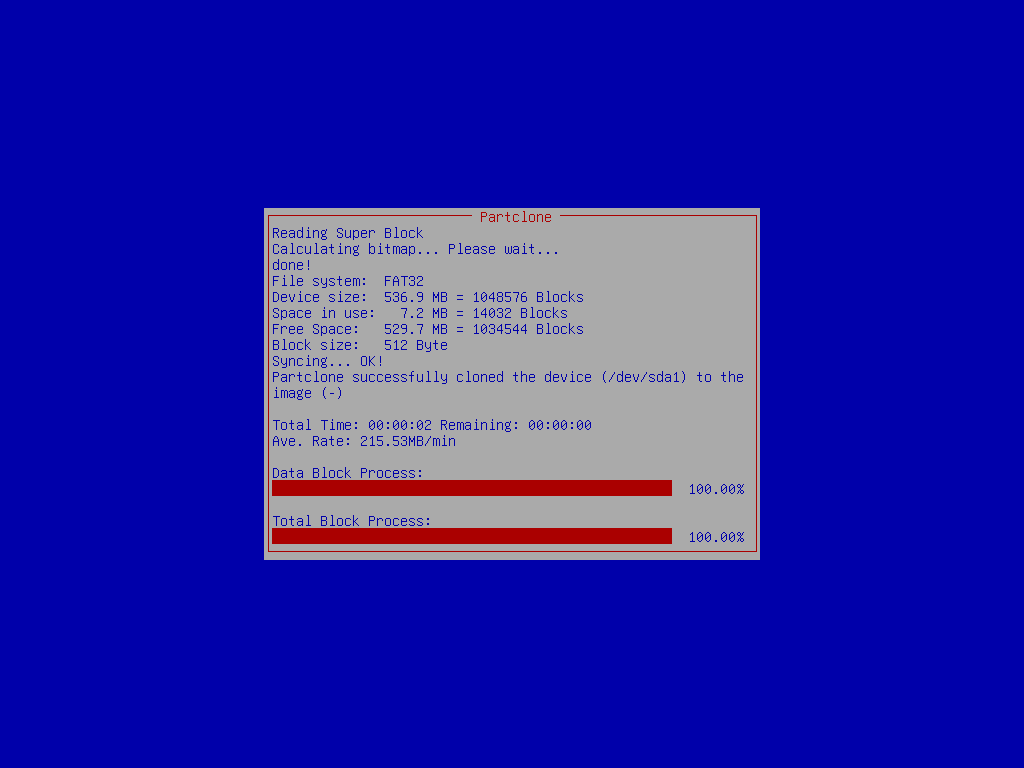
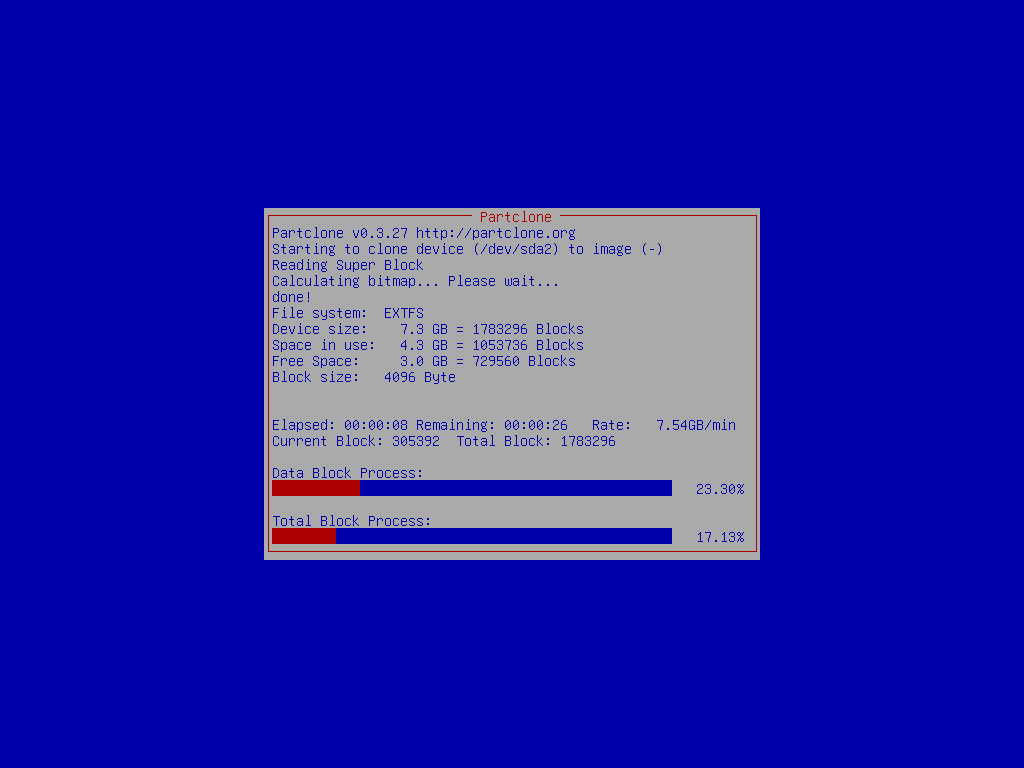
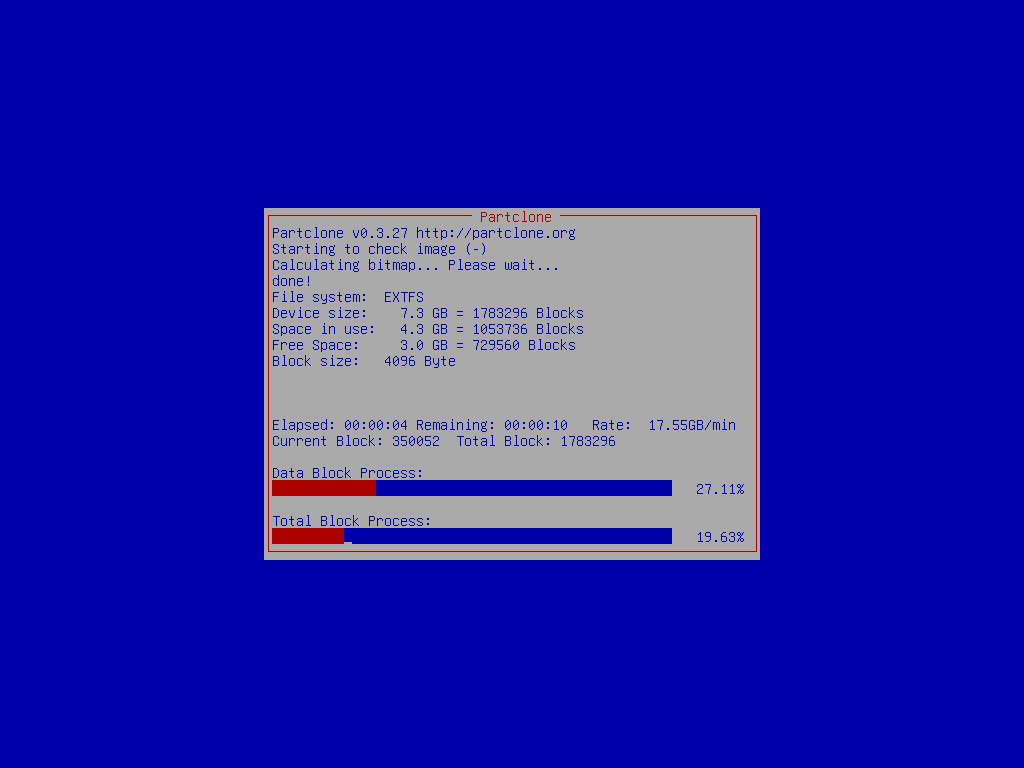
Once the image is saved, since we have choosed to check the saved image, Clonezilla will do such a check:
When everything is done, Clonezilla will prompt you if you want to run it again (when something goes wrong or you want to choose different options),
- 'Stay in this console (console 1), enter command line prompt'
- 'Run command "exit" or "logout"'
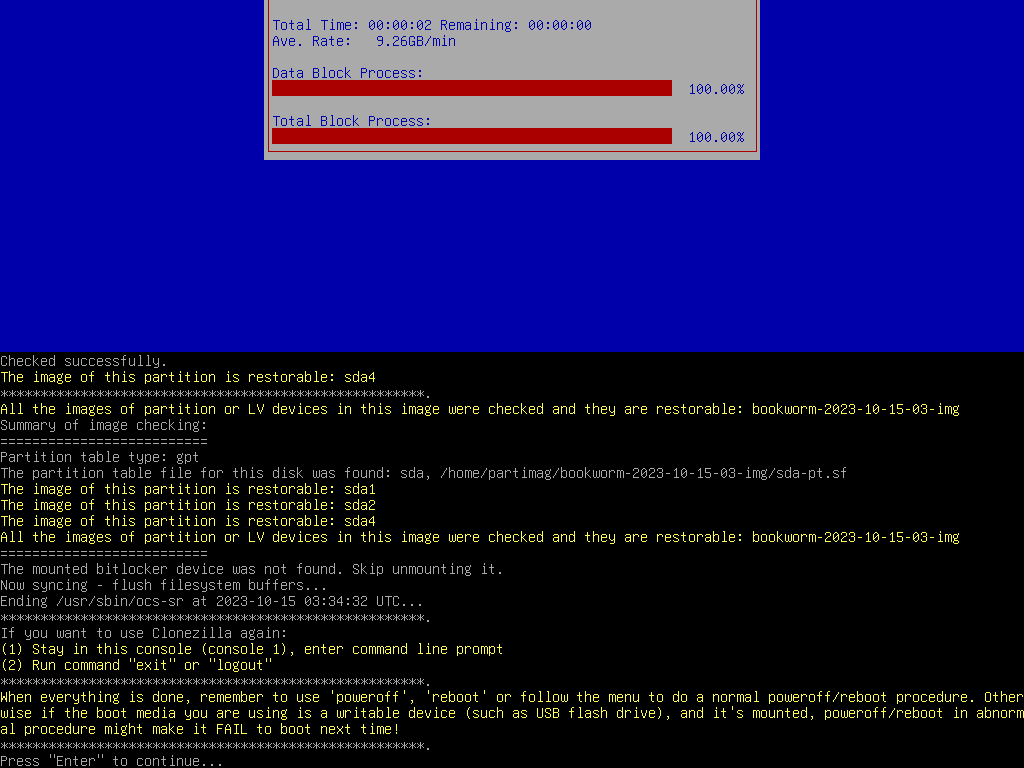
Then you can choose to:
- Poweroff
- Reboot
- Enter command line prompt
- Start over (image repository /home/partimag, if mounted, will be umounted)
- Start over (keep image repository /home/partimag mounted)
- Start over (Remount subdir in medium of current repository)
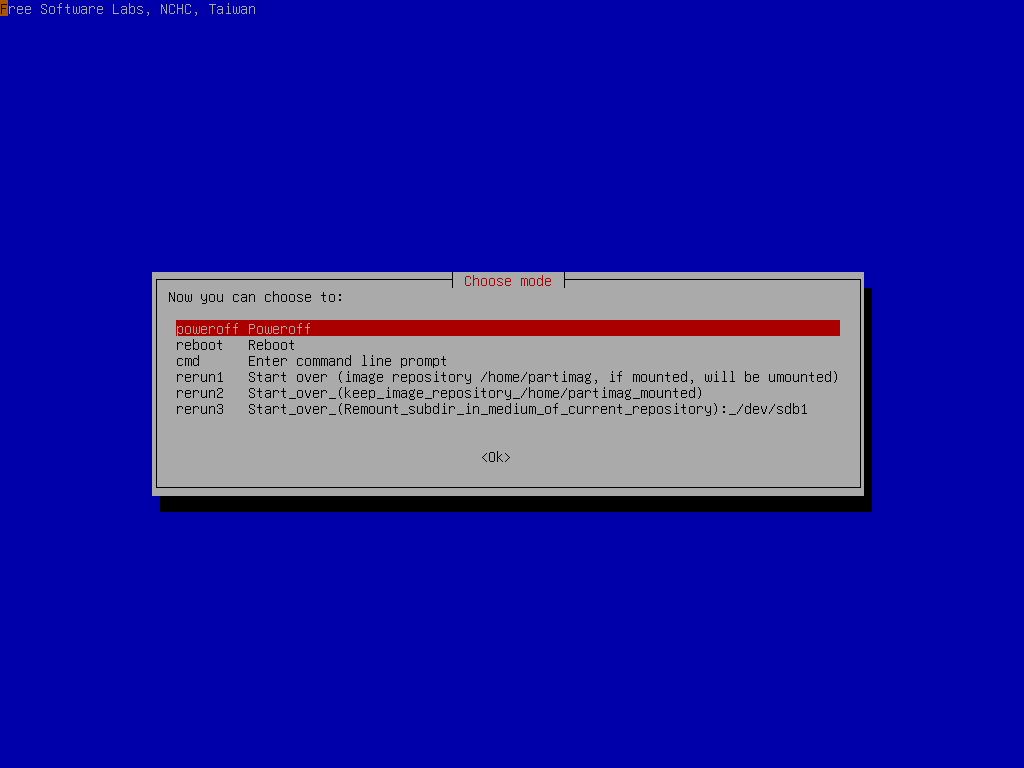
Here we choose Poweroff, and it will countdown 7 secs:
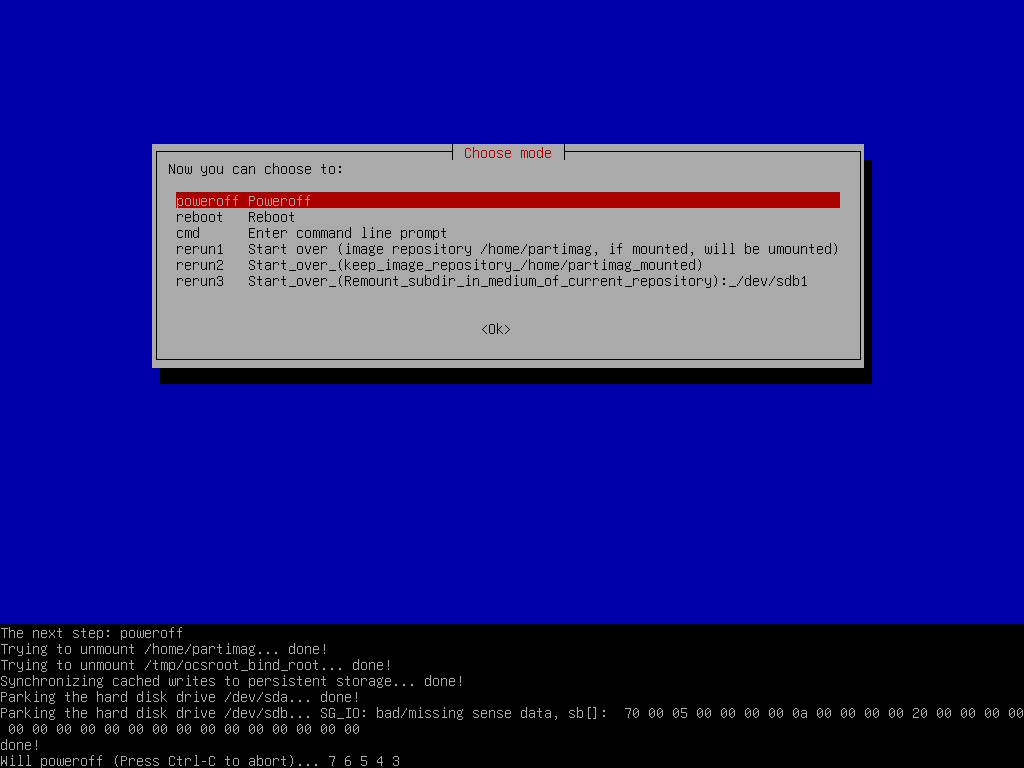
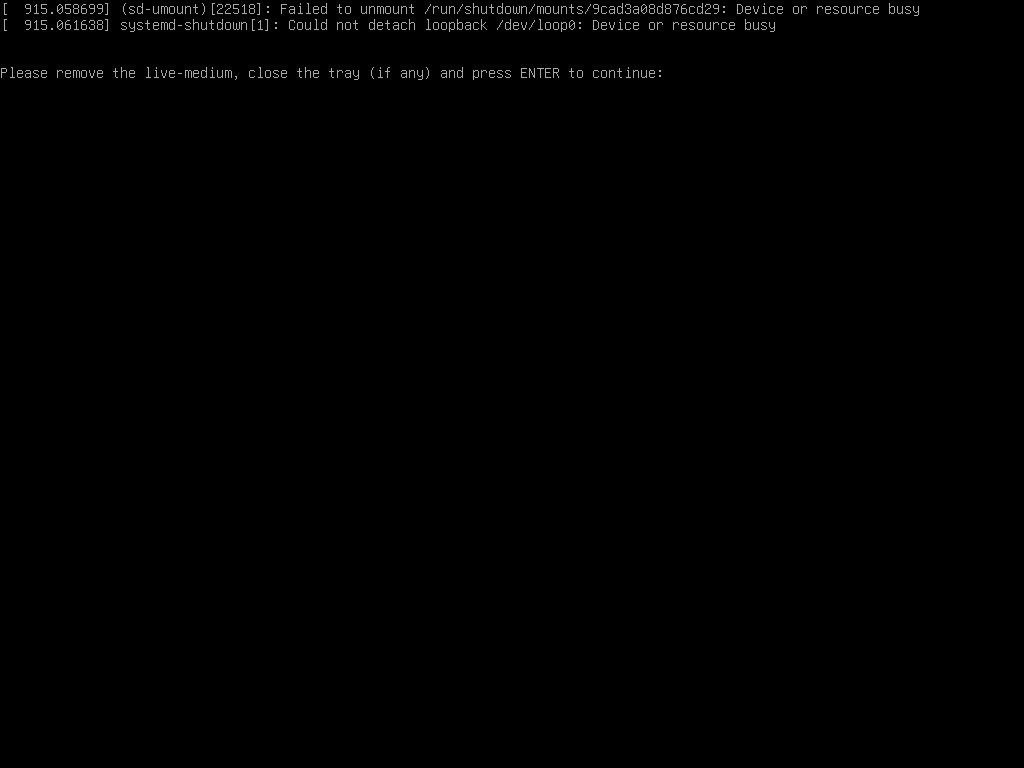
When the shutdown process is done, it will ask you to remove the disk and close the try (if any) then press ENTER if you boot Clonezilla live from CD. If you boot Clonezilla live from USB flash drive, then there is no such prompt.
That's all. We have successfully saved disk image (sda) on 2nd disk (sdb1). The image on the 2nd disk is a directory with name "bookworm-2023-10-15-03-img" and its contents are:
root@debian:/home/partimag# ls -l
total 20
drwxr-xr-x 2 root root  4096 Oct 15 03:33 bookworm-2023-10-15-03-img
drwx------ 2 root root 16384 Oct 15 02:47 lost+found

root@debian:~# ls -lh /home/partimag/bookworm-2023-10-15-03-img/
total 1.3G
-rw-r--r-- 1 root root  901 Oct 15 03:33 blkdev.list
-rw-r--r-- 1 root root  770 Oct 15 03:33 blkid.list
-rw-r--r-- 1 root root 8.0K Oct 15 03:33 clonezilla-img
-rw-r--r-- 1 root root  218 Oct 15 03:33 dev-fs.list
-rw-r--r-- 1 root root    4 Oct 15 03:33 disk
-rw-r--r-- 1 root root 1.2K Oct 15 03:33 efi-nvram.dat
-rw-r--r-- 1 root root 118K Oct 15 03:33 Info-dmi.txt
-rw-r--r-- 1 root root  236 Oct 15 03:33 Info-img-id.txt
-rw-r--r-- 1 root root   67 Oct 15 03:33 Info-img-size.txt
-rw-r--r-- 1 root root  73K Oct 15 03:33 Info-lshw.txt
-rw-r--r-- 1 root root 4.6K Oct 15 03:33 Info-lspci.txt
-rw-r--r-- 1 root root  824 Oct 15 03:33 Info-OS-prober.txt
-rw-r--r-- 1 root root  198 Oct 15 03:33 Info-packages.txt
-rw-r--r-- 1 root root  101 Oct 15 03:33 Info-saved-by-cmd.txt
-rw-r--r-- 1 root root  980 Oct 15 03:33 Info-smart.txt
-rw-r--r-- 1 root root   15 Oct 15 03:33 parts
-rw------- 1 root root 2.5M Oct 15 03:32 sda1.vfat-ptcl-img.zst
-rw------- 1 root root 1.3G Oct 15 03:33 sda2.ext4-ptcl-img.zst
-rw------- 1 root root 315K Oct 15 03:33 sda4.ext4-ptcl-img.zst
-rw-r--r-- 1 root root   36 Oct 15 03:33 sda-chs.sf
-rw-r--r-- 1 root root  17K Oct 15 03:33 sda-gpt-1st
-rw-r--r-- 1 root root  16K Oct 15 03:33 sda-gpt-2nd
-rw-r--r-- 1 root root  18K Oct 15 03:33 sda-gpt.gdisk
-rw-r--r-- 1 root root  724 Oct 15 03:33 sda-gpt.sgdisk
-rw-r--r-- 1 root root  512 Oct 15 03:33 sda-mbr
-rw-r--r-- 1 root root  440 Oct 15 03:33 sda-pt.parted
-rw-r--r-- 1 root root  392 Oct 15 03:33 sda-pt.parted.compact
-rw-r--r-- 1 root root  684 Oct 15 03:33 sda-pt.sf
-rw-r--r-- 1 root root   53 Oct 15 03:33 swappt-sda3.info
|
|

