| Select image name and destination disk |
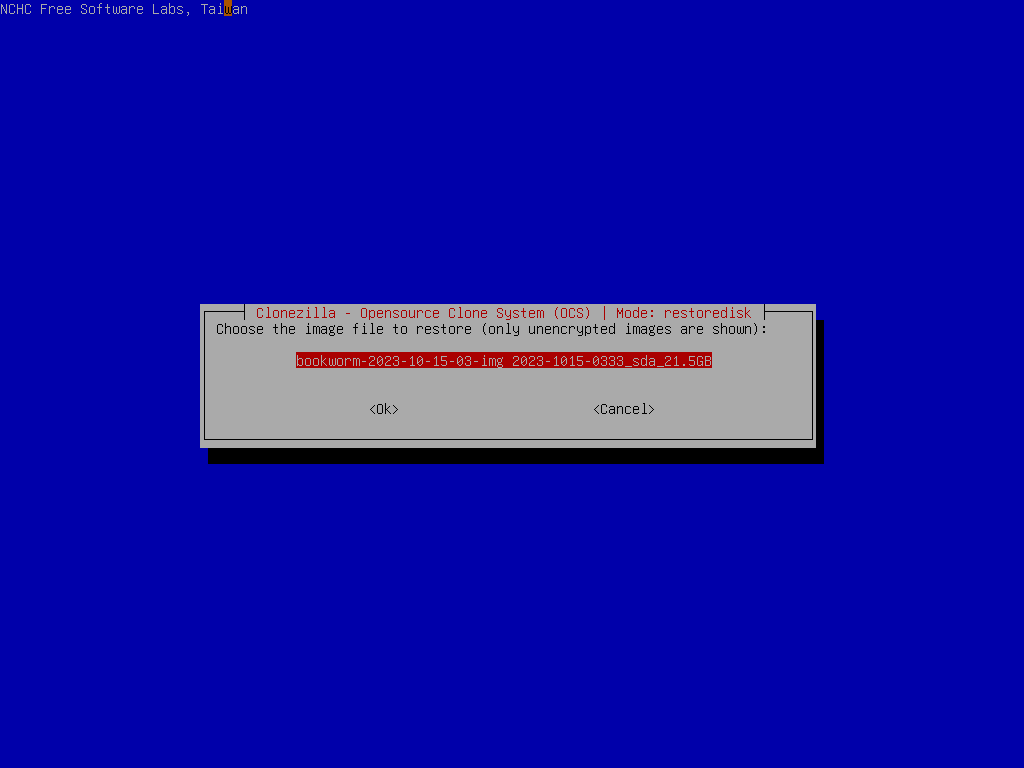
Choose the Clonezilla live image as source image:
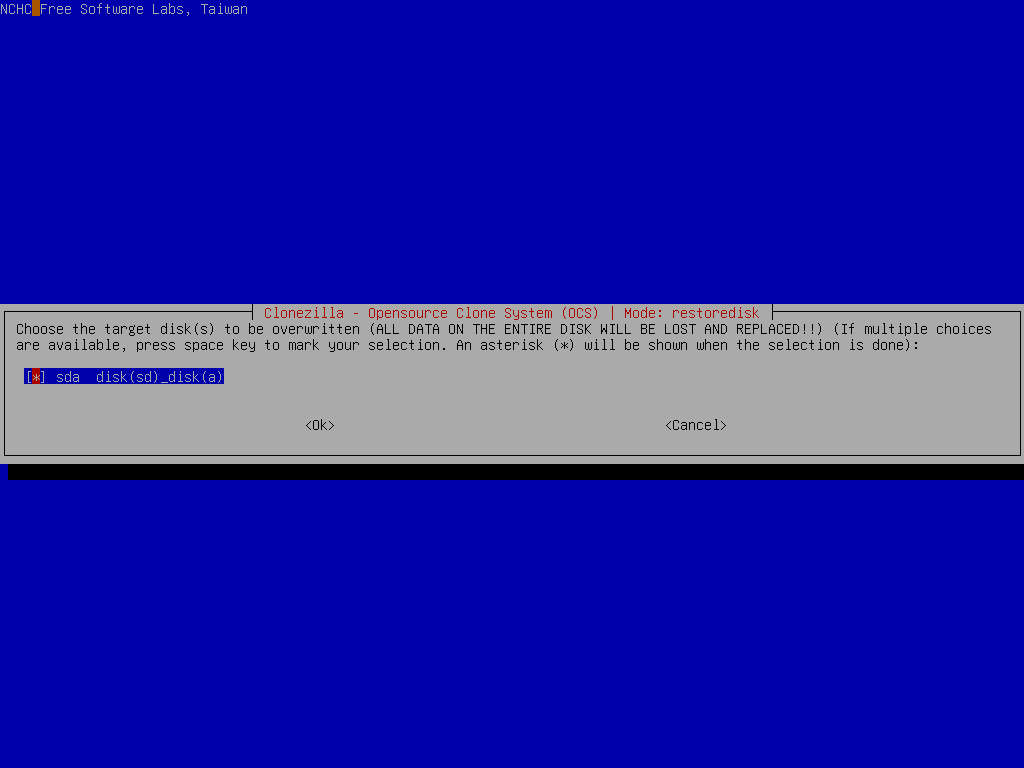
Select the destination disk "sda" we want to restore in the clients:
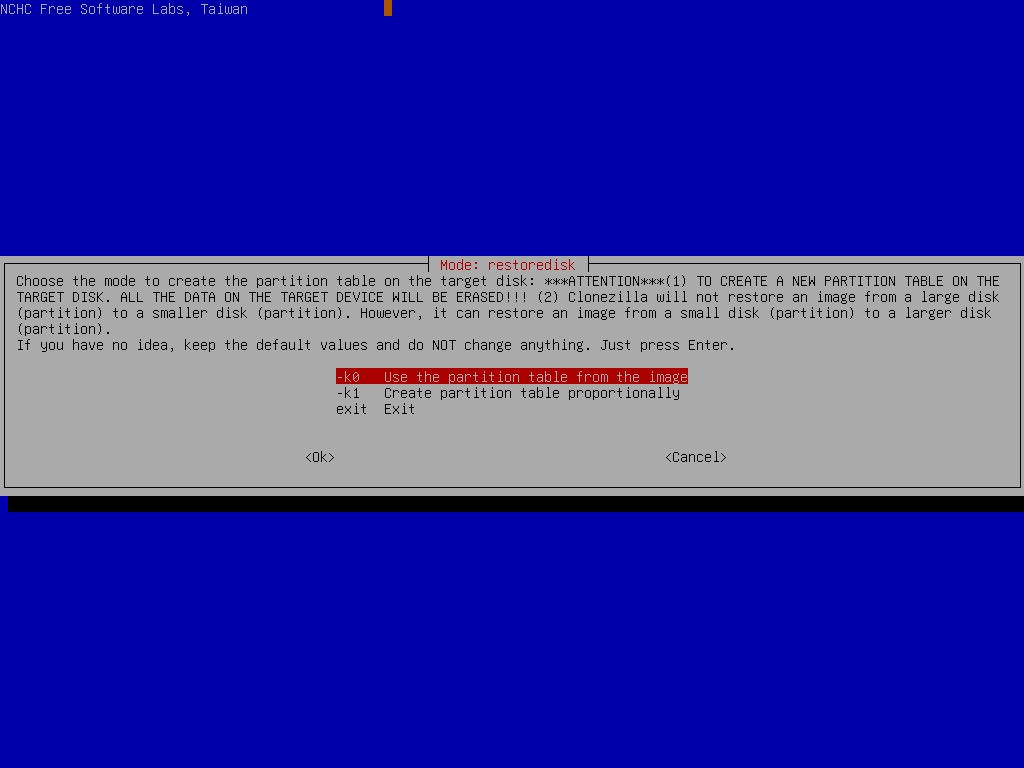
Choose the option to create the partition table on the destination. First choice is to use the partition table from image, 2nd choice is to create the partition table proportionally, i.e., if you have the image which is samved from a smaller disk, here you can create the partitions proportionally on the destination disk:
Choose to check the image integrity before really restoring the image to disk sda:
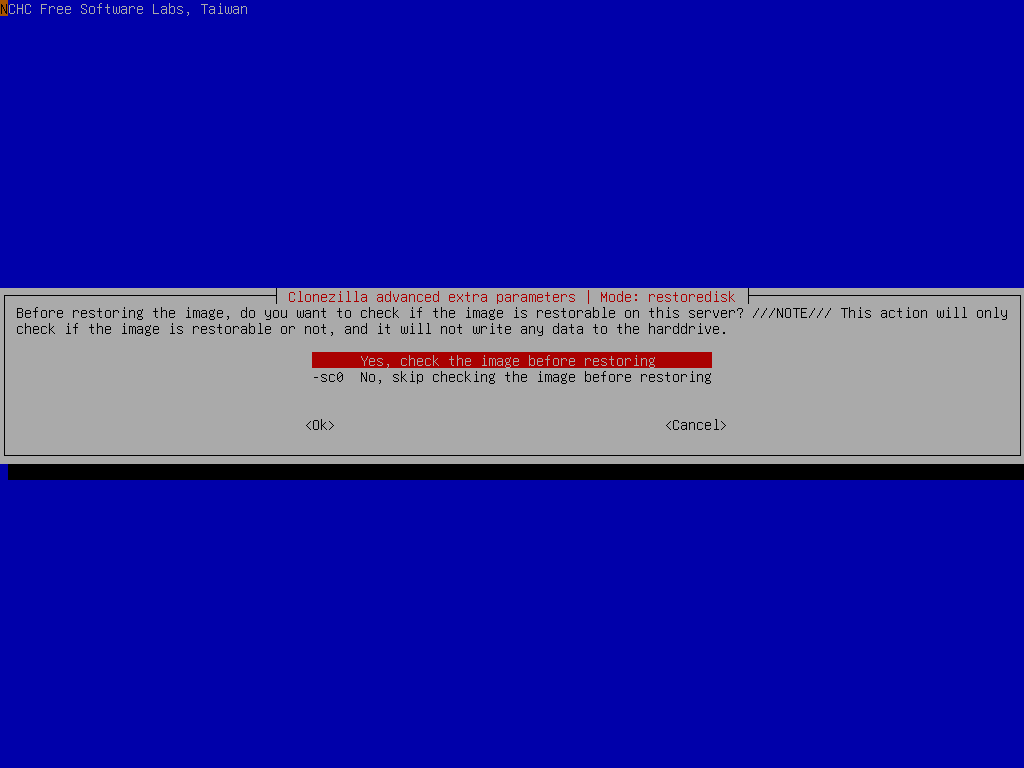
It's recommended to check the image before restoring it because you do not know if the image is broken or not. If you are very sure that the integrity is OK, then of course you can choose "-scr" to skip checking.
Select the mode you want after the image restoring is done in the client machines:
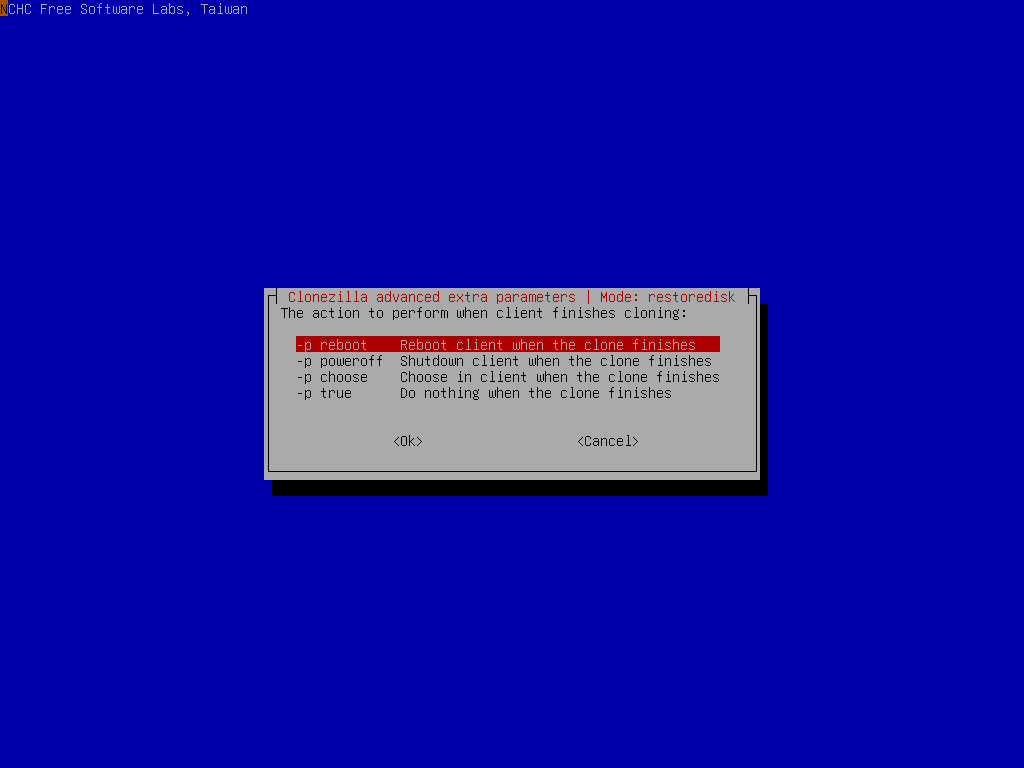
By default we choose "-p reboot" here. But if you have decided, you can choose poweroff the machine, choose in the client when the clone finishes, or do nothing after is restored.
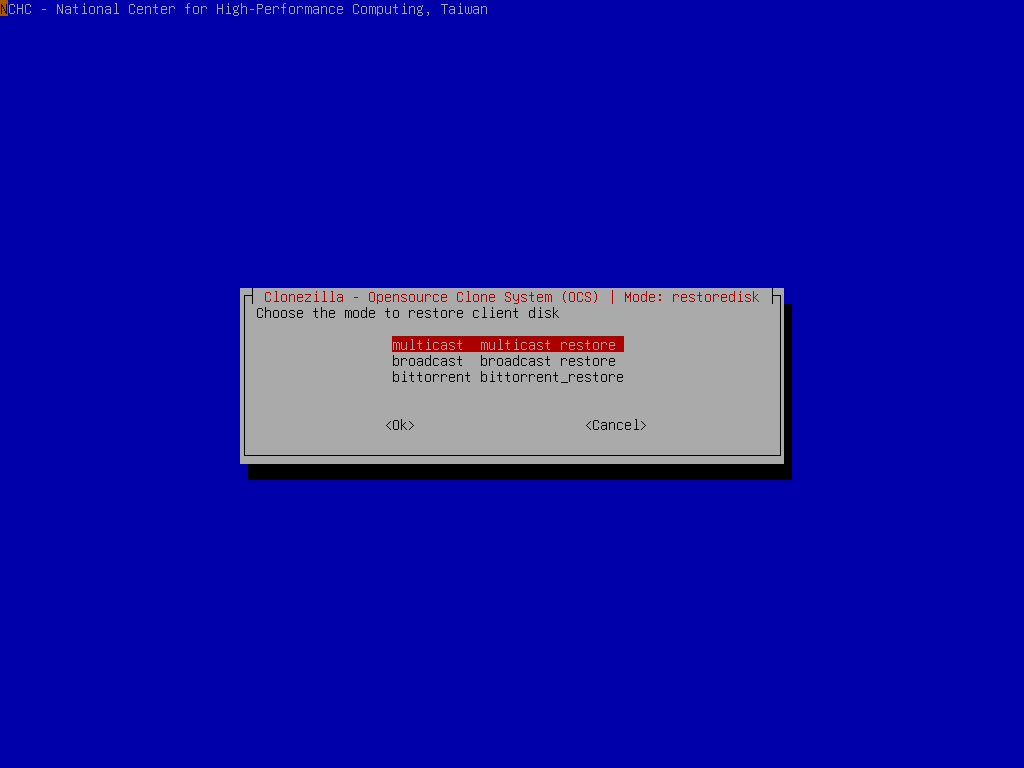
Select to use multicast, broadcast or bittorrent mechanism. Here we take multicast as the example:
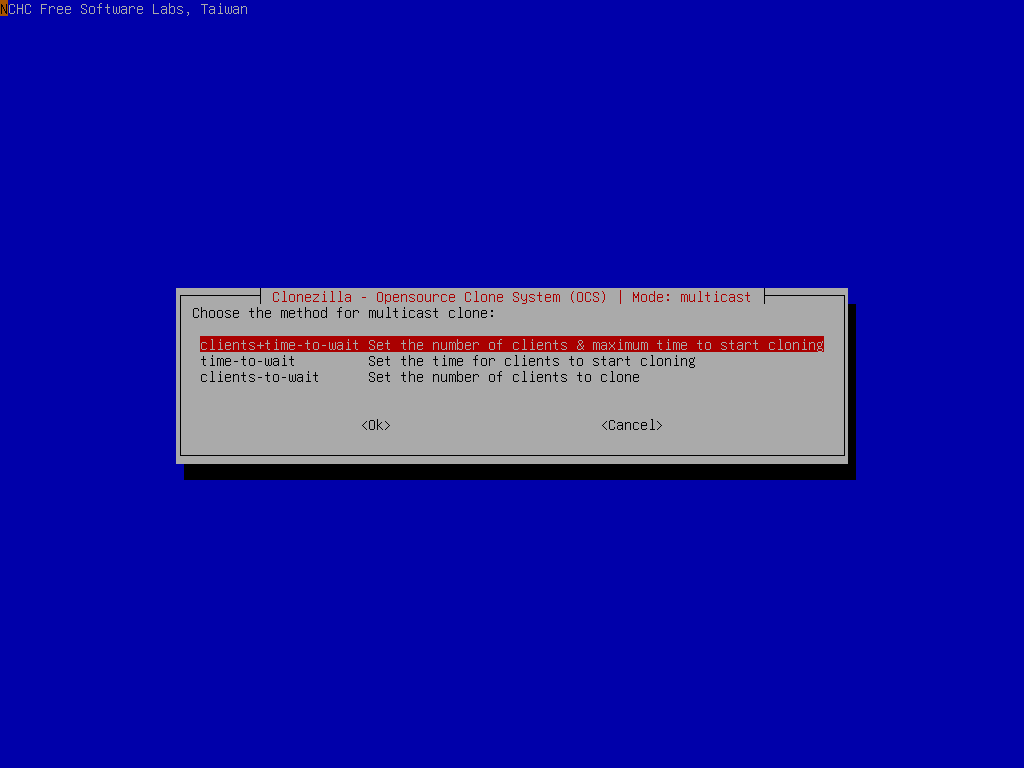
Choose the method for multicast mode as clients+time-to-wait, i.e., we will assign the number of client machines and the time we will wait before the multicast mode starts:
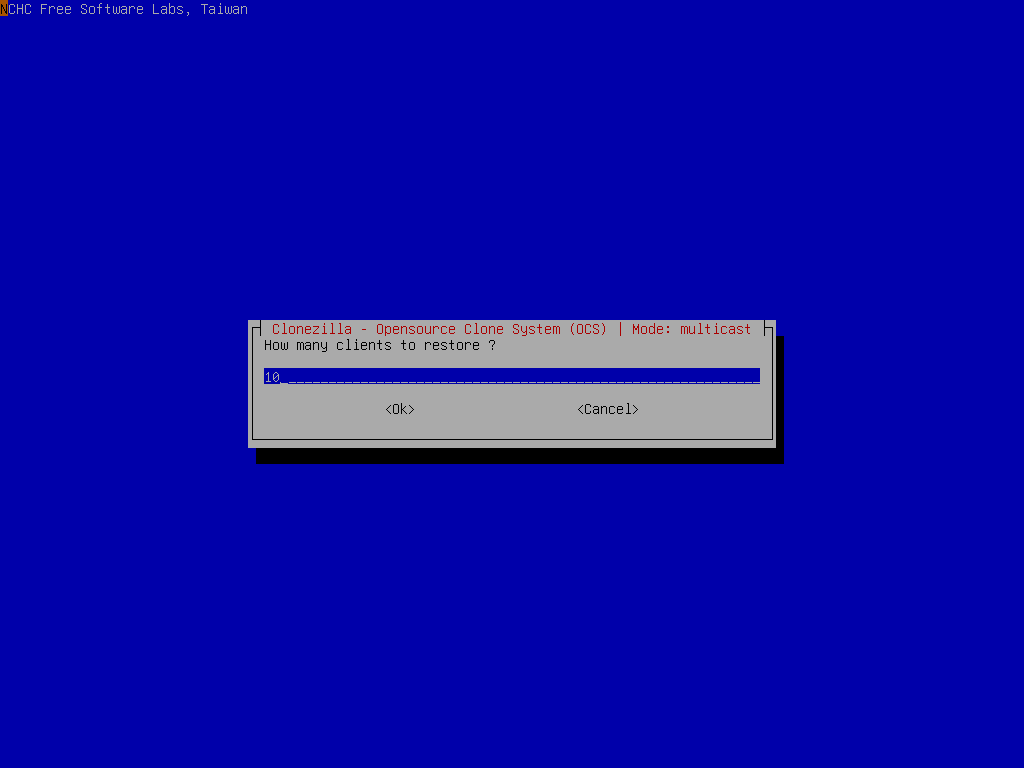
Enter the number of clients. We here assume we will have 10 machines to deploy:
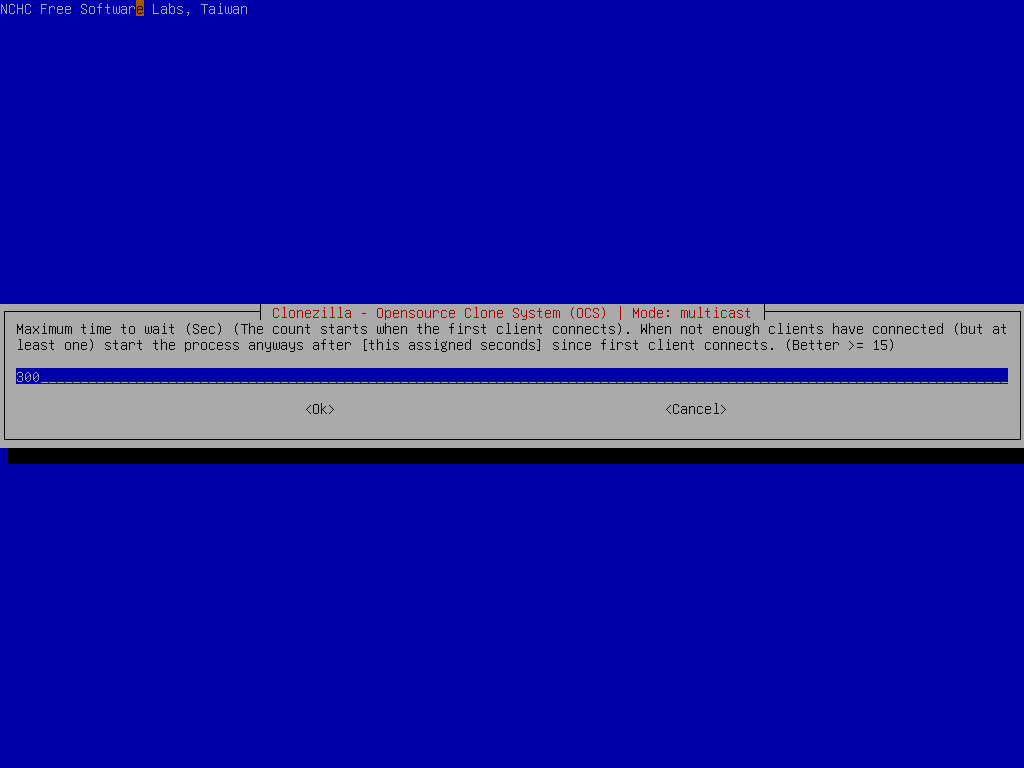
Moreover, we will wait until 300 secs before 10 client machines connect. For example, if only 9 machines connect to this lite server, and the time has passed 300 secs, the multicast deployment will start without waiting for the 10th client machine:
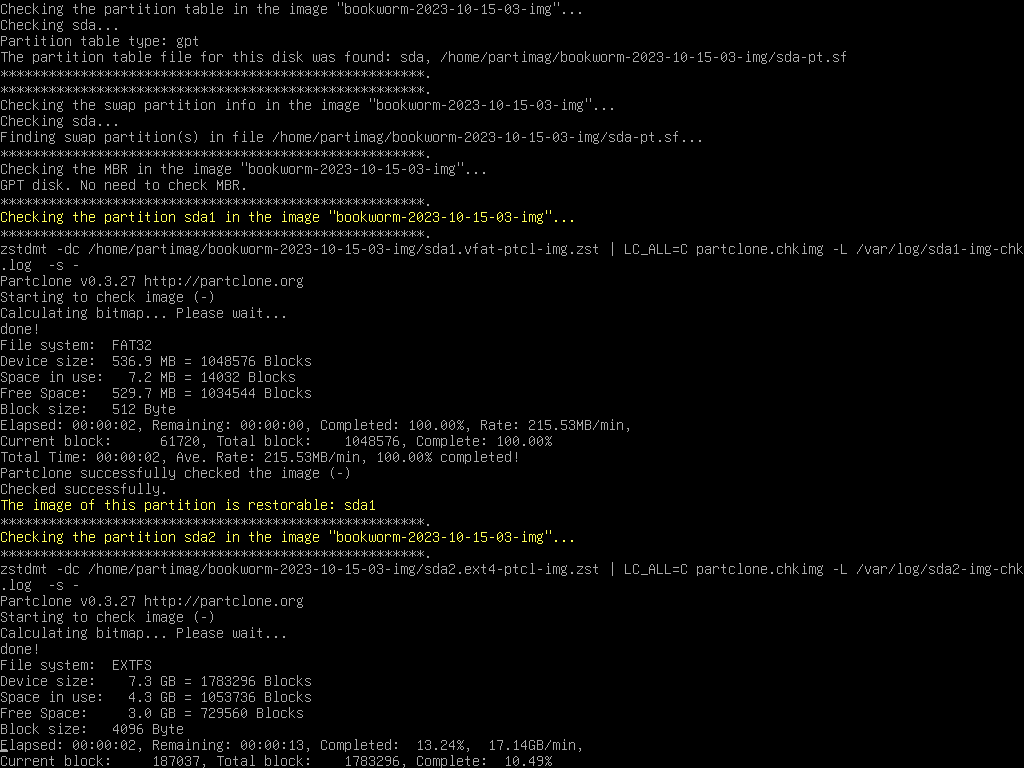
Since we choose to check the image before deploying, now Clonezilla will check the image integrity:
Clonezilla will prompt us the command to restore the image. This command is very useful when you want to create a customized Clonezilla live. In addition, it now starts all the services on the server and wait for the network booting clients to boot and receive the image to restore to the disk /dev/sda:
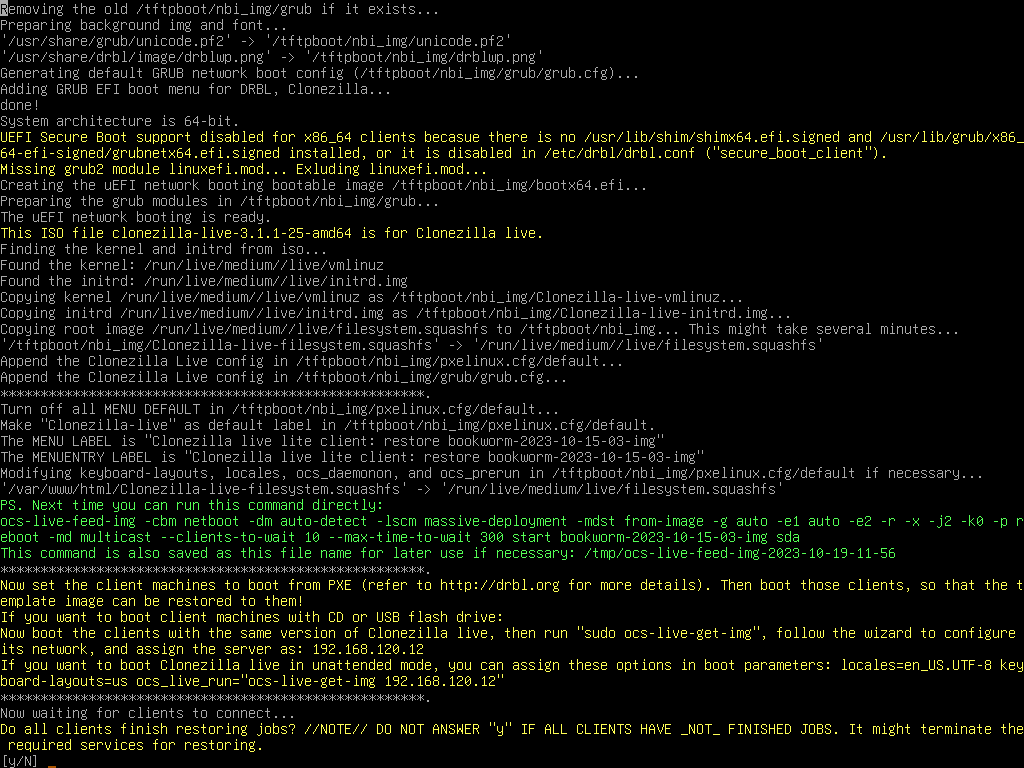
As described in the screen, only when all clients have finished jobs you can press "y" to terminate the required services. Do not press "y" if there are some clients still restoring.
Now you can boot the client machine via PXE or uEFI network booting to receive the image and write to its disk /dev/sda. All the steps in the client machine should be in unattended mode.
Once all the clients are done, you can press "y" twice to terminate the required services:
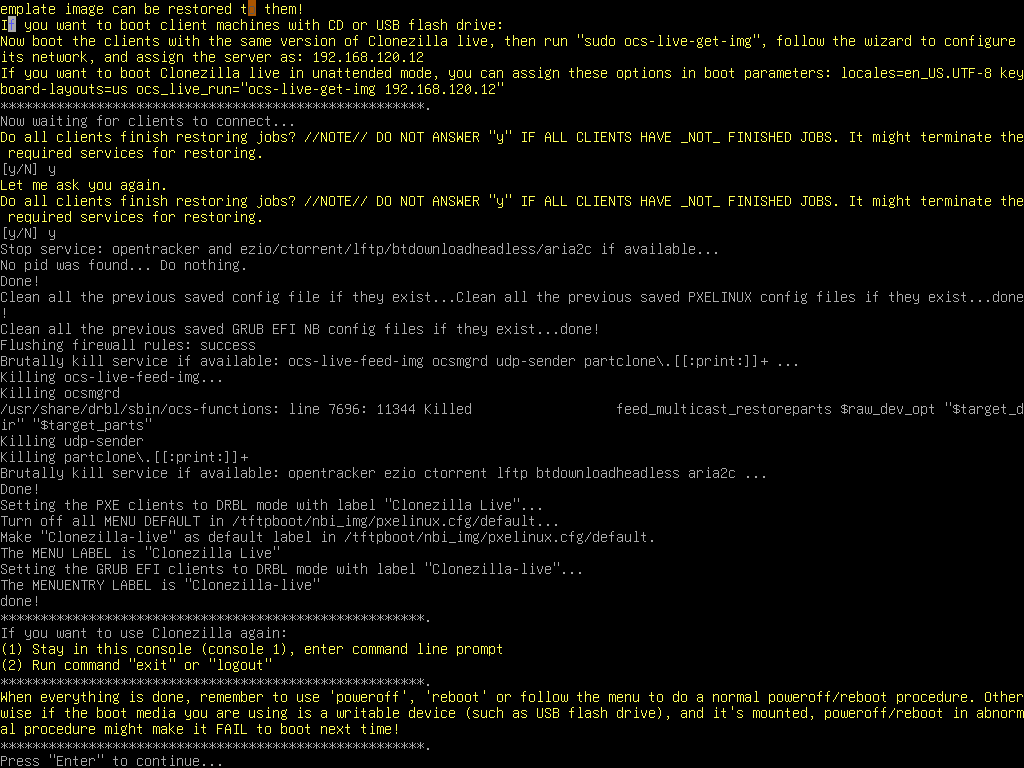
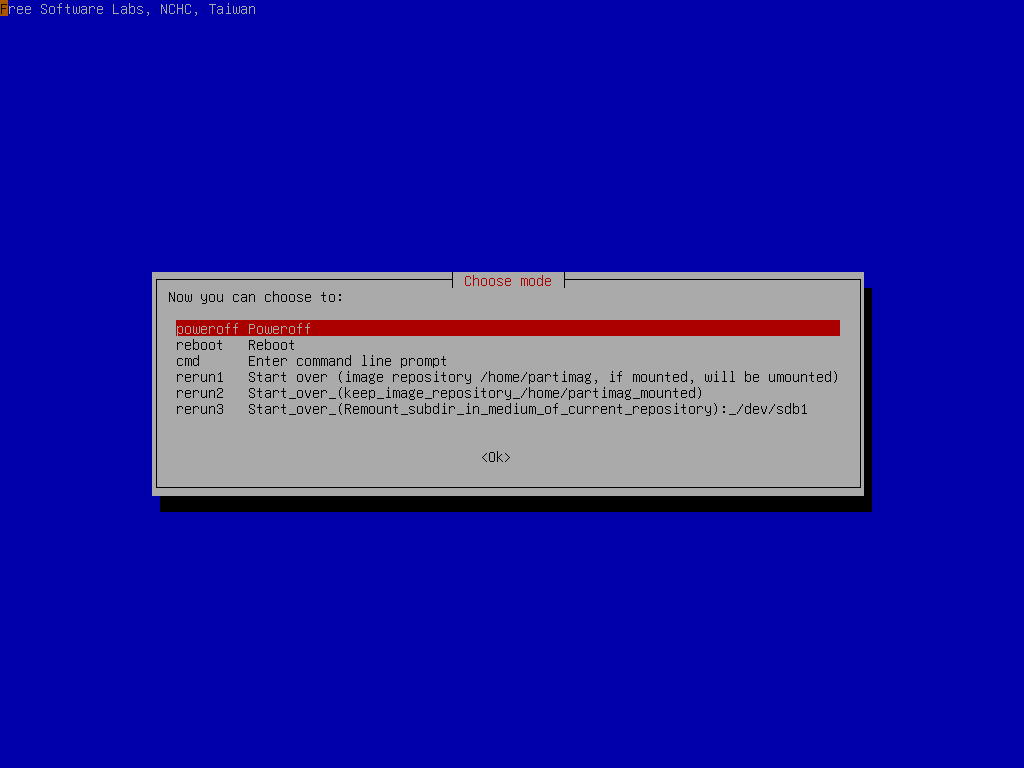
Check the prompt in the end. Once you press "Enter", Clonezilla will show you the prompt to poweroff, reboot, or rerun...
 |
|


