Clonezilla

The Free and Open Source Software for Disk Imaging and Cloning
Clonezilla Live Doc
Print all this session
Save disk image : Save 1st disk (sda) as an image on 2nd disk (sdb) (Step by step)
  1. Boot the machine via Clonezilla live
  2. The boot menu of Clonezilla live
  3. Here we choose 800x600 mode, after pressing Enter, you will see Debian Linux booting process
  4. Choose language
  5. Choose keyboard layout
  6. Choose "Start Clonezilla"
  7. Choose "device-image" option
  8. Choose "local_dev" option to assign sdb1 as the image home
  9. Select sdb1 as image repository, then choose "savedisk" option
  10. Input image name and select source disk
  11. Clonezilla is saving disk image (sda) to the partition of 2nd disk (sdb1)
Choose "device-image" option


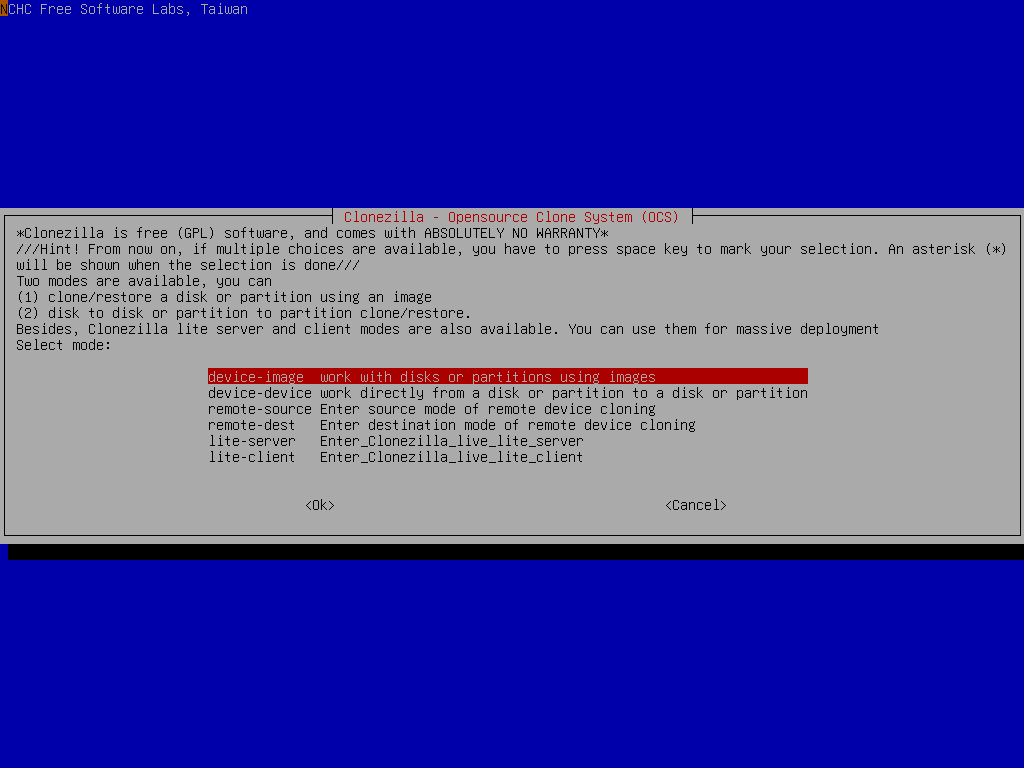
Pay attention to the hints, too. You might need that:
///Hint! From now on, if multiple choices are available, you have to press space key to mark your selection. A star sign (*) will be shown when the selection is done///
Print this page
Clonezilla project. All Rights Reserved. Anyone is permitted to copy and distribute verbatim copies of this document under the terms of the GNU FDL Free Documentation License.