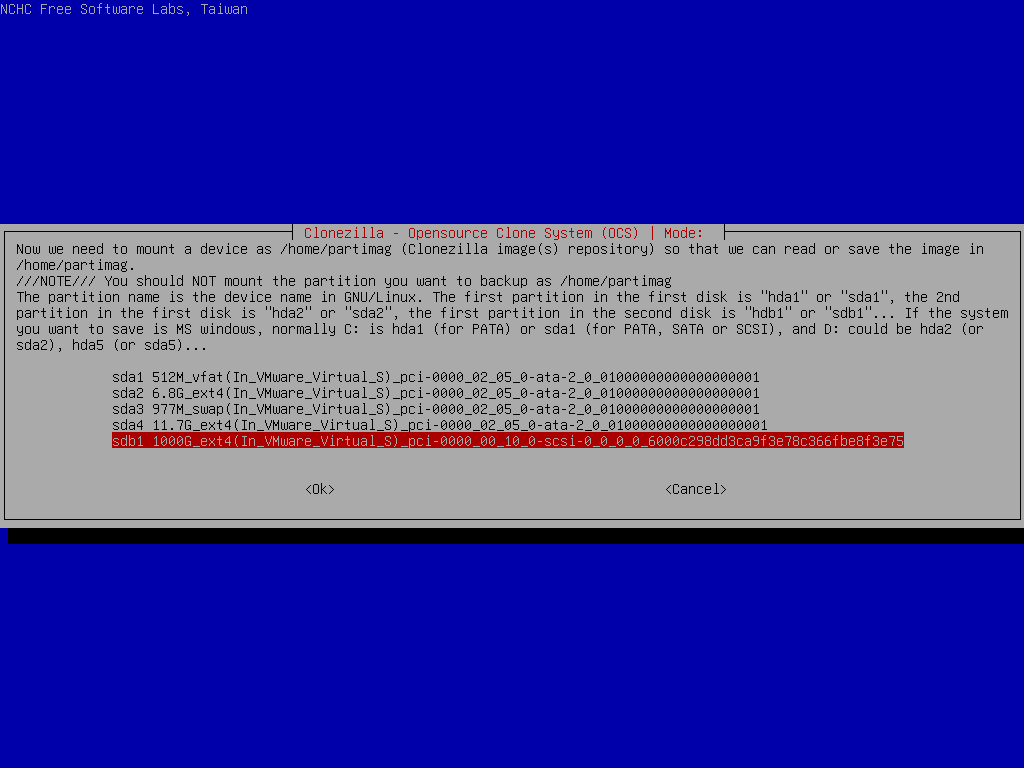
| Select sdb1 as image repository, then choose "savedisk" option |
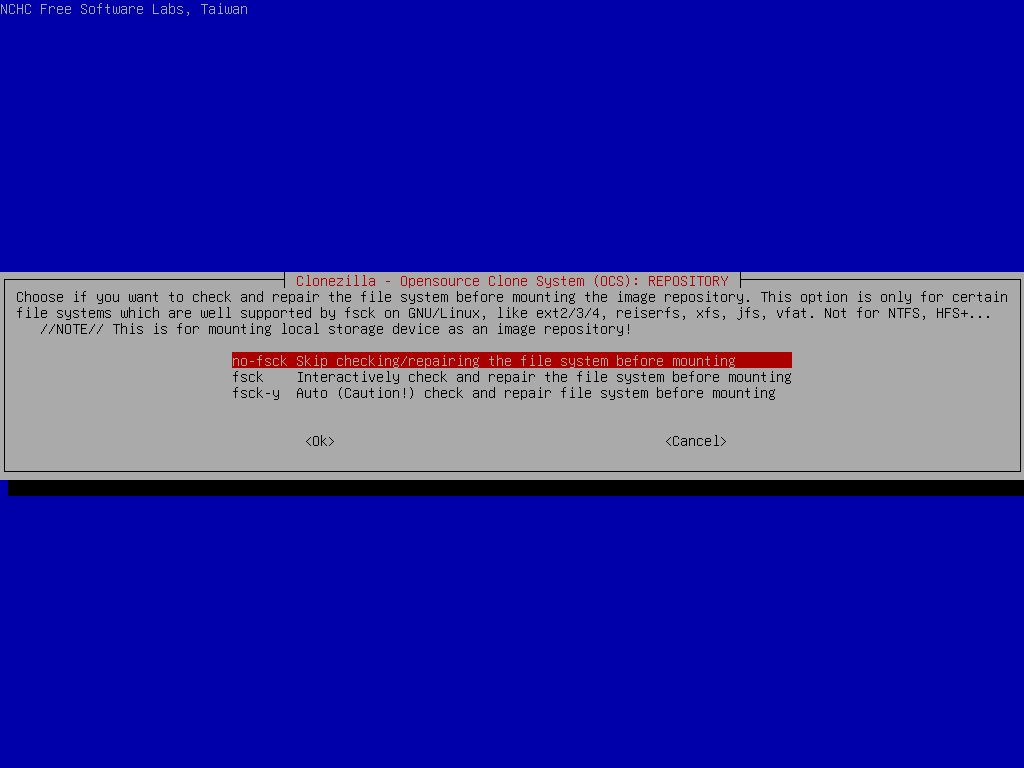
Before mounting the device sdb1, it allows you to do a file system check. Here we skip it.
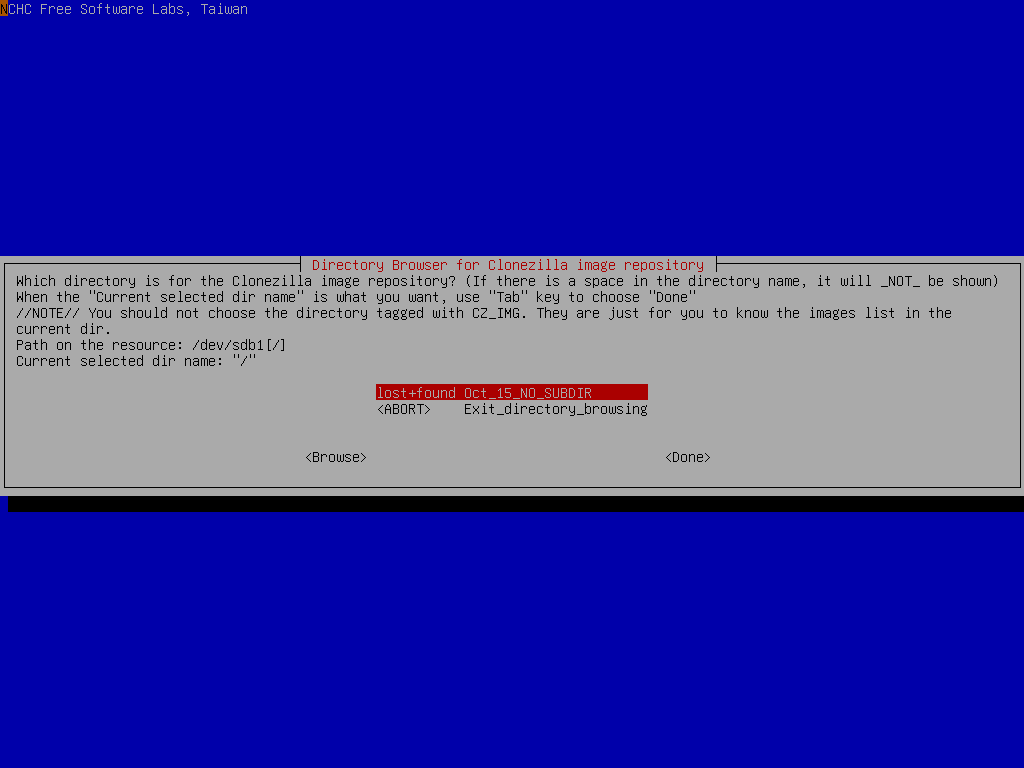
Choose the directory name on /dev/sdb1 as the image repository. Here we put image on the top directory (i.e., Current selected dir name is "/"):
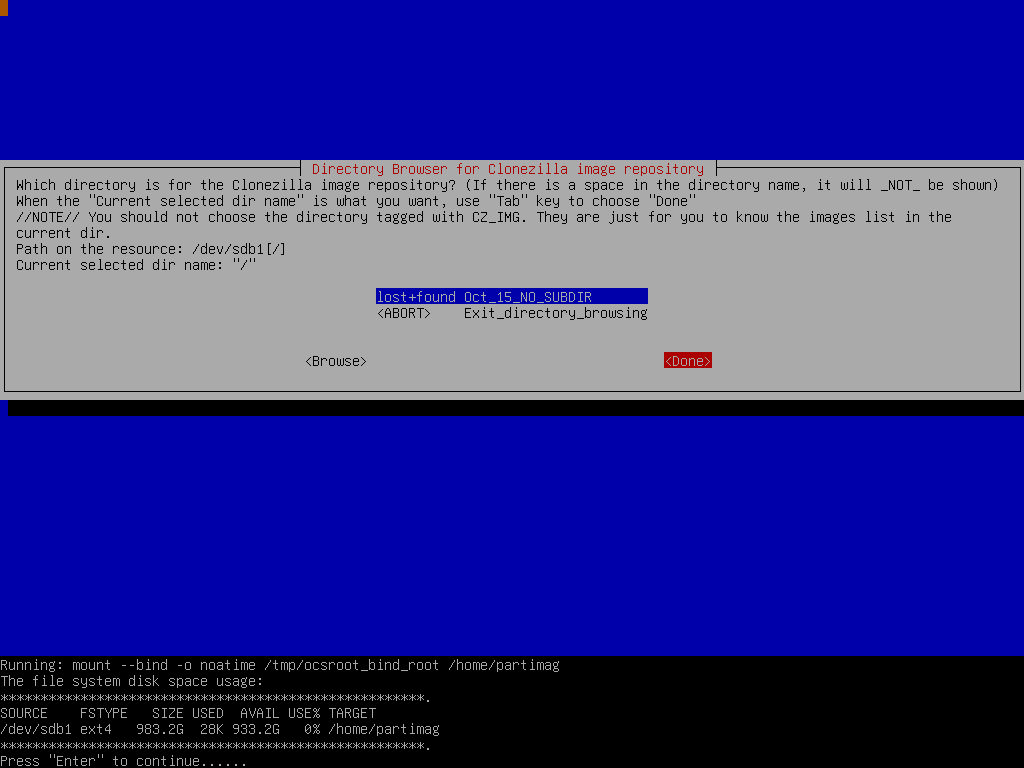
Once you are sure the directory is what you want, press "TAB" key to the "Done" option and press "Enter" key to continue.
If you are not familiar with the disk or partition name in GNU/Linux, read the hints:
'The partition name is the device name in GNU/Linux. The first partition in the first disk is "sda1", the 2nd partition in the first disk is "sda2", the first partition in the second disk is "sdb1" or "sdb1"... If the system you want to save is MS windows, normally C: is sda1, and D: could be sda2, or sda5...'
Then Clonezilla shows you the disk usage report:
Here we choose "Beginner" mode:
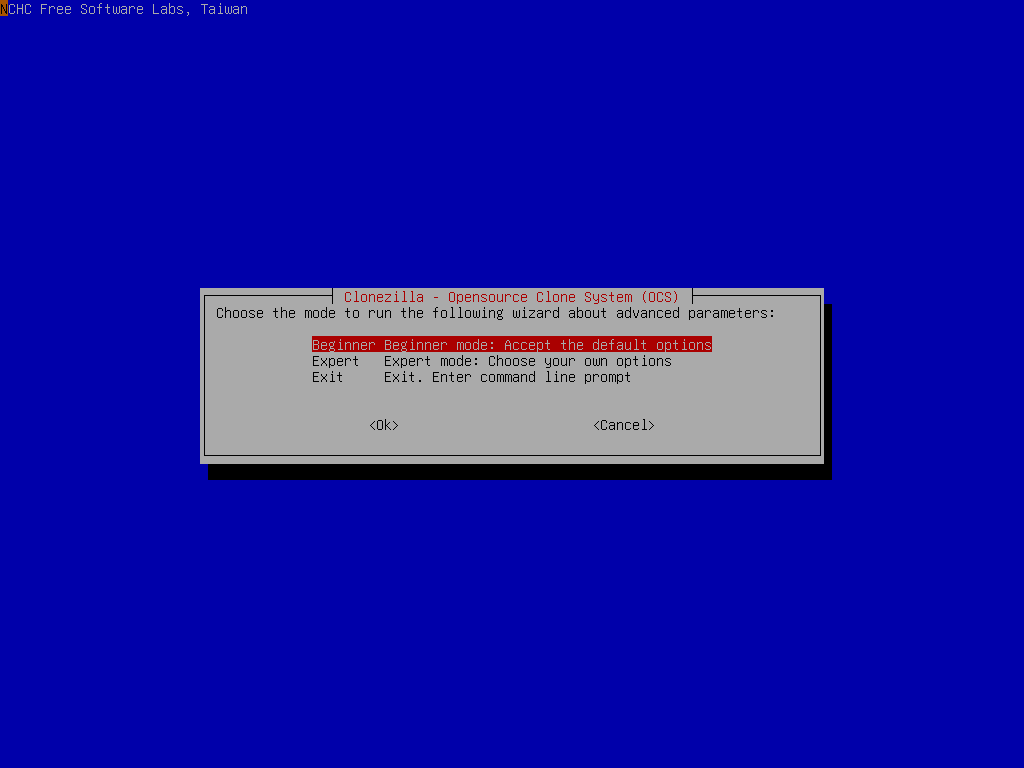
Now we can select "savedisk" option:
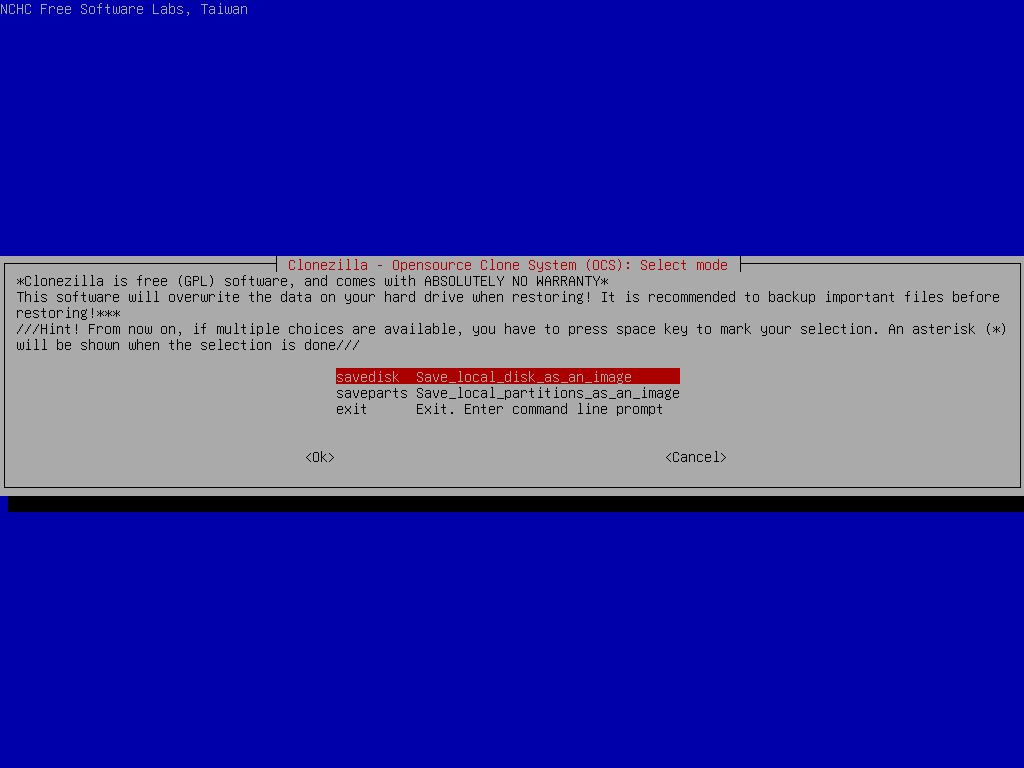
Because there is no any previously saved Clonezilla live image in /dev/sdb1, hence the menu here only shows save-related ones. There is no any restore-related menu shown in the dialog.
If you choose "Expert" mode, you will have some chances to choose advanced parameters, e.g. imaging program, compression program, etc.. You can see more details here.
 |
|


