
This doc generally describes how to use Clonezilla live.
Here is a screenshot of Clonezilla Live boot menu: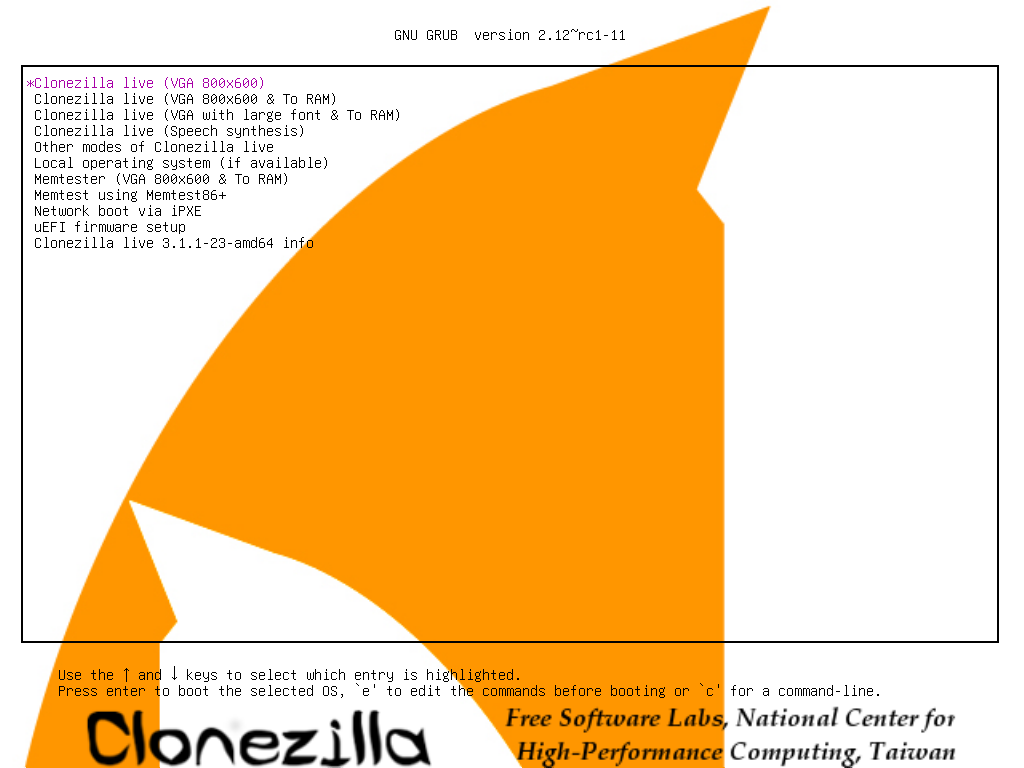
The first one is the default mode for Clonezilla Live. It will default to framebuffer mode with a resolution of 800x600.
The 2nd one "(VGA 800x600 & To RAM)", is the same function with the 1st one except when Clonezilla live booting finishes, all the necessary files are copied to memory. Therefore you can remove the boot media (CD or USB flash drive) then. In addition to use the arrow key to choose, you can also press "r" to choose that.
The 3rd one "(VGA with large font & To RAM)" is for you to use large font, especially when you have 4K monitor, and it will all the necessary files will be copied to memory. In addition to use the arrow key to choose, you can also press "l" to choose that.
The 4th one "(Speech synthesis)" is for the blind to use, which can be chosen by pressing "s" key.
There are more modes which you can choose in the 5th choice "Other modes of Clonezilla live", e.g. 1024X768 or 640x480 one if you want, as shown here:
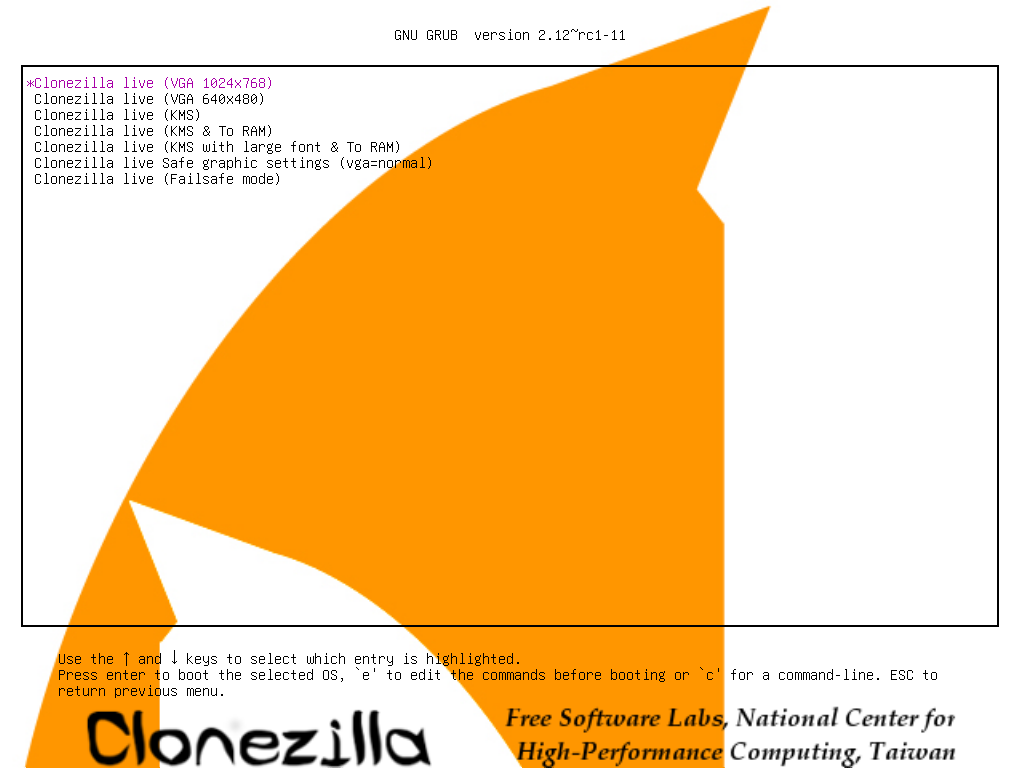
The choice, "KMS" is for you to use KMS (Kernel Mode Setting) for your graphics card. If you have some problem to use the framebuffer mode of your graphics card, you can try it.
If you do not need Chinese, Japanese or Korean environment or if your computer experiences problems in the framebuffer mode, you can choose the one "Clonezilla Live Safe graphic settings (vga=normal)" to clone in the English environment.
The choice, "Clonezilla live (Failsafe mode)", is for something goes wrong when you are not be able to boot your machine, such as ACPI of your machine is not supported in the kernel.
If you want to boot local OS in your hard drive, you can choose the one "Local operating system in hard drive (if available)". This is an extra function in the boot media that has nothing to do with Clonezilla Live.
The choice, "Memtester (VGA 800x600 & To RAM)" is for memory testing using Memtester. This is an extra function in the boot media that has nothing to do with Clonezilla Live.
The choice, "Memory test using Memtest86+," is for memory testing using Memtest86+. This is an extra function in the boot media that has nothing to do with Clonezilla Live.
The choice, "Network boot via iPXE" is used to perform a network boot via iPXE. If your computer does not have a PXE network, you can use this to do boot from a network. This is an extra function in the boot media that has nothing to do with Clonezilla Live.
The choice, "uEFI firmware setup" is used to enter uEFI BIOS settings.

///Note/// The image name of Clonezilla is actually a directory name. For example, if you give the image name as 2007-05-NOVISTA, all the info will be saved as in the directory /home/partimag/2007-05-NOVISTA/. Inside that directory, MBR, partition table and partition files will be stored. Therefore when you want to restore an image, remember to mount the /home/partimag as the right device or path. i.e. the directory 2007-05-NOVISTA must be in the clonezilla home directory (Ex. /home/partimag)

- Run "sudo su -" to become root.
- You must prepare another writable device or space and mount it as /home/partimag (Note! If your boot media is writable, such as USB flash drive or you choose to use To RAM option, the existing /home/partimag is linked to /live_media/home/partimag, You have to remove that file and create a directory /home/partimag as a mount point by "rm -f /home/partimag; mkdir -p /home/partimag).
Ex. If you want to use Clonezilla to save /dev/hda and put the image in /dev/hdb1, then you have to mount /dev/hdb1 as /home/partimag by "mount -t auto /dev/hdb1 /home/partimag". If the file system of /dev/hdb1 is ntfs, you have to use "ntfs-3g /dev/hdb1 /home/partimag" to mount it so that it's writable. Remember, sshfs and smbfs are also supported. For example, using sshfs, you can mount your remote ssh server:
sshfs ACCOUNT@SSH_SERVER:/ABSOLUTE_PATH /home/partimag
i.e. if you want to mount your ssh server 192.168.100.254 with directory /work/pool, run it like this:
sshfs root@192.168.100.254:/work/pool /home/partimag
If you want to mount your samba server 192.168.200.254 with directory /work/smb, run it like this:
mount -t cifs -o user=your_user_name //192.168.200.254/work/smb /home/partimag
If you want to mount your samba server 192.168.200.254 with directory /work/smb, with username "administrator" and password "pass", run it like this:
mount -t cifs -o user=administrator,password=pass //192.168.200.254/work/smb /home/partimag
///NOTE/// In the above command, do NOT use smbfs in Linux, use cifs, since cifs has better compatibility with MS windows file sharing. Clonezilla live will FAIL to save a correct image when you use smbfs!
- Run "clonezilla" to use Clonezilla, then follow the on-screen instructions.
